TRANSMISSION
KUKJE MACHINERY CO., LTD.
83
5. CHECKING, DISASSEMBLING AND SERVICING
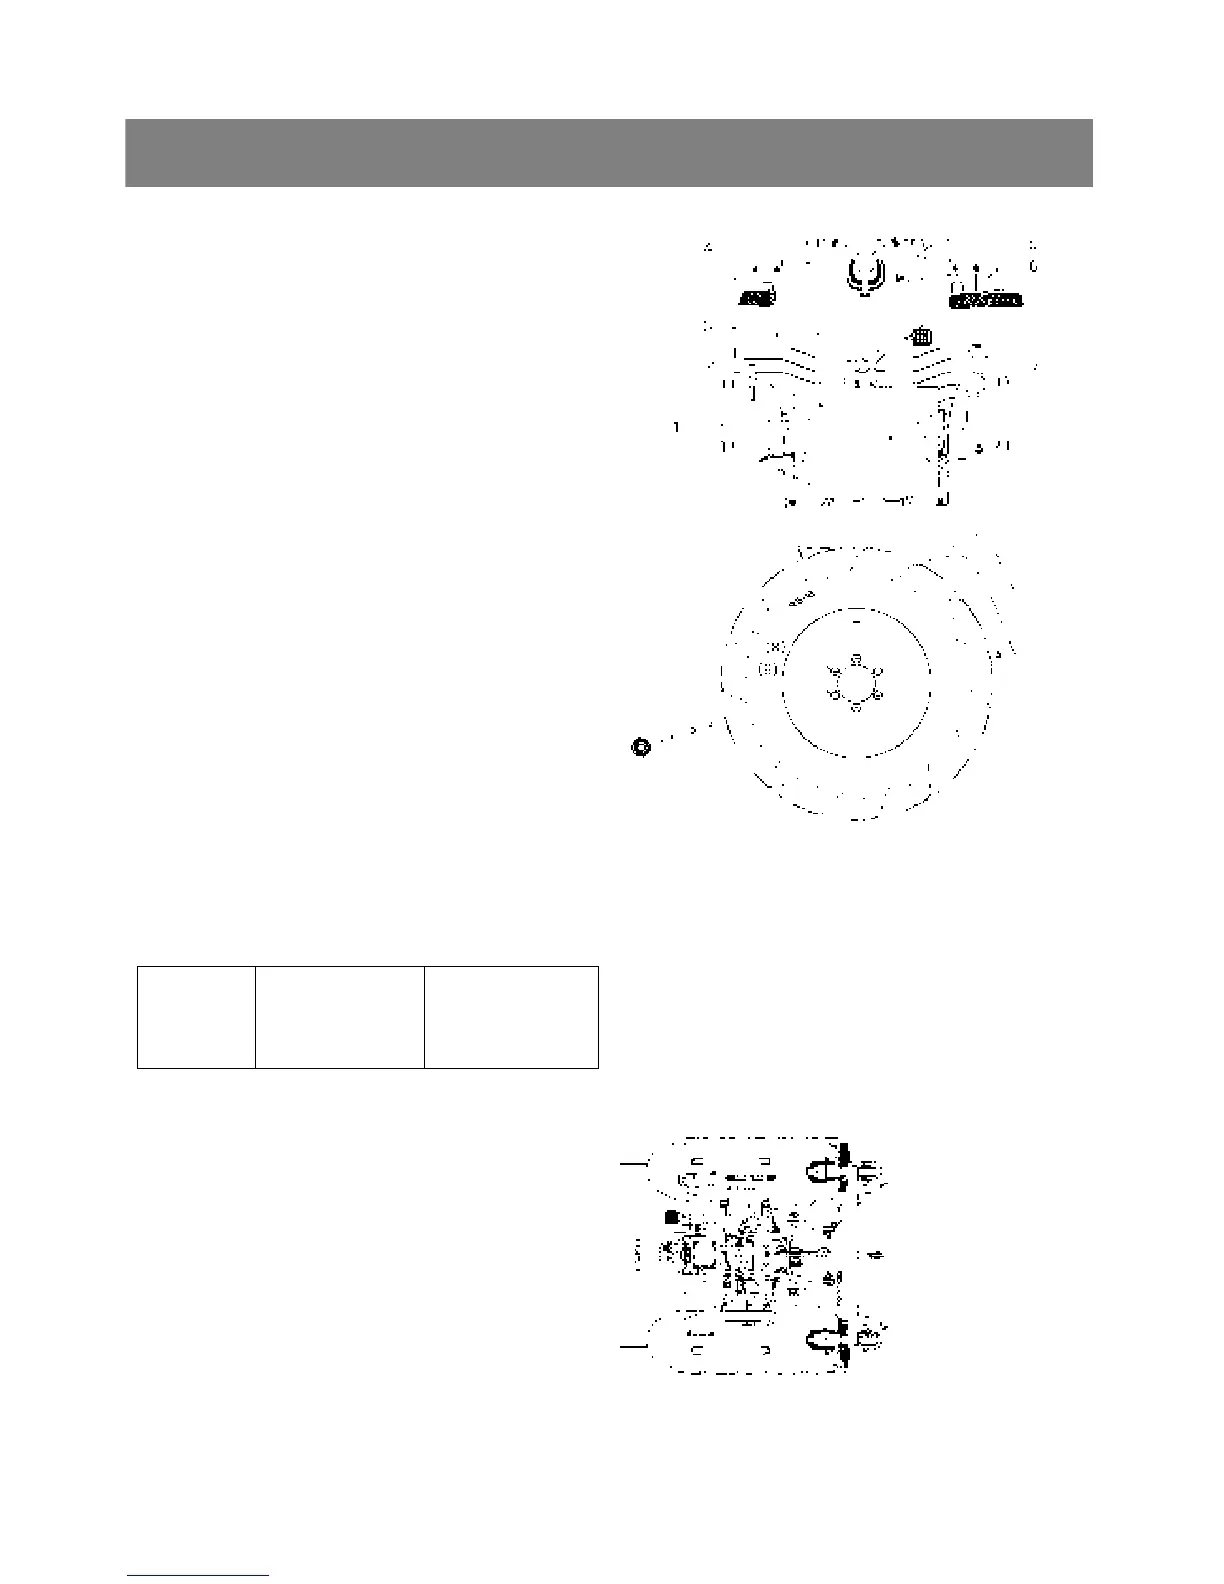
*. PART NAME
1) Seat stay 2) Seat
3) Rubber mat 4) Steering wheel
5) Meter panel 6) Panel under cover
7) Tool box 8) Bolt
9) Nut
< Seat, panel, step, rear wheel and others >
1. Remove the seat(2), seat under cover and rubber
mat(3).
2. Remove the tool box(7).
3. Disconnect the 2P connectors from the seat
switches, and then remove the seat stay(1).
4. Remove the steering wheel(4), panel(5) and panel
under cover(6). (Reference the page 77.)
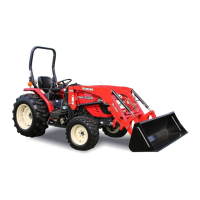
5. Remove the fuel tank frame set screws and fuel
tank stay.
6. Disconnect the springs and rods from steps, and
then, remove the steps while lifting the fuel tank
frame.
7. Place the jack under the transmission case and
remove the rear wheels, and then support the
both rear axles by stands.
◈ Important
¾ When refitting or adjusting a wheel, tighten the
bolts to the following torques then recheck after
driving the tractor 200m (200yards) and there
after daily check service.
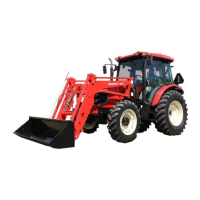
▷ Reassembling
Tightening
torque
Rear wheel
bolt and nut
108.0 to 125.0 Nm
11.0 to 12.7 kgfm
79.0 to 92.2 ft-lbs
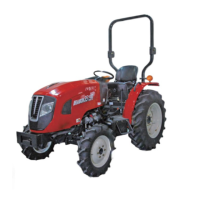
< Shaft levers and fenders >
1. Remove the all lever grips.
2. Remove the lever guide LH(3) and remove the
fender LH.
3. Remove the main shift lever(2) and remove the
lever guide RH (Manual transmission type only).
4. Remove the hydraulic control lever(1) and
remove the fender RH.
*. PART NAME
1) Hydraulic control
lever
2) Main shift lever
3) Lever guide LH
(1) (2)
(3)