Brocade MLX Series and NetIron XMR Hardware Installation Guide 147
53-1003821-01
Installing a NetIron XMR 4000 router
3
Carefully follow the mechanical guides on each side of the power supply slot and make sure the
power supply is properly inserted in the guides. Never insert the power supply upside down.
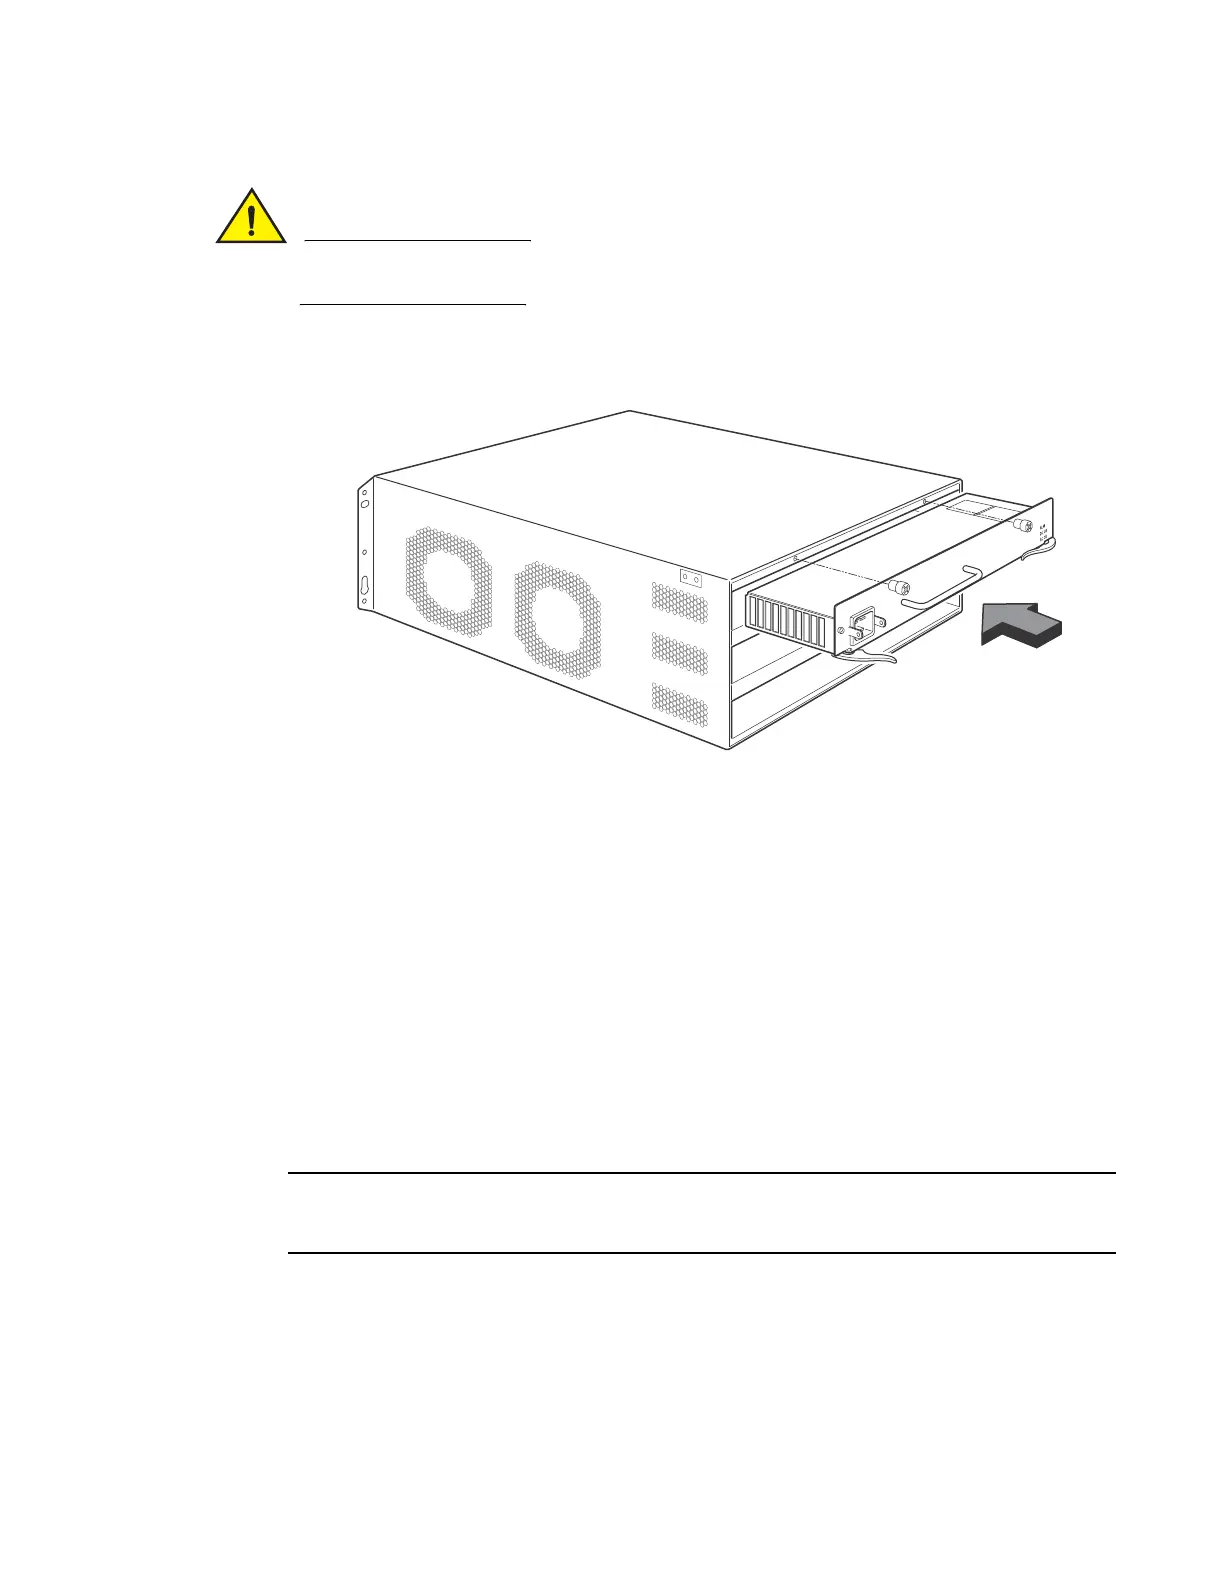
FIGURE 97 Installing a power supply in a NetIron XMR router
4. Push the power supply faceplate towards the back of the router until the power supply
connector engages the backplane connector.
5. Rotate the ejectors flush with the power supply faceplate to connect the power supply into the
backplane.
6. Tighten the screws at each end of the power supply faceplate by pushing them in and turning
them clockwise. Complete the tightening process using the flat-blade screwdriver.
For information about connecting power to the router, refer to “Connecting AC power” on page 147
or “Connecting DC power” on page 148.
Connecting AC power
AC power is supplied through a power cord installed in the AC power supply installed in the router.
Follow these steps to connect an AC power source.
For the NEBS-compliant installation, AC power connections must use a surge protection device
(SPD) to protect the AC power supplies from damage due to excessive power line surges.
1. Locate the power receptacle on the left side of the AC power supply.
2. Lift the cord retainer and connect an AC power cord to the power supply.
3. Snap the cord retainer over the power plug to hold it in place.
FIGURE 98 Connecting a power cord to the power supply in a NetIron XMR 4000 router
 Loading...
