6. Service Procedures PreciseFlex 100 Robot
Replacing the Theta Axis Motor Part Number: 603988 Rev. A
Replacing the Theta Axis Motor
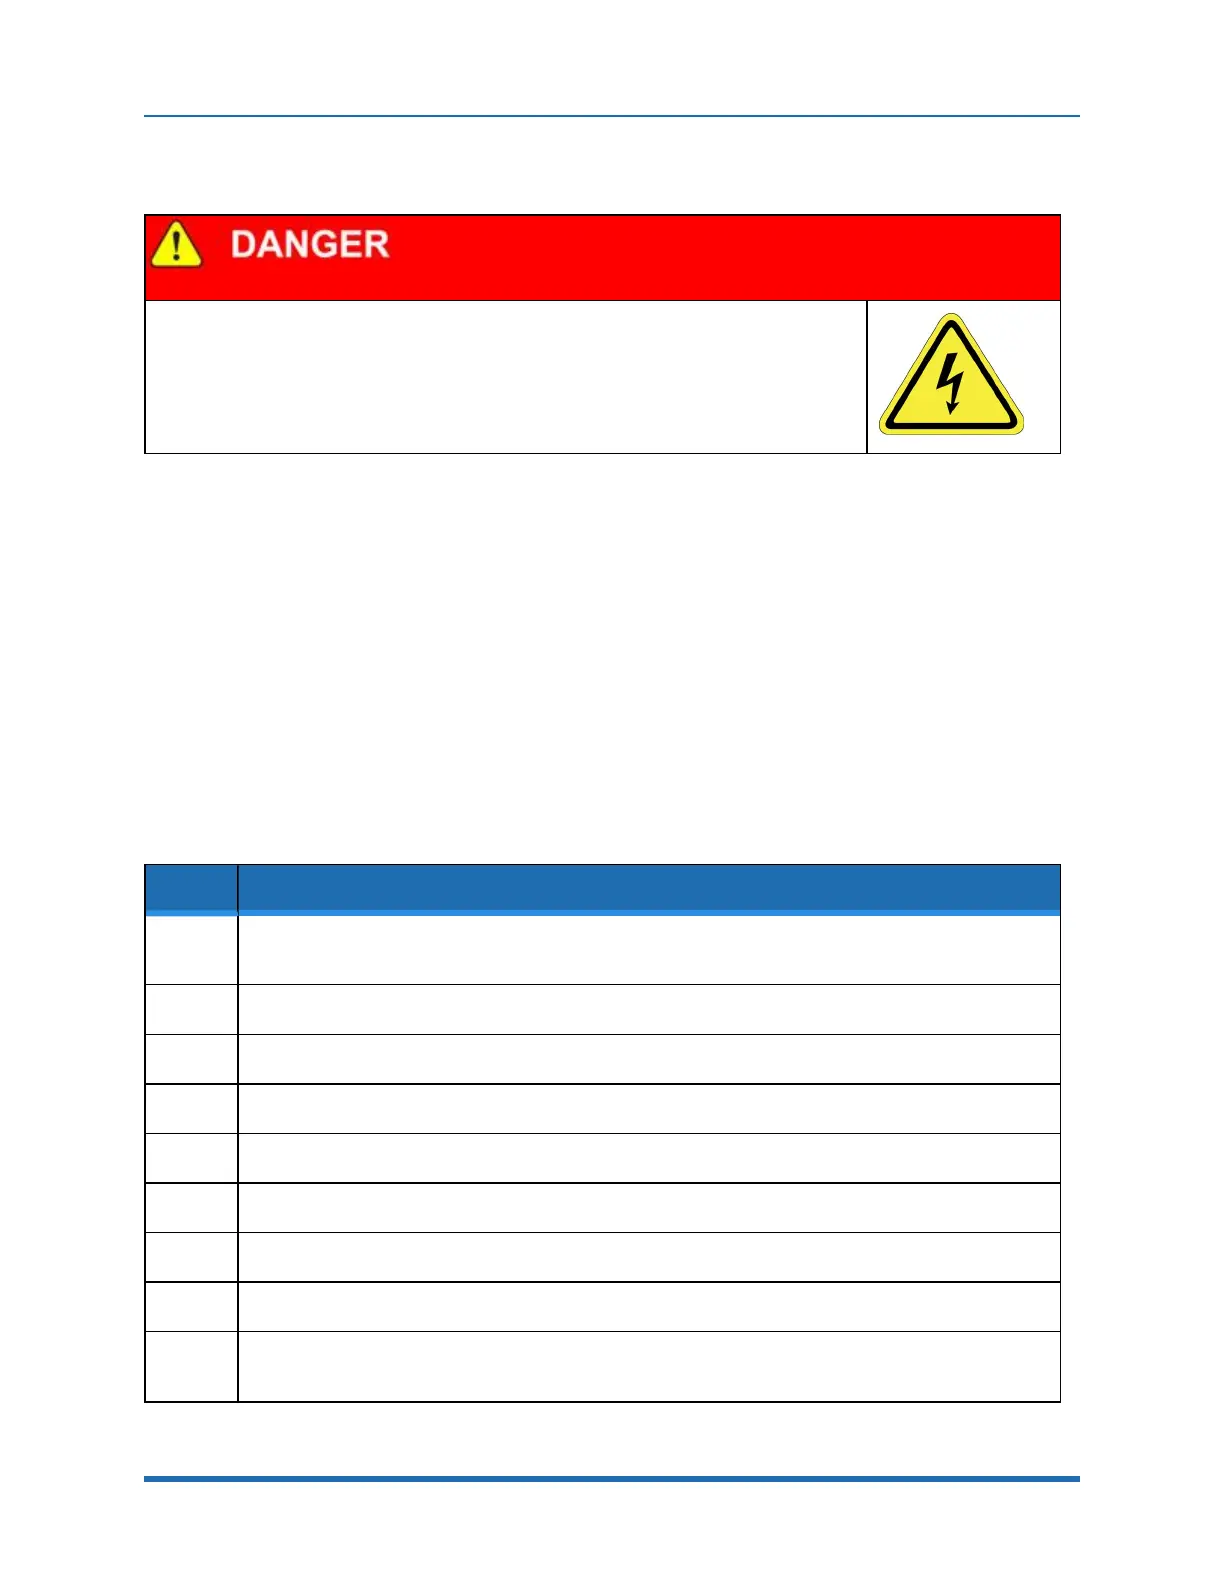
Electrical Shock
Working with energized equipment may cause electrical shock and may result in serious
injury or death.
l
Remove the AC power before replacing the Theta Motor.
Tools Required
l
3.0 mm hex driver or hex L wrench
l
2.5 mm hex driver or hex L wrench
l
2.0 mm hex driver or hex L wrench
l
Fine point tweezers
l
.06 in flat blade screwdriver
Spare Parts Required:
l
Theta Motor Assembly
l
Loctite 243
The Theta Motor Assembly is composed of the Theta motor and connectors. To replace the Theta
Axis Motor, perform the following procedure:
Step Action
1.
Remove the theta cover by removing the (2) M3 SHCS holding down the light bar and the (4) M3 X 8
mm BHCS attaching the theta cover to the theta frame.
2.
Unplug the theta motor from the GSB “Diff” board.
3.
Remove the (2) M4 X 12 mm SHCS attaching the theta motor.
4.
Loosen the (2) M3 X 8 mm SHCS in the helical coupling clamping the motor shaft.
5.
Remove and replace the motor.
6.
Replace the M4 X 12 mm SHCS using Loctite 243.
7.
Tighten the (2) M3 screws in helical coupling.
8.
Plug in the motor connectors.
9.
Secure the motor cables in a loop around the left side of the motor where the connectors are using tie
wraps so the cables are clamped tightly to the motor as shown below.
102
Copyright © 2023 Brooks Automation, Inc.