Brooks Automation 6. Service Procedures
Part Number: 603988 Rev. A
Replacing the Power Supplies
or Controller
Step Action
5.
If replacing the controller, the user must carefully set all the jumpers on the replacement controller
to be the same as the jumpers on the old controller.
NOTE: Some jumpers may be changed from factory default settings by users to configure IO
settings.
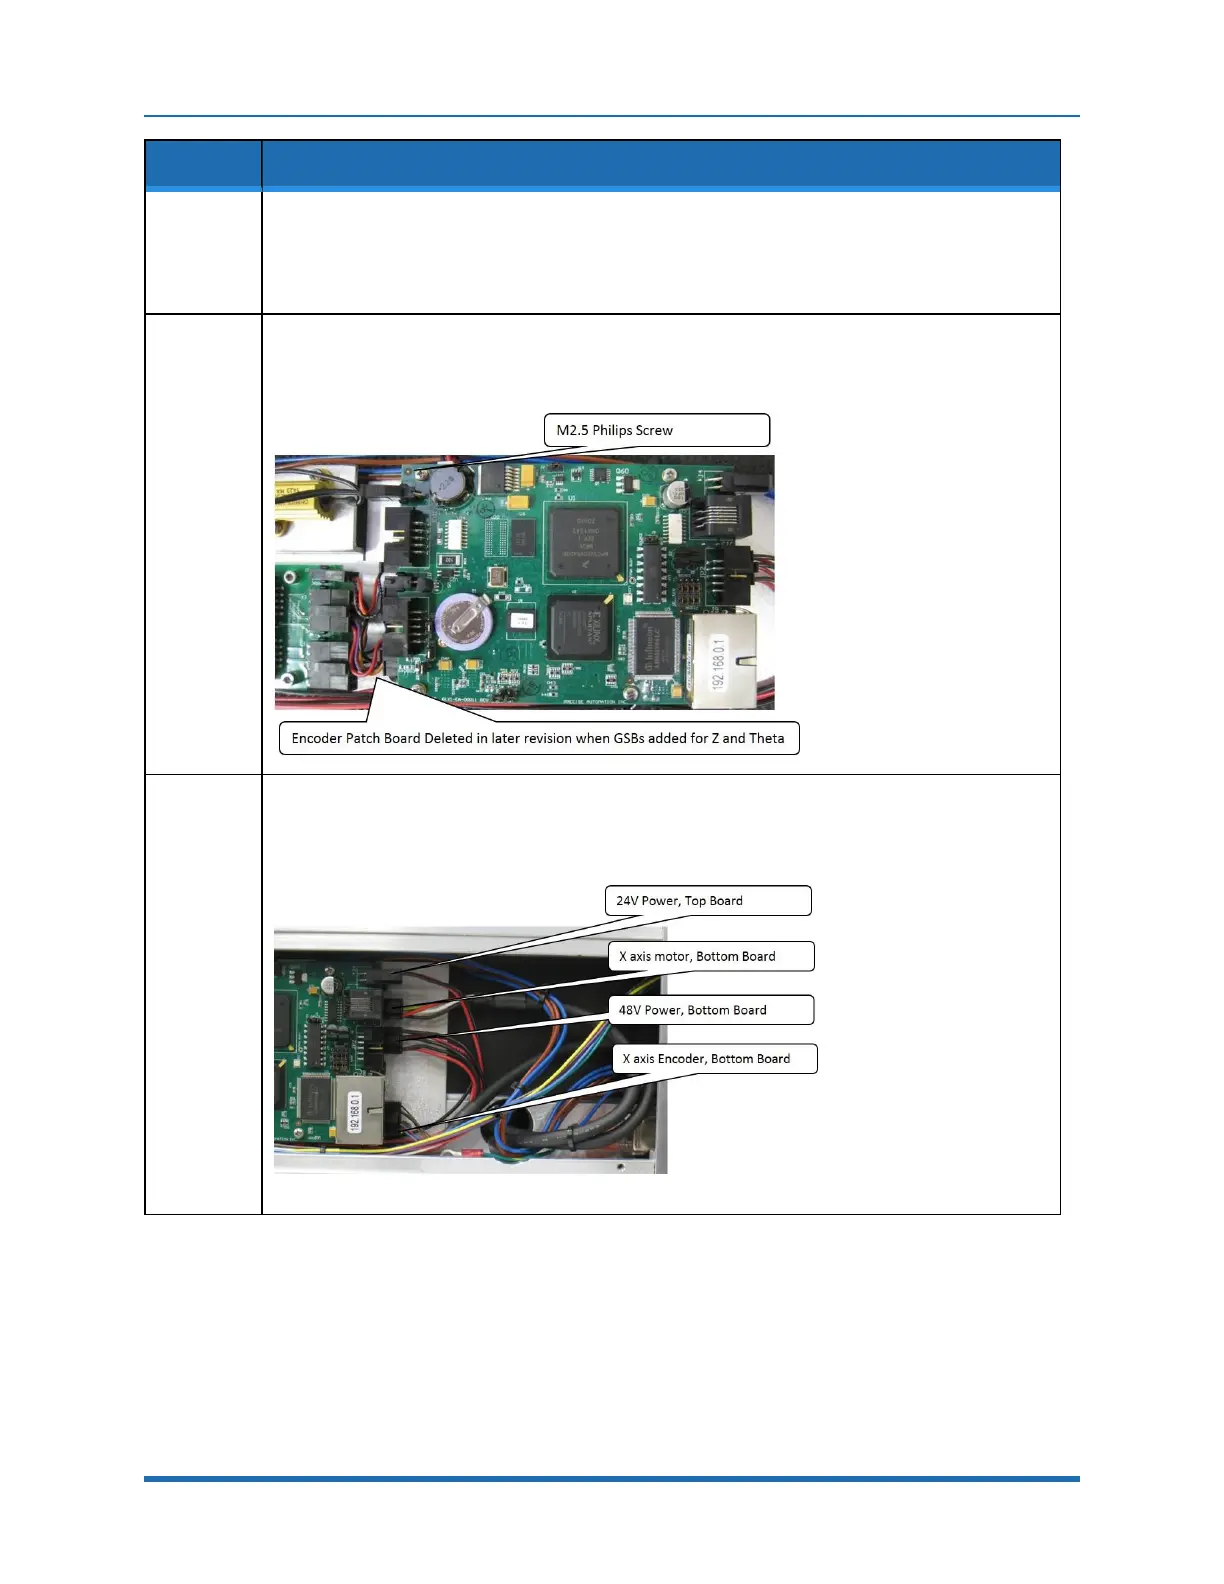
6.
To replace the controller, first disconnect the cables, then remove the (4) M2.5 Philips or Socket
Head Screws that attach the CPU board to the amplifier board standoffs and unplug the CPU
board from the amplifier board connector.
7.
Remove the amplifier board standoffs which attach the amplifier board to the X-axis controller
sheet metal standoffs.
Copyright © 2023 Brooks Automation, Inc.
105