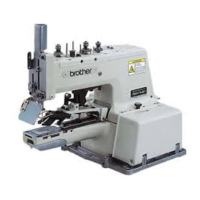
Charge with cleaner at the following times.
⚫ When replacing the nozzle
⚫ If not using the machine for three days or more
Use only the cleaner specified by Brother.
1. Refer to "9.2 Glue cartridge replacing method" for
details on replacing the glue with cleaner.
2. Press the key to display the test screen.
3. Press the NOZZLE switch (1) to raise the nozzle (3)
to the highest position.
4. Place a dish such as a paper cup (4) for receiving a
cleaner under the nozzle.
5.
Press the
key to switch to automatic
discharge mode.
(Refer to "4.2.2 Automatic discharge mode" for
details on automatic discharge mode.).
6. Depress the treadle while pressing the GLUE
ON/OFF switch (2) to start the discharge of glue
from the nozzle (3). Cleaner will continue to be
discharged for the length of time specified even
after the treadle is released.
7. Once discharging of the cleaner is completed, use a
cloth or similar to wipe off any cleaner which is
adhering to the nozzle (3).
NOTE:
Follow all applicable regulations when disposing of the
cleaner.