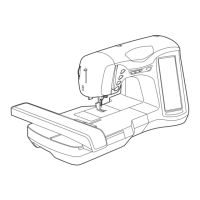
3-16 Sewing Utility Stitches
1 —
2 —
3 —
4 —
5 —
6 —
7 —
8 —
?
!
9 —
CONTENTS
Index
J J
1
2
1 Left needle position
2 Middle needle position
1 Reverse stitch
2 Reinforcement stitch
1
2
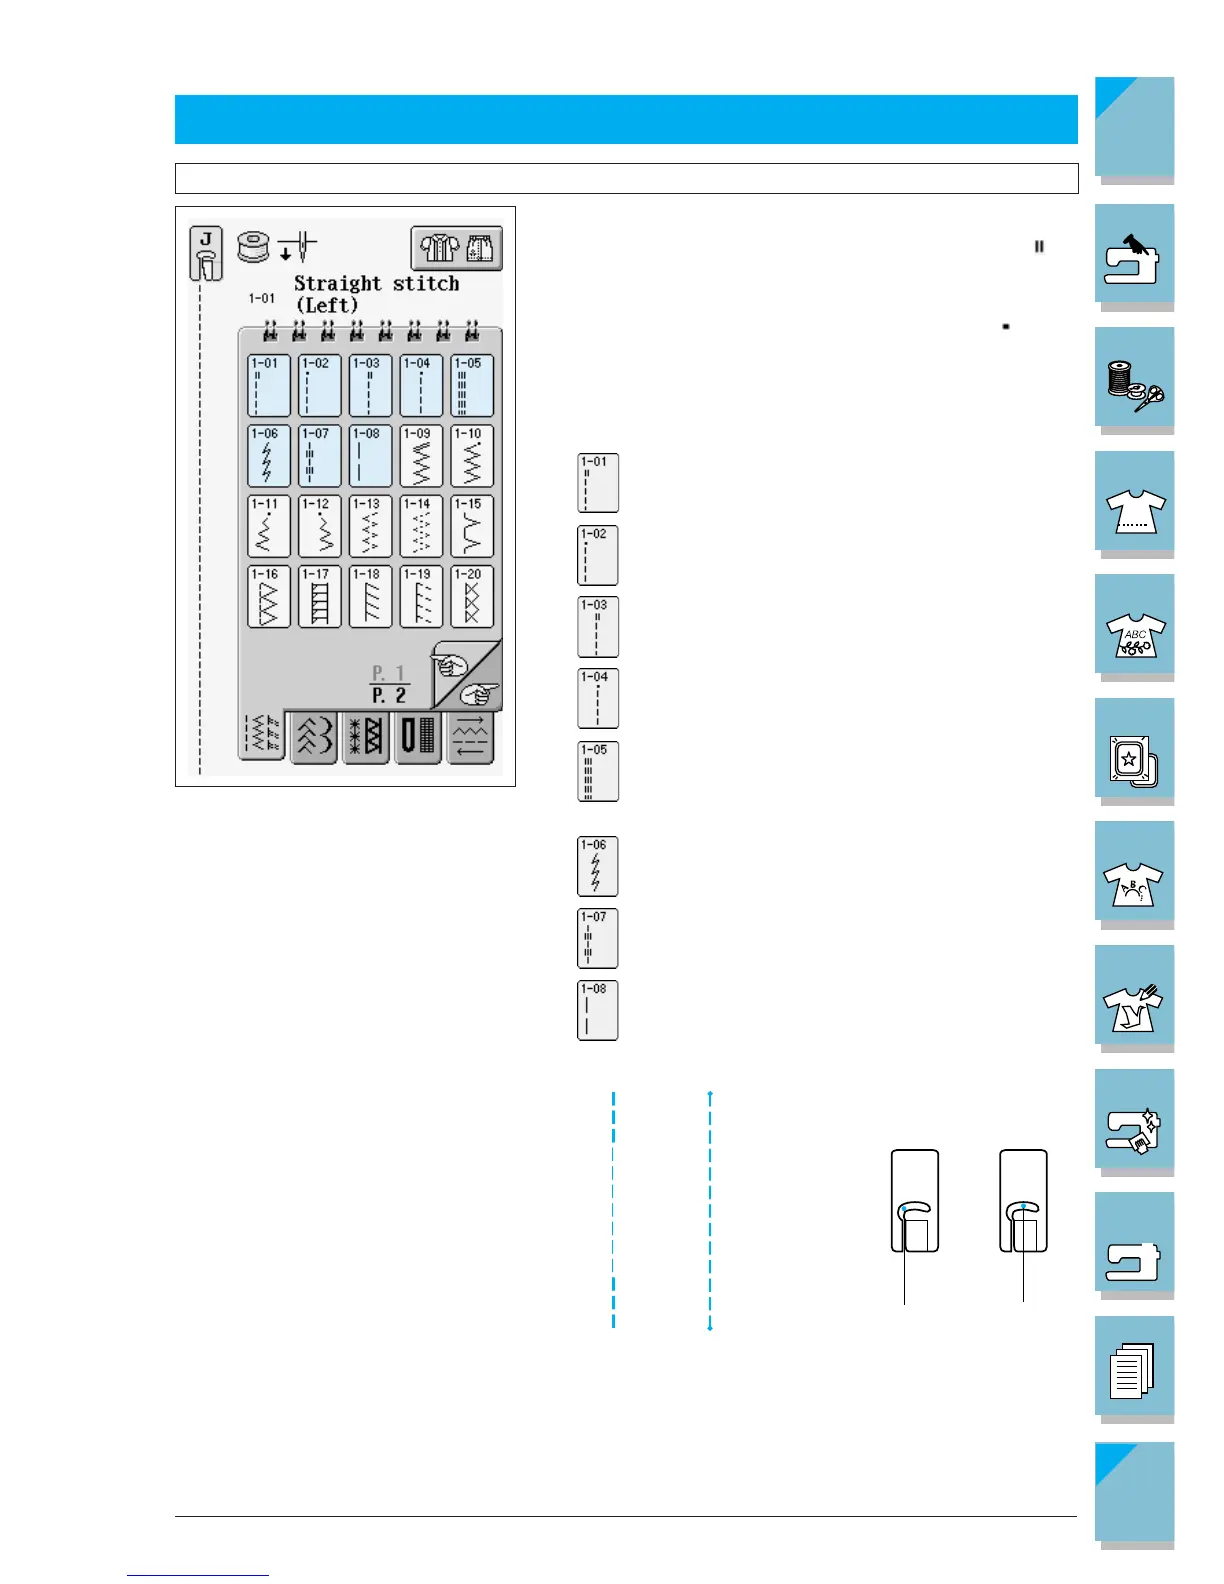
SEWING THE STITCHES
Straight Stitches
1. Select a stitch pattern.
If the stitch which you select has a double mark “ ” at
the top of the key display, you can sew reverse stitches
holding the “Reverse/Reinforcement Stitch” button.
If the stitch which you select has a dot mark “ ” at the
top of the key display, you can sew reinforcement
stitches holding the “Reverse/Reinforcement Stitch”
button (see page 2-3).
Straight stitch (left needle position)
Straight stitch (left needle position)
Straight stitch (middle needle positio)
Straight stitch (middle needle position)
Triple stretch stitch (left needle position)
Stem stitch for stretch fabrics (middle needle position)
Decorative straight stitch (left needle position)
Basting stitch (left needle position)