3-10 Basic Operations and Maintenance
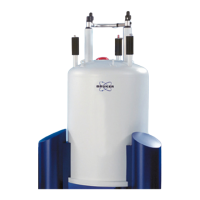
Figure 3-13: RTheta Stage Options Dialog Box
2 Holding down the left mouse button, drag the red bar in the center of the ring. The bar becomes an arrow
that you can drag with the cursor. The real time theta position of the stage appears in the box below the
ring. This position is graphically depicted by the moving red indicator on the yellow ring.
3 When you have obtained the correct stage position, release the mouse button.
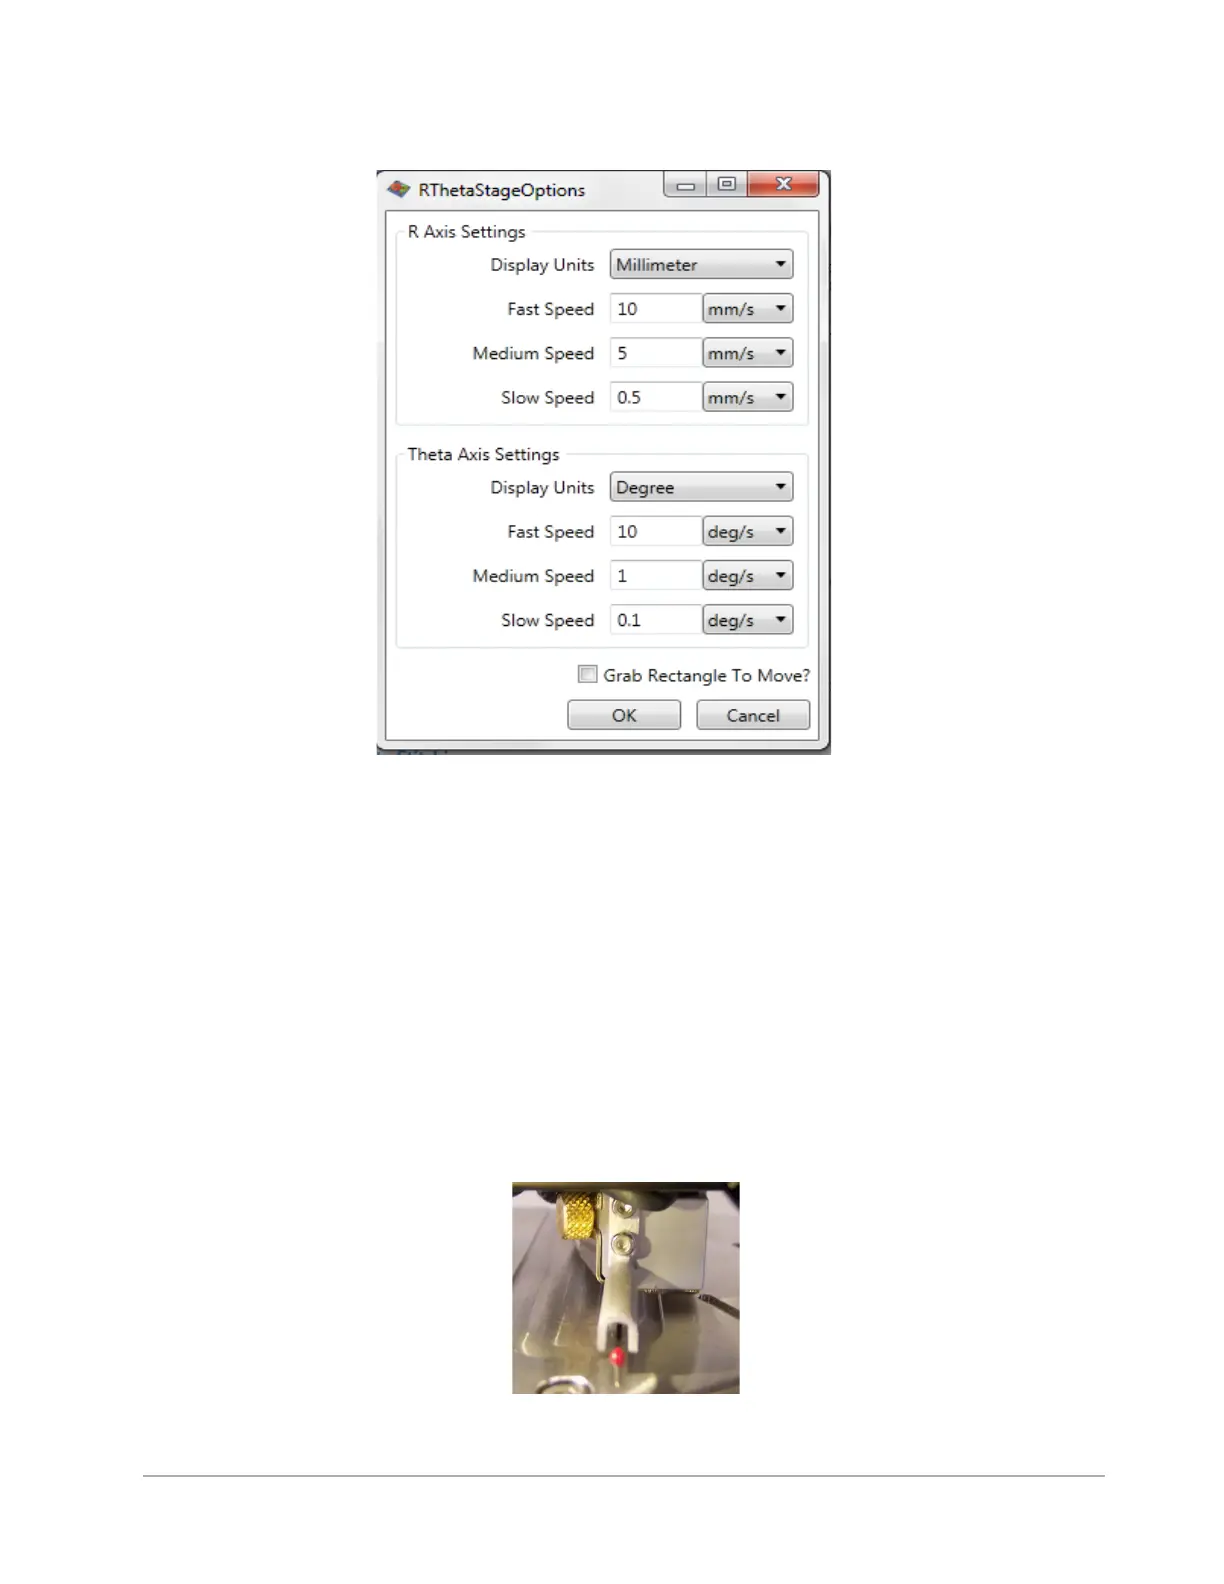
REMOVING AN INSTALLED STYLUS
When a stylus becomes worn or you want to measure another type of sample, you must remove the
currently installed stylus from the sensor head (see Figure 3-18) before replacing it with a different
one.
.
Figure 3-14: Sensor Head and Stylus on the DektakXT Profiler
 Loading...