Using your LinkStation
LinkStation User Manual 139
1
If using the Eye-Fi card for the rst time, connect the Eye-Fi card to the computer beforehand to
make the initial settings.
Note: For the mounting procedure, driver installation procedure, and removal procedure, refer
to the manual supplied with the Eye-Fi card.
2
Remove the Eye-Fi card from the computer and insert it into your digital camera.
3
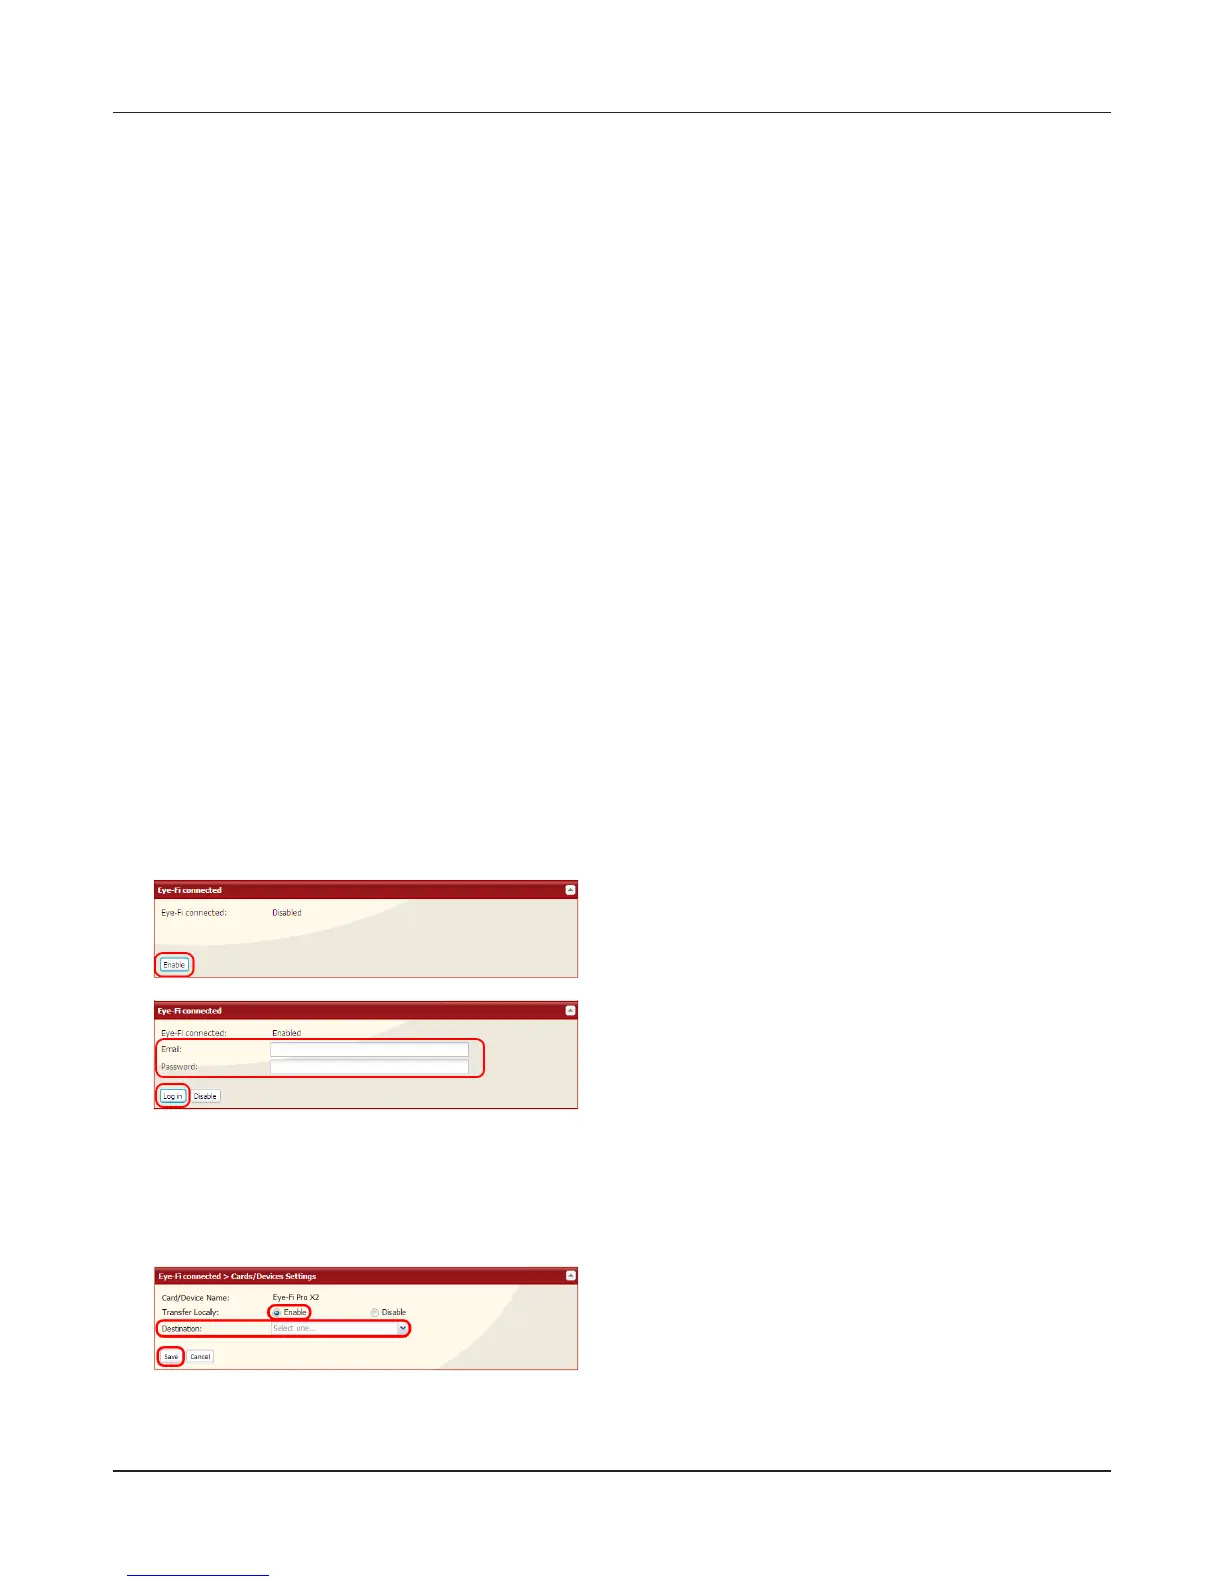
In the Web Admin interface, navigate to [Extensions]-[Web Service Support]-[Eye-Fi connected].
4
5
6
The name of the card or device that was set in [Eye-Fi connected > Cards/Devices Settings] in
step 1 is displayed. Click the name of the card or device whose data will be transferred to the
LinkStation.
7
Images that are saved on the card will be copied to the LinkStation automatically.
1 Enter the [Email] and [Password] that was
set in step 1.
2 Click [Log in].
1 Select [Enable].
2 Select [Destination].
3 Click [Save].
Click [Enable].
Eye-Fi connected
Eye-Fi connected can transfer images from a digital camera with an Eye-Fi card (available from Eye-
Fi) to your LinkStation over the Internet.
Note:
Not all LinkStations include Eye-Fi upload functionality. Check the LinkStation Function List on page
35 to see if your LinkStation supports Eye-Fi connectivity.
The following things are required to use Eye-Fi connected:
• Wireless LAN access point
• SD card or SDHC-compatible digital camera
• Computer with USB port and Internet connection
• Eye-Fi card