4
4
4-18
4-18
Parts Replacement and Cleaning Procedure > External Covers > Removing the PCB Cover (Saddle Finisher)
Parts Replacement and Cleaning Procedure > External Covers > Removing the PCB Cover (Saddle Finisher)
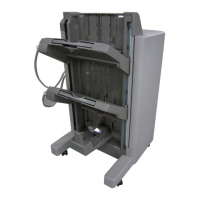
Removing the Front Inside Lower Cover (Saddle
Finisher)
1) Remove the front cover.(Refer to page 4-14)
2) Remove the front inside upper cover.(Refer to page 4-17)
3) Remove four screws [1] and remove the front foot right cover [2].
3) Remove screw [3] and then remove the roller knob [4].
4) Remove four screws [5] and remove the front inside lower cover [6].
[5]
[4]
[5]
[3]
[6]
[1]
[2]
F-4-27
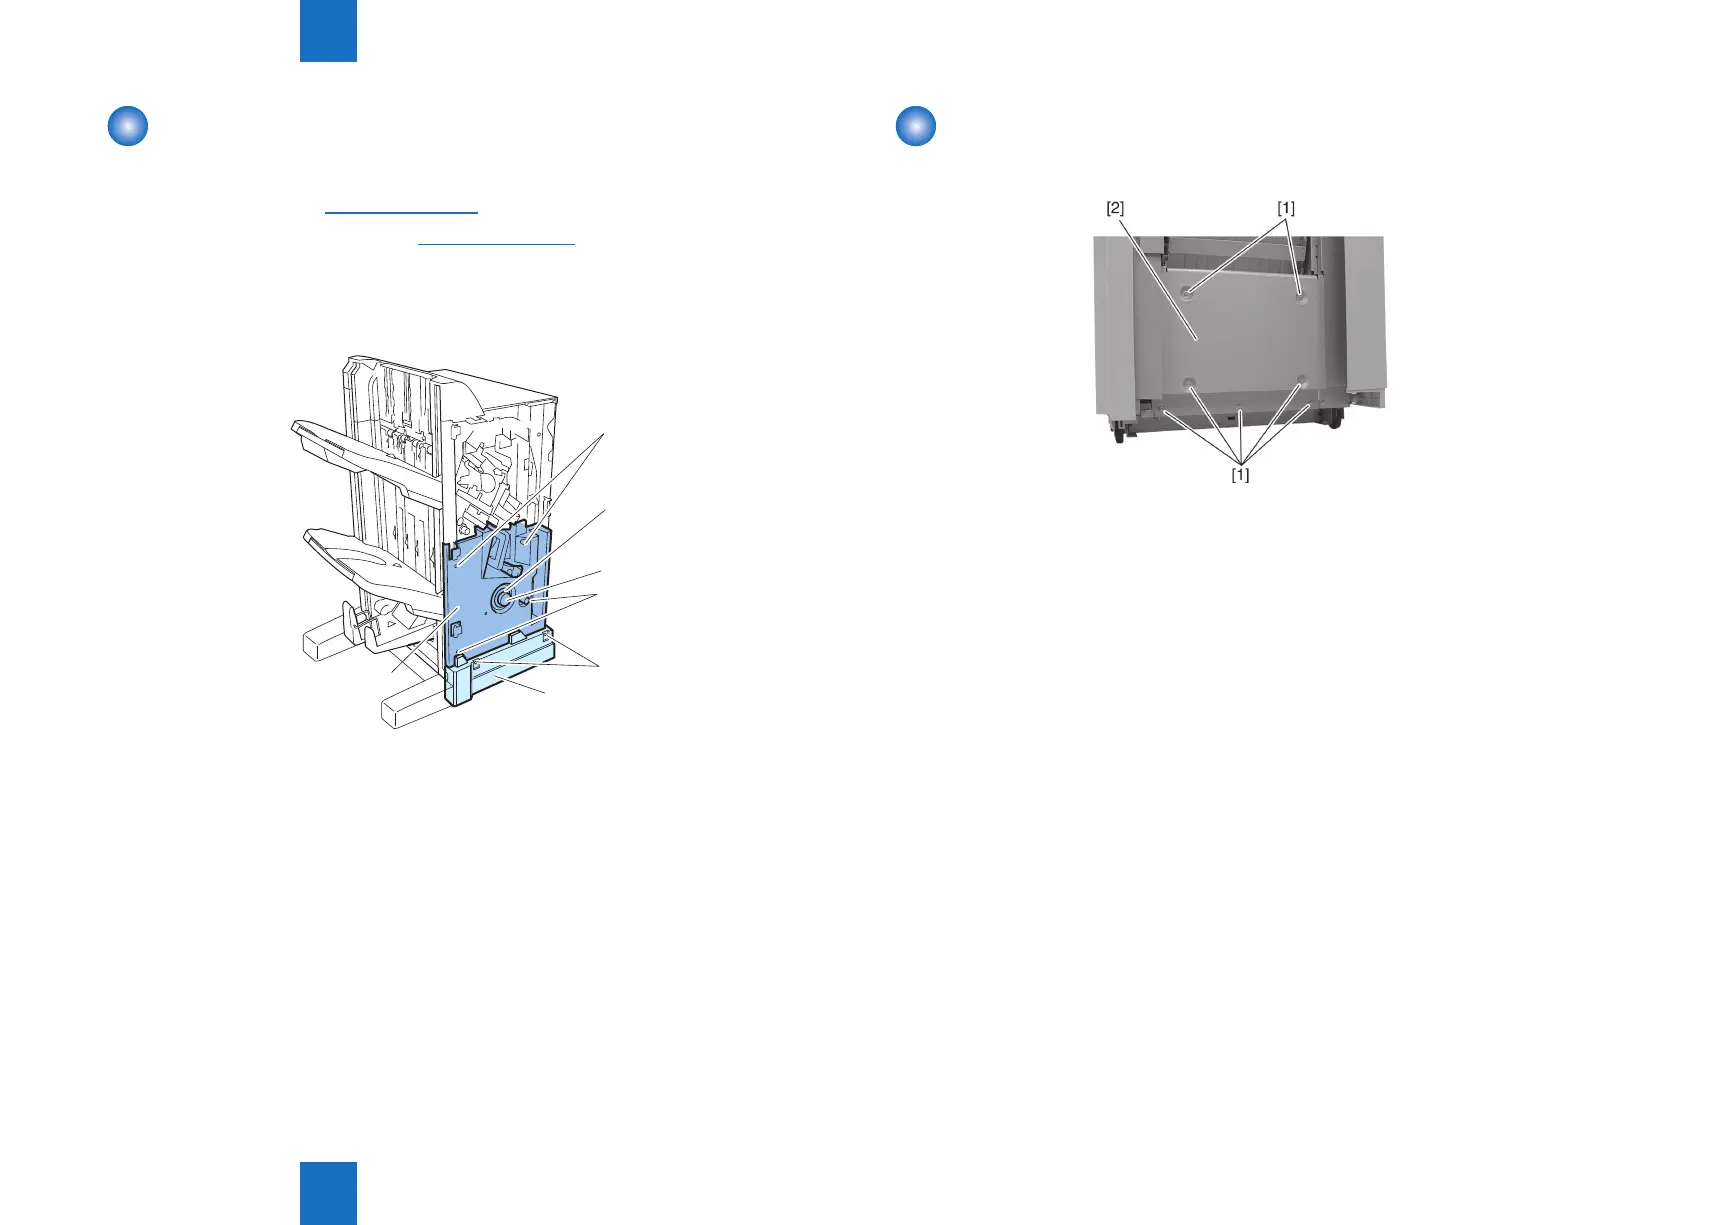
Removing the PCB Cover (Saddle Finisher)
1) Remove seven screws [1] and remove the PCB cover [2].
F-4-28