4
4
4-28
4-28
Parts Replacement and Cleaning Procedure > Main Units > Removing the Saddle Delivery Tray Unit
Parts Replacement and Cleaning Procedure > Main Units > Removing the Saddle Delivery Tray Unit
Removing the Positioning Plate Unit
1) Remove the front cover.(Refer to page 4-14)
2) Remove the rear cover.(Refer to page 4-14)
3) Remove the front inside upper cover. (In the case of Staple Finisher, this procedure is
unnecessary.) (Refer to page 4-17)
4) Remove the front inside lower cover. (Refer to page 4-18)
5) Remove the PCB cover. (Refer to page 4-18)
6) Remove the saddle stitcher controller PCB. (Refer to page 4-36)
7) Remove four screws [1] and remove the stay [2]. The edge saddle harness of the stay
need not be removed.
8) Disconnect two connectors [1], remove three clamps [2] and remove the harness [3] from
two clamps [4].
9) Remove two screws [5], shift the positioning plate unit [6] forward once, and then pull it
out from the paper feeding side.
F-4-57
F-4-58
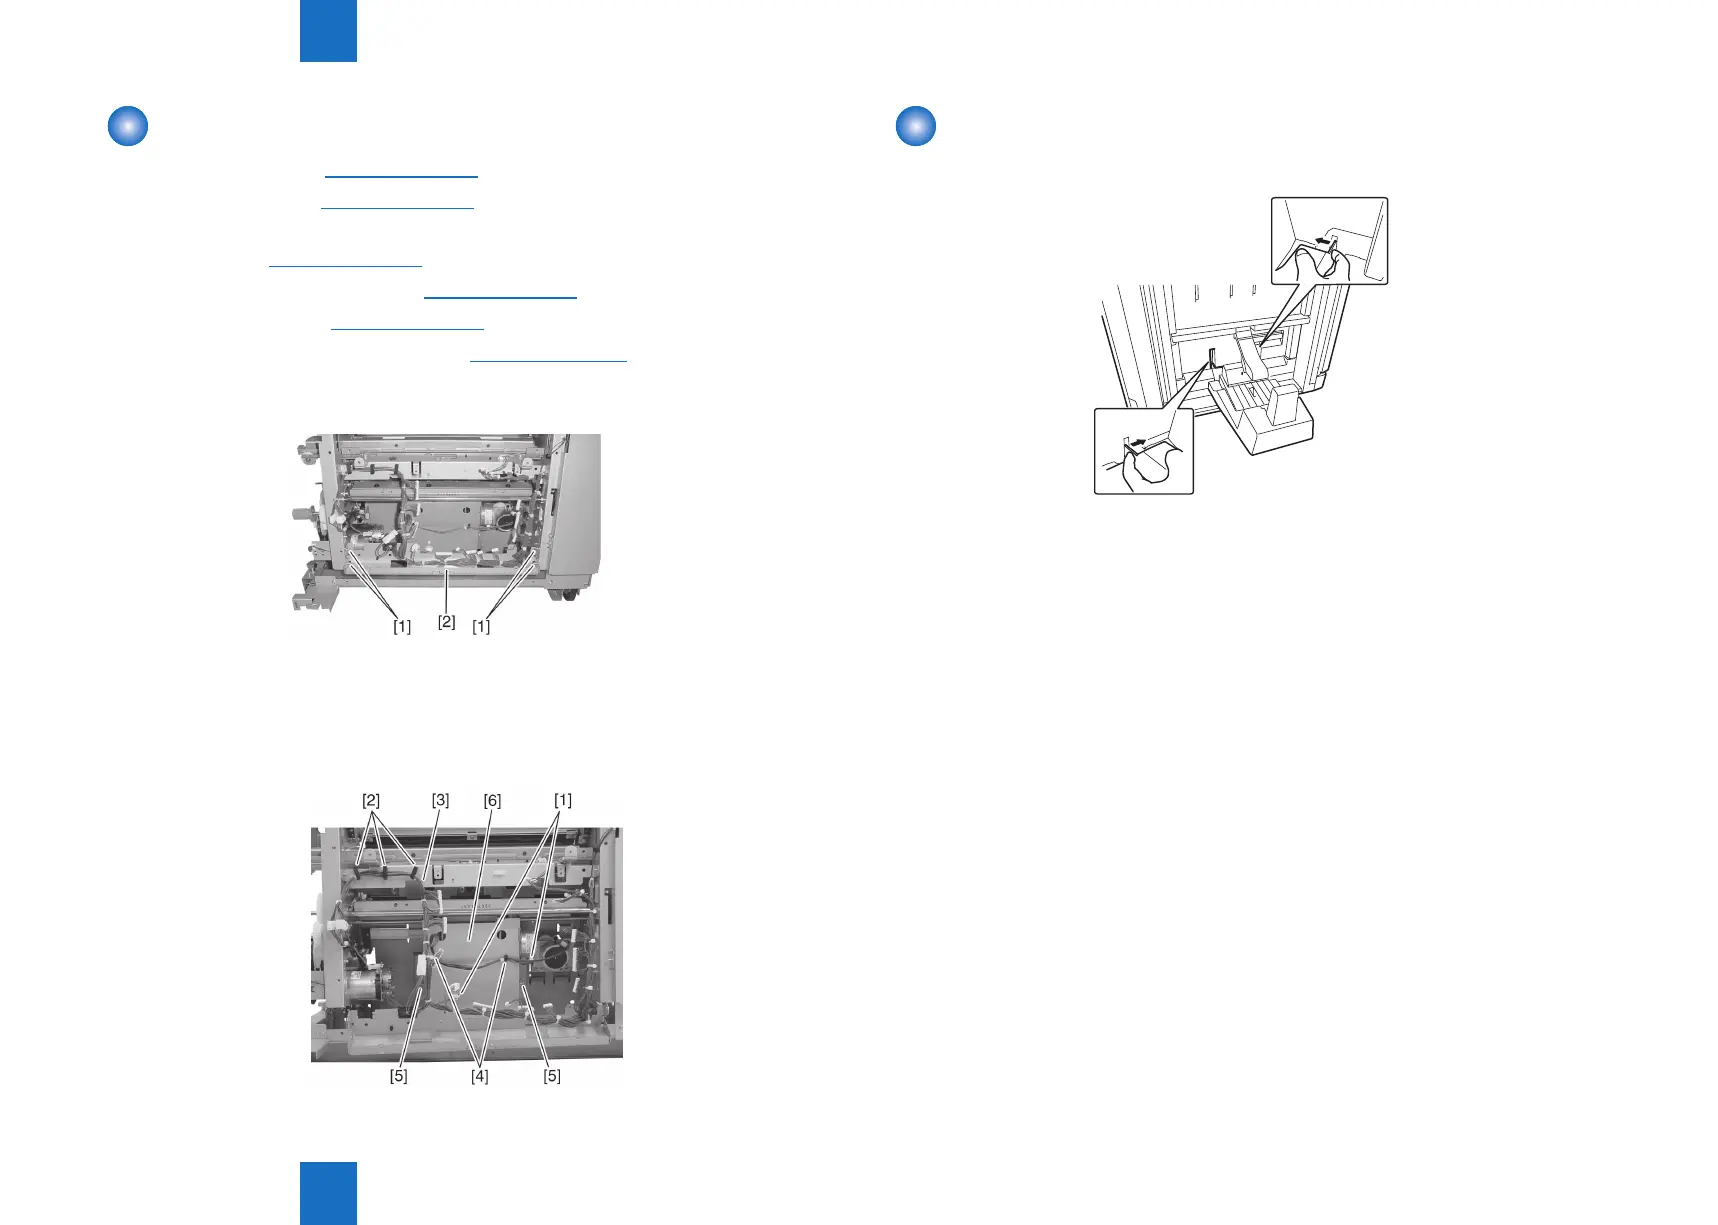
Removing the Saddle Delivery Tray Unit
1) Press the hooks to release them and detatch the saddle delivery tray.
2) Remove the harness from two clamps.
3) Remove two connectors and remove the saddle delivery tray unit.
F-4-59