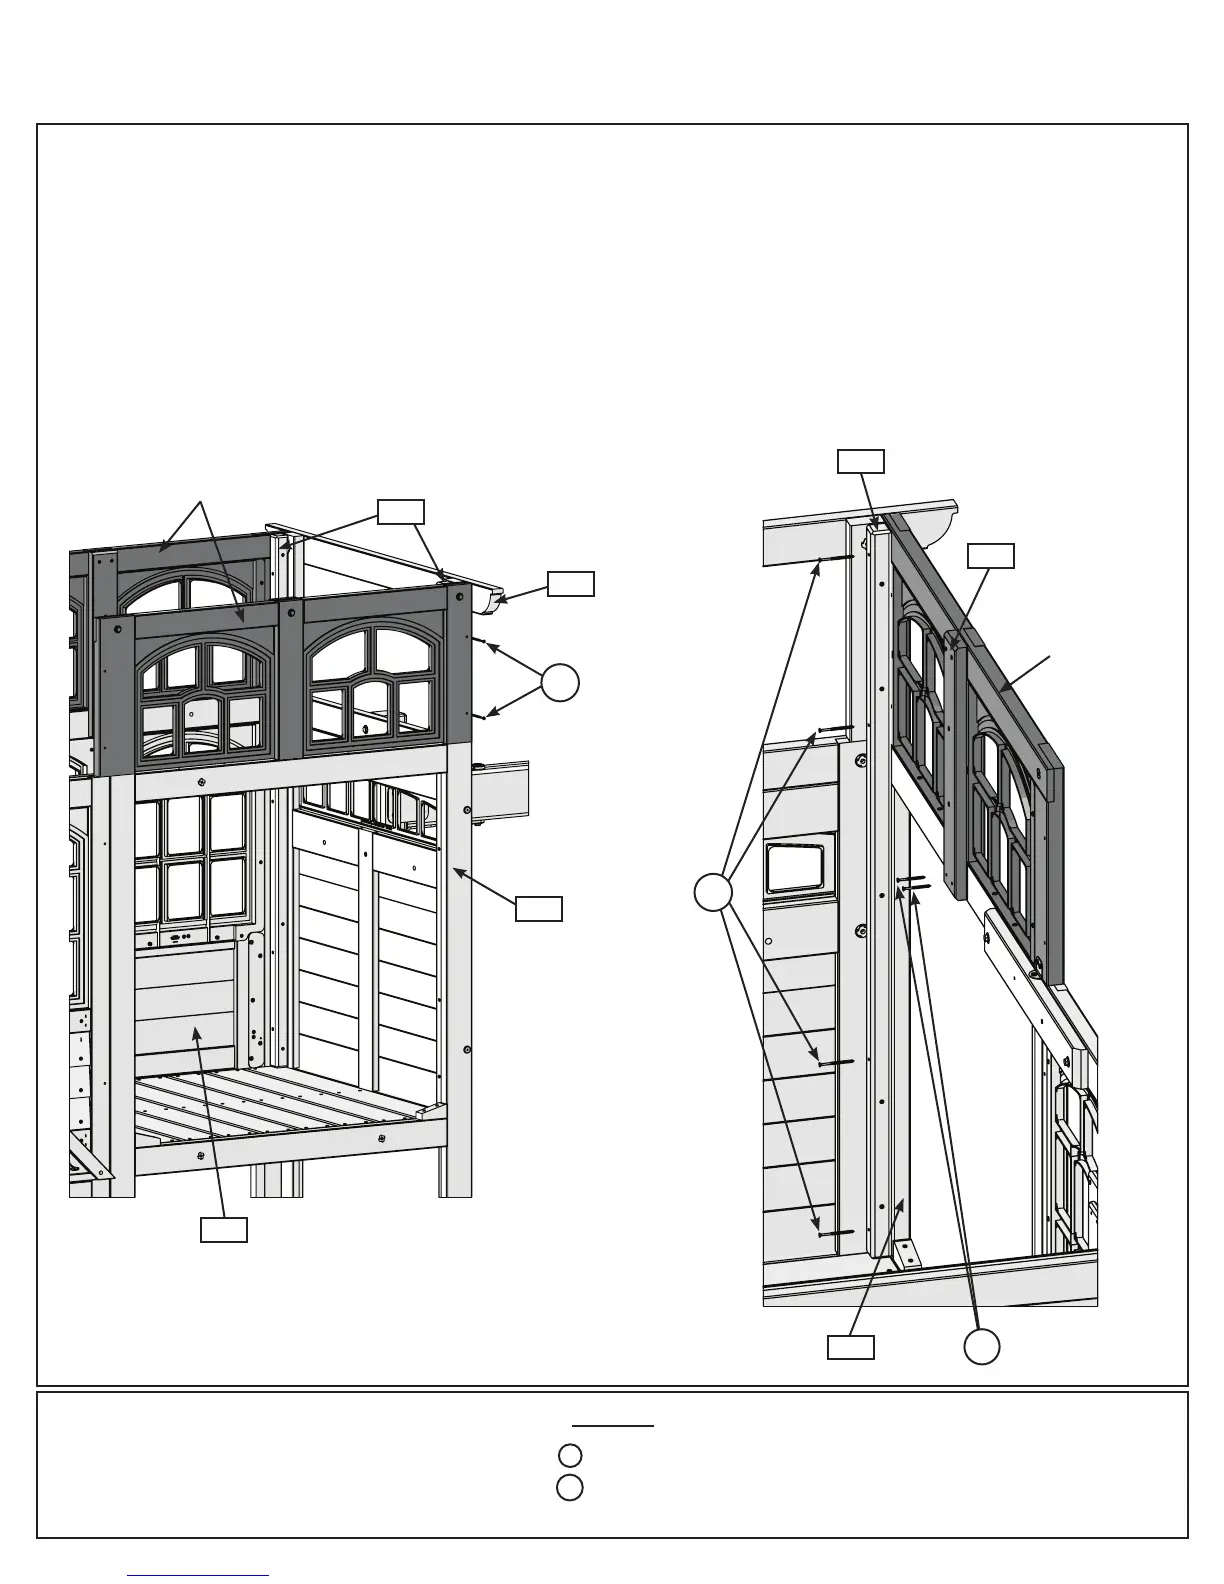
Step 43: Attach Transom Assembly
Part 1
A: Place 1 Transom Assembly on both (051) Front Wall Panel and (052) Back Wall Panel so they are tight
to (400) Swing Top and (410) Wall Supports. From the outside attach each Transom Assembly to (410) Wall
Supports with 2 (S3) #8 x 2-1/2” Wood Screws per assembly. (g. 43.1)
B: From the inside attach (410) Wall Supports to each Transom Assembly and both (051) Front Wall Panel and
(052) Back Wall Panel with 4 (S3) #8 x 2-1/2” Wood Screws per support. (g. 43.2)
C: From the inside attach each (394) Wall Tie to both (051) Front Wall Panel and (052) Back Wall Panel with 2
(S11) #8 x 2” Wood Screws per board. (g. 43.2)
Fig. 43.2
Inside View
Fig. 43.1
Hardware
12 x #8 x 2-1/2” Wood Screw
4 x #8 x 2” Wood Screw
S3
410
400
S3
Transom
Assembly
x 2 per Transom
Assembly
(both
supports)
410
051
Transom
Assembly
052
051
S11
S11
394
S3
91 europecustomerservice@kidkraft.com