The icon flashes during the delay time in the alarm connection (ON) and
disconnection (OFF).
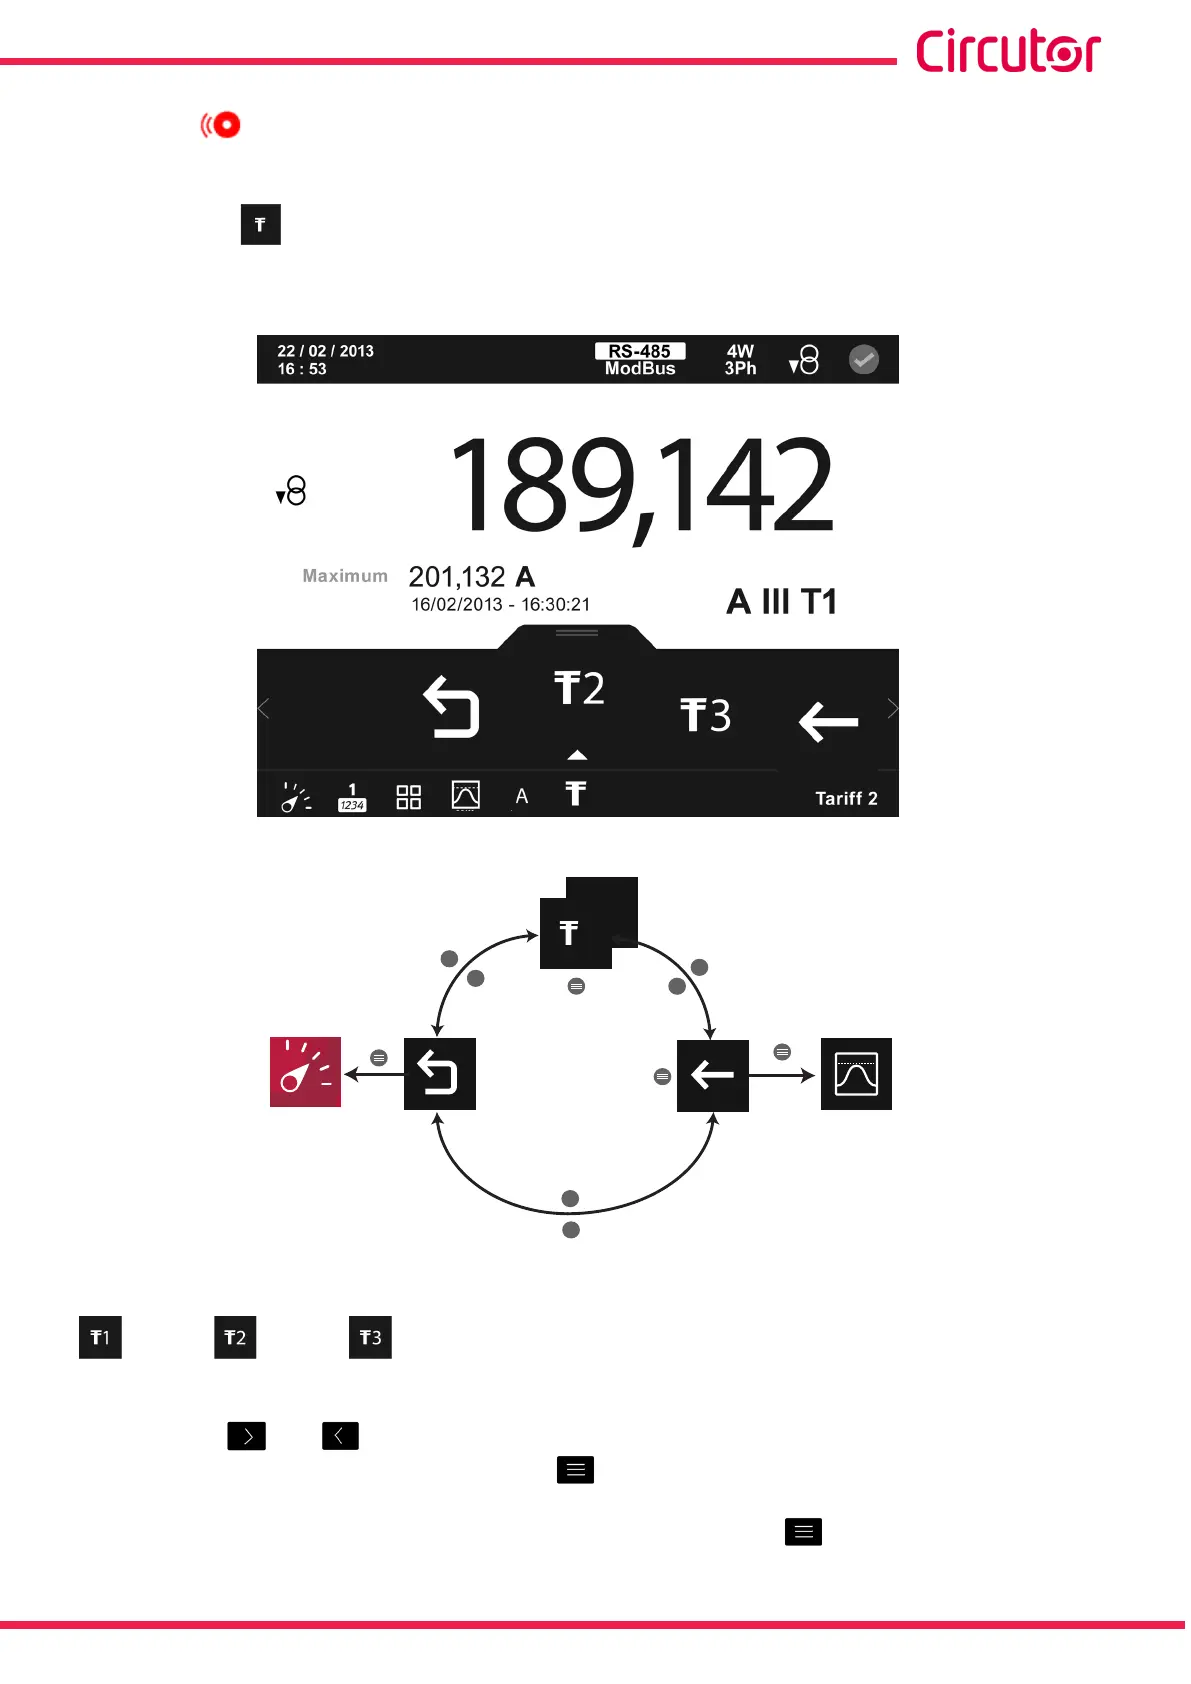
5�1�1�1�3�1�3�- Tariff selection�
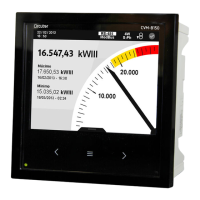
The screen for selecting the tariff to be displayed is shown in Figure 72.
Figure 72: Demand parameters, tariff selection (display 1 parameter)�
2
>
>
>
<
<
<
varh
1
1
∑
1
Back
Main
menu
Tari
Figure 73: Tariff selection menu�
Tariff 1, Tariff 2, Tariff 3.
Note: The option selected is not displayed on the menu.
Use the keys and to browse the different options.
To access the option selected press the key .
The menu in the lower area disappears after 3 seconds. Press the key to display the lower
area again.
75
Instruction Manual
CVM-A1000 - CVM-A1500