7.1.1 Antenna Setting
In the Installation menu press [▲/▼] keys to highlight the Antenna Setting sub-menu and then
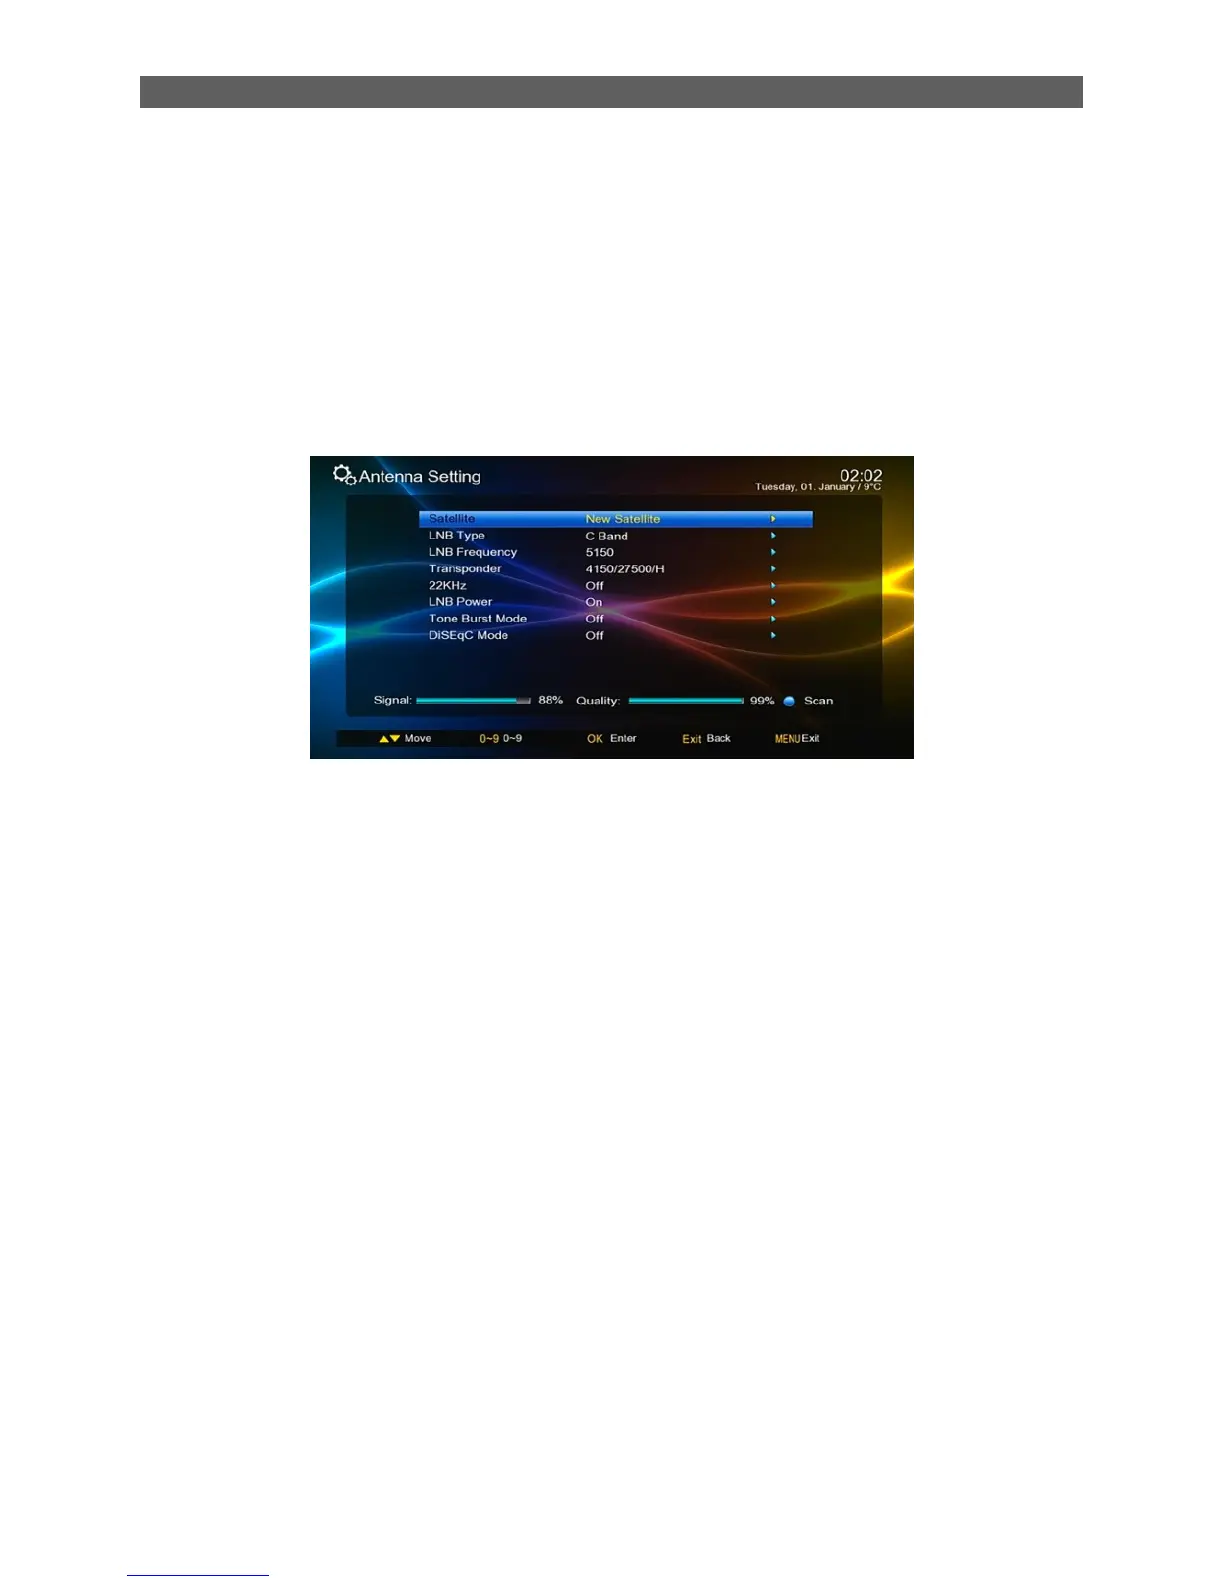
press [OK] or [ ►] keys to enter the Antenna Setting.
In the Antenna Setting page, you can press [▲/▼] keys to highlight a scan criteria and then
press [OK] or [ ►] key to enter corresponding editing state. In the editing state press [▲/▼]
keys to select an option and then press [OK] or [ ►] key to confirm the setting.
After set correct scan criteria, press [blue function] button, the scan window display, select
correct scan option, Press [ok] to begin scan channel.
You can select following scan criteria:
Satellite: Select a satellite from the existing satellite list.
LNB Type: Set the working frequency band for LNB (three options: Ku Band, C Band
and User).
LNB Frequency: Set the local oscillation frequency of LNB.
Transponder: Select a transponder from the existing transponder list.
22 KHz: Turn on or off the 22 KHz switch (On, Off, Auto).
LNB Power: Set whether or not there is a STB to supply power to LNB.
Tone Burst Mode: Select tone burst mode (three potions: Tone Burst A, Tone BurstB,
NONE).
DiSEqC (Digital Satellite Equipment Control) Mode: Select input signal. When more
than one LNB is used, DiSEqC can be used to select one LNB to input.
7.1.2 Satellite List
Path: Main Menu
Installation
Satellite List
After entering the satellite interface, you can press the blue button channel search