EasyManuals Logo

CoreTigo TigoMaster 2TH-PROFINET User Manual

Default Icon
69 pages
To Next Page IconTo Next Page
To Previous Page IconTo Previous Page
Page #36 background imageLoading...
Page #36 background image
Copyright © 2021 CoreTigo Ltd.
TigoMaster 2TH PROFINET User Manual
Page 36 of 69
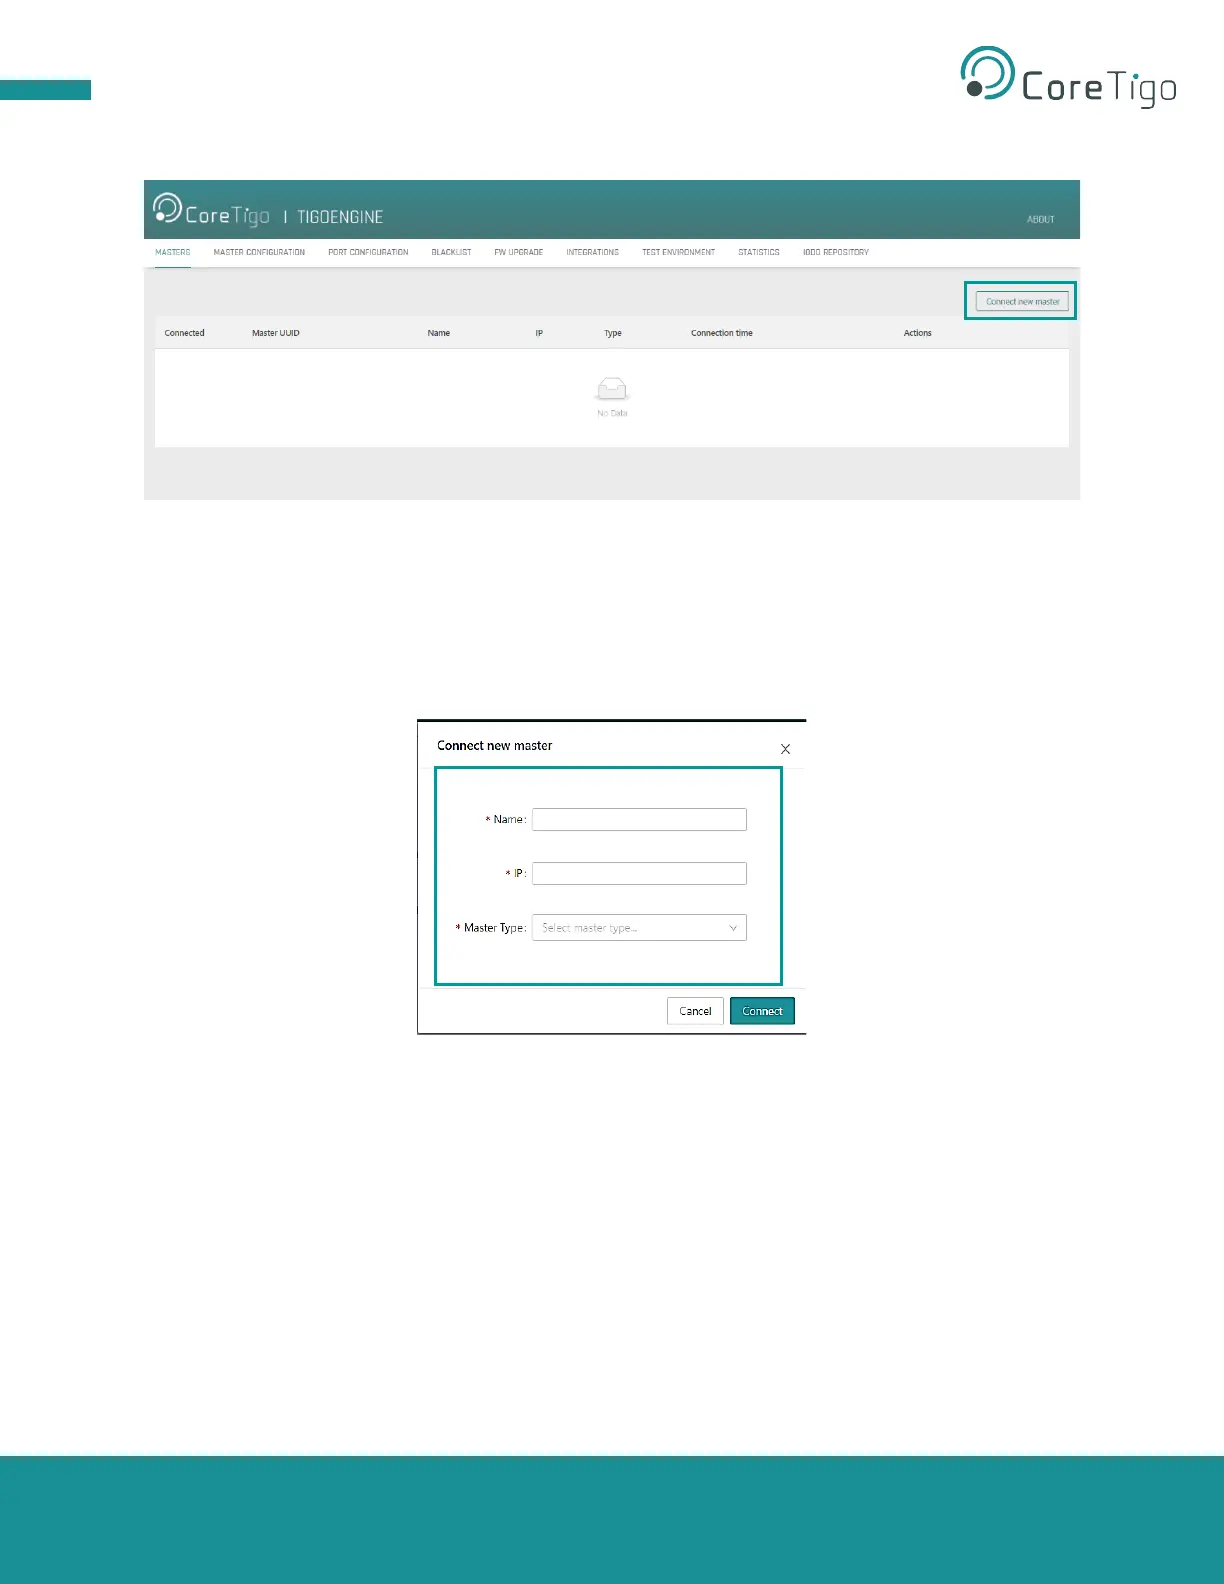
2. In TigoEngine’s Masters view, click the Connect new master button.
Figure 18: Connect New Master Button
3. In the Connect new master window, set the following:
a. Name type the desired name for this TigoMaster 2TH.
b. IP to modify the IP address, you can use the Ethernet Device Configuration software, PLC
configuration tool, or Integrated Web Server.
c. Master Type select TigoMaster 2TH from the drop-down list.
Figure 19: Connect Button
4. Click Connect.
5. When the TigoMaster 2TH is connected, its details appear in the table in the Masters window,
together with a green √ mark in the Connected column.

Table of Contents

Questions and Answers:

Question and Answer IconNeed help?

Do you have a question about the CoreTigo TigoMaster 2TH-PROFINET and is the answer not in the manual?

CoreTigo TigoMaster 2TH-PROFINET Specifications

General IconGeneral
BrandCoreTigo
ModelTigoMaster 2TH-PROFINET
CategoryNetwork Hardware
LanguageEnglish