STEP 3 – AIM AND AUTOFOCUS THE READER
(Liquid Lens Models only)
Matrix 300N provides a built-in laser pointer aiming system to aid reader positioning. For
Liquid Lens models the autofocus feature is also incorporated into this function. The aiming
system is accessed through the X-PRESS Interface.
1. Power the reader on. During the reader startup (reset or restart phase), all the LEDs blink
for one second. On the reverse side of the reader near the bracket, the “POWER ON”
LED (blue) indicates the reader is correctly powered.
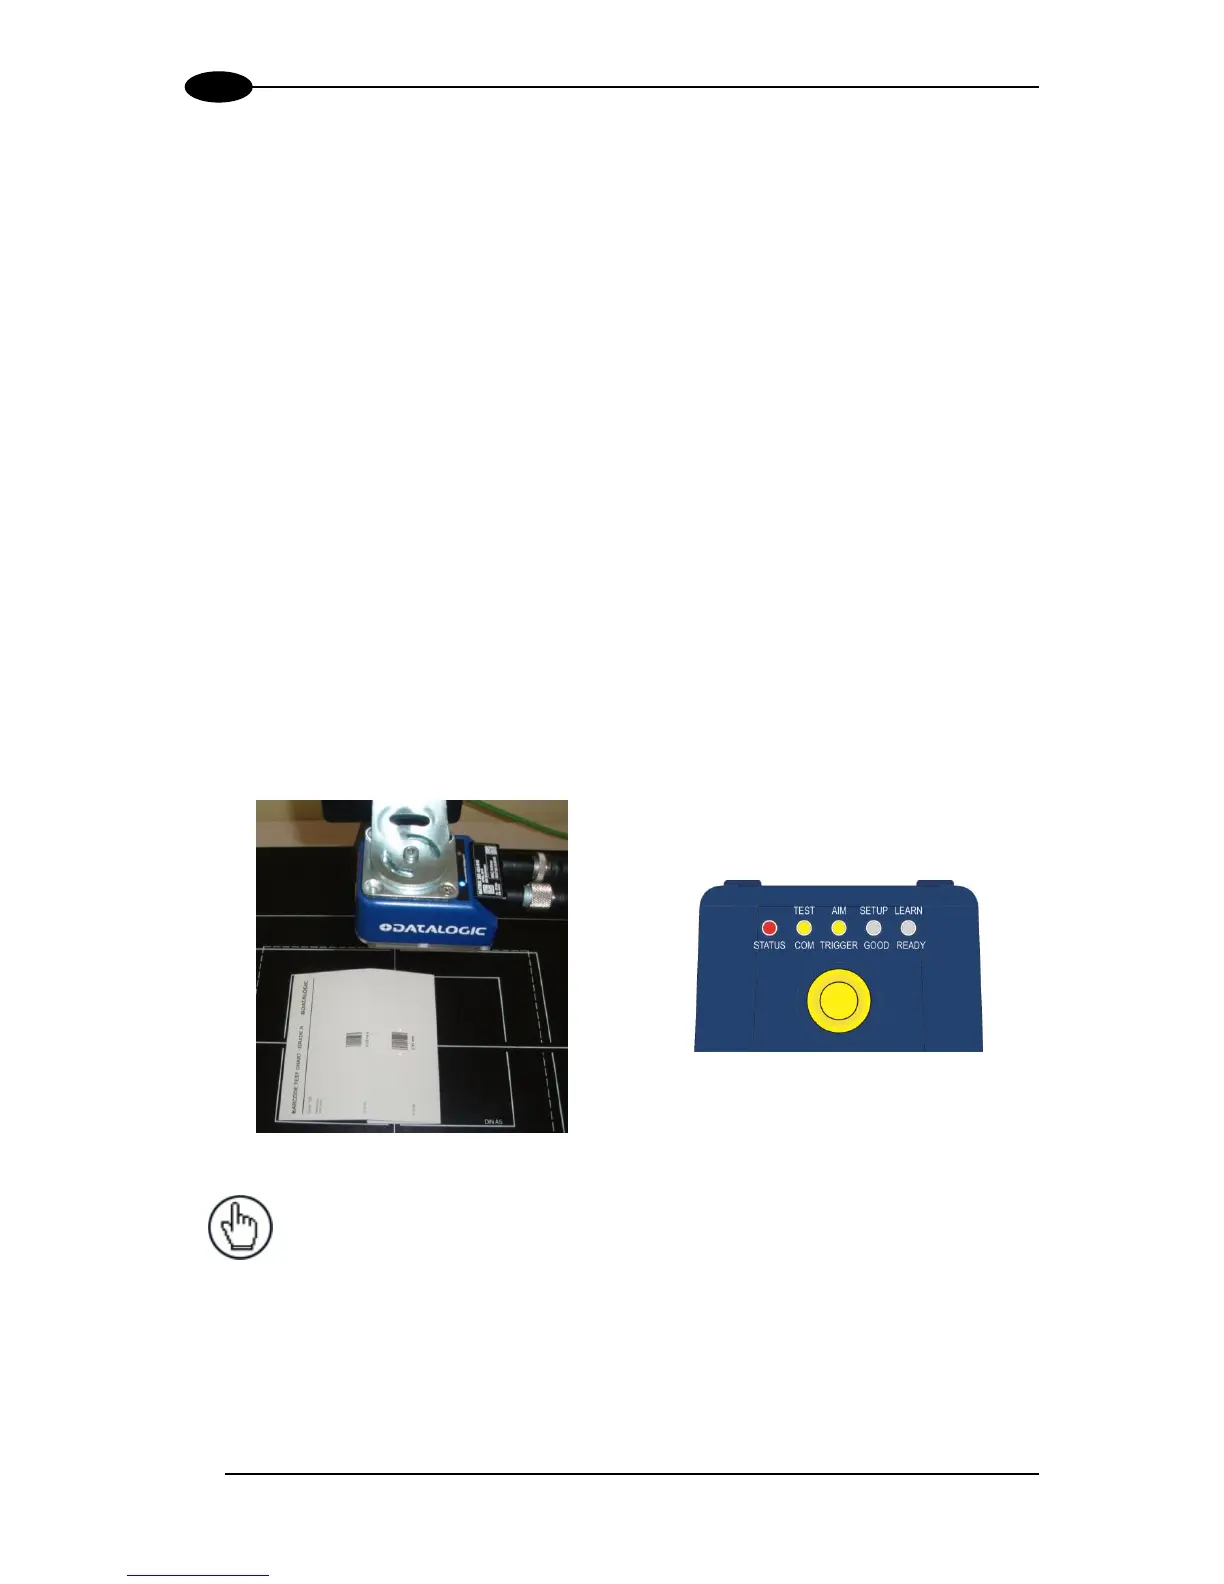
2. Place the Grade A Barcode Test Chart in front of the reader at the correct reading
distance for your application. See the Reading Diagrams in chapter 6 for reference.
3. Enter the Aim/Autofocus function by pressing and holding the X-PRESS push button until
the Aim LED is on.
4. Release the button to enter the Aim function. The laser pointers turn on, and the
Autofocus procedure begins, see Figure 4. The Aim LED will blink until the procedure is
completed.
Within 3 seconds (before the reader flashes), center one of the larger codes on the
aiming system pointers (the code must not move during this procedure).
The Autofocus procedure ends when the Reading Distance and PPI values are
successfully saved in the reader memory, the Aim LED will stop blinking and Matrix 300N
emits 3 high pitched beeps.
If the Autofocus cannot be reached after a timeout of about 3 (three) minutes Matrix 300N
will exit without saving the parameters to memory, the Aim LED will stop blinking and in this
case Matrix 300N emits a long low pitched beep.
(Manual Adjustable Focus Models only)
The Matrix 300N manual adjustable focus models are factory focused to a precise Reading
Distance. If this distance is compatible with your application you can use the X-PRESS
Interface to install the reader, if not, use the DL.CODE procedure described in step 6 “Image
Setup for Manual Adjustable Focus Models”.
 Loading...