1. Place the reader at the factory focused Reading Distance and go to step 4.
Matrix 300N 4x1-0xx 6 mm lens = 85 mm
Matrix 300N 4x4-0xx 12 mm lens = 250 mm
Matrix 300N 4x3-0xx 9 mm lens = 180 mm
Matrix 300N 4x5-0xx 16 mm lens = 320 mm
STEP 4 – X-PRESS CONFIGURATION
Once Matrix 300N is focused at the correct reading distance, you must configure it for
optimal code reading relative to your application. This configuration can be performed either
through the X-PRESS Interface or the DL.CODE configuration program.
Aim
1. Enter the Aim function by pressing and holding the
X-PRESS push button until the Aim LED is on.
2. Release the button to enter the Aim function. The
laser pointers turn on.
3. Select a single code from your application.
Position the code at the center of the FOV
(equidistant from the laser pointers).
For Liquid Lens models the reader may start flashing and try
to perform autofocus however this will have no effect on the
application specific code; it can be ignored.
Exit the Aim function by pressing the X-PRESS
push button once. After a short delay the Aim
function is cancelled and the laser pointers turn
off.
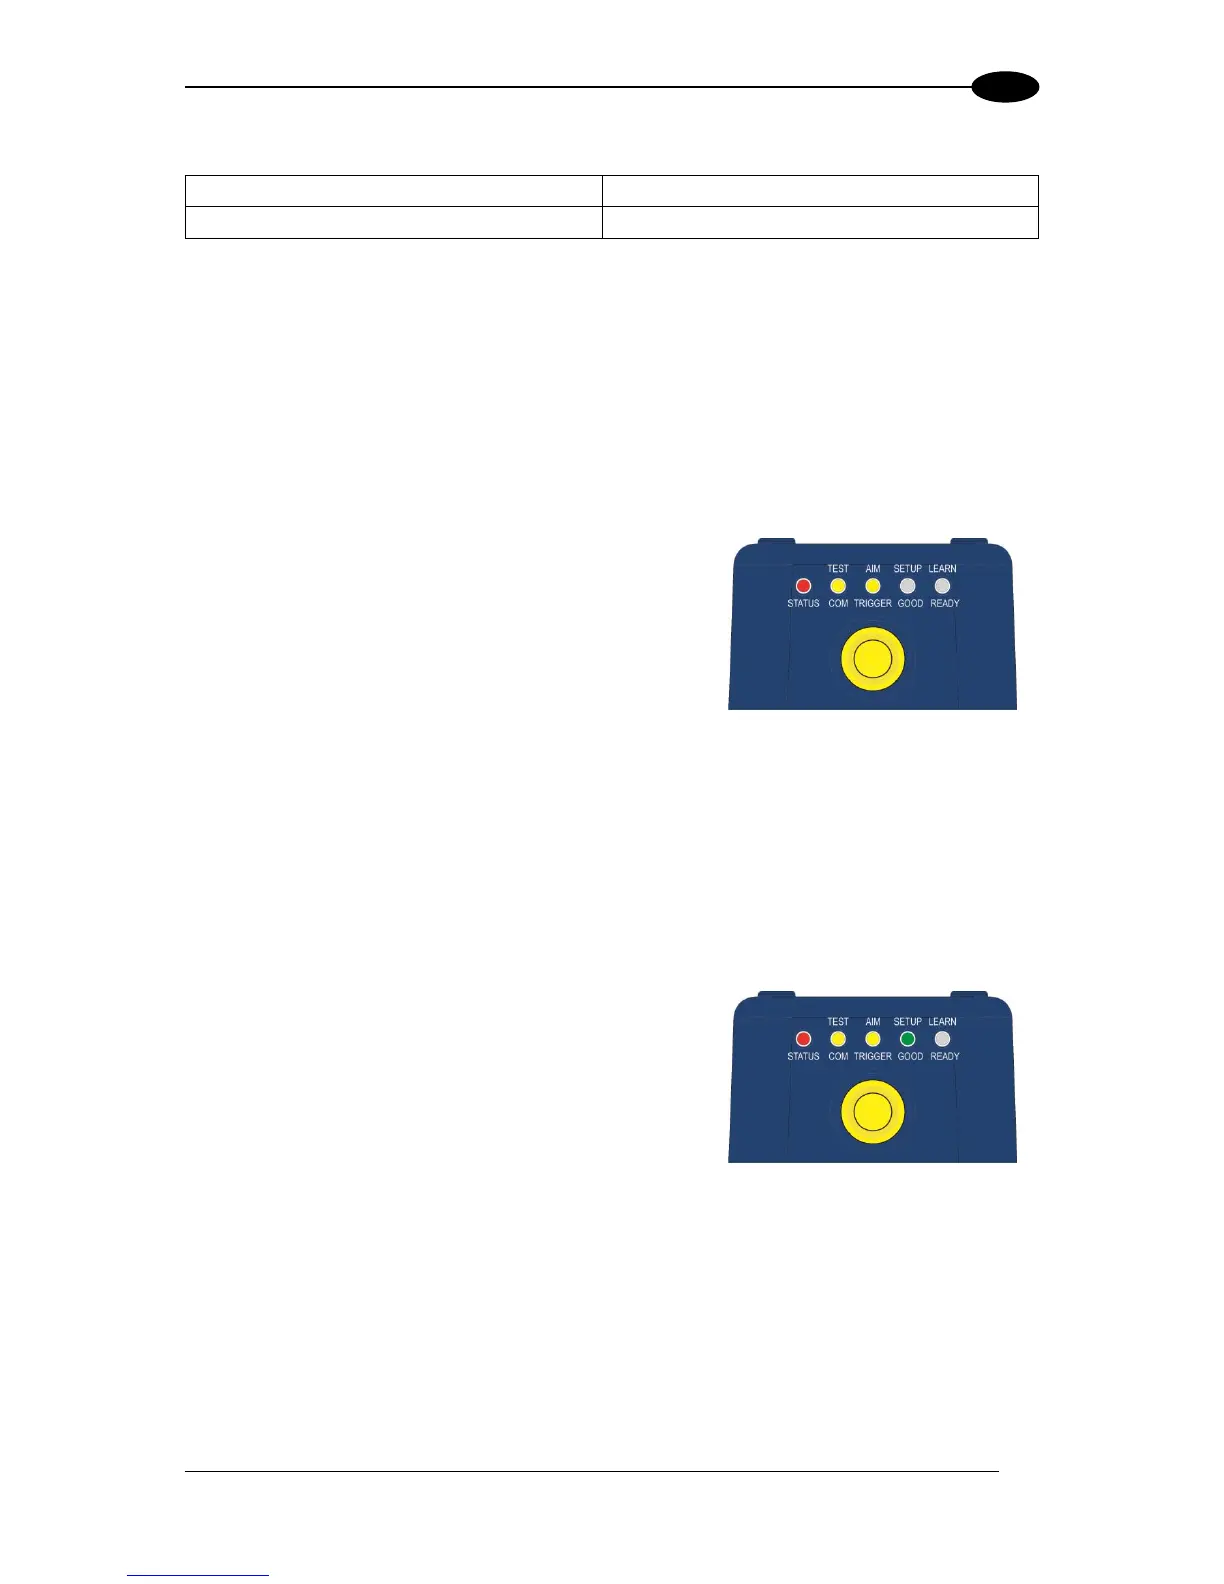
Figure 5 – X-PRESS Interface: Aim
Function
4. Enter the Setup function by pressing and holding
the X-PRESS push button until the Setup LED is
on.
5. Release the button to enter the Setup function.
The Setup LED will blink until the procedure is
completed.
The Setup procedure ends when the Image
Acquisition parameters are successfully saved in
the reader memory, the Setup LED will stop
blinking and Matrix 300N emits 3 high pitched
beeps.
If the calibration cannot be reached after a timeout
of about 5 (five) seconds Matrix 300N will exit
without saving the parameters to memory, the
Setup LED will stop blinking and in this case Matrix
300N emits a long low pitched beep.
Figure 6 – X-PRESS Interface: Setup
Function
 Loading...