62
I-Class Mark II Maintenance Manual
Removal and Replacement
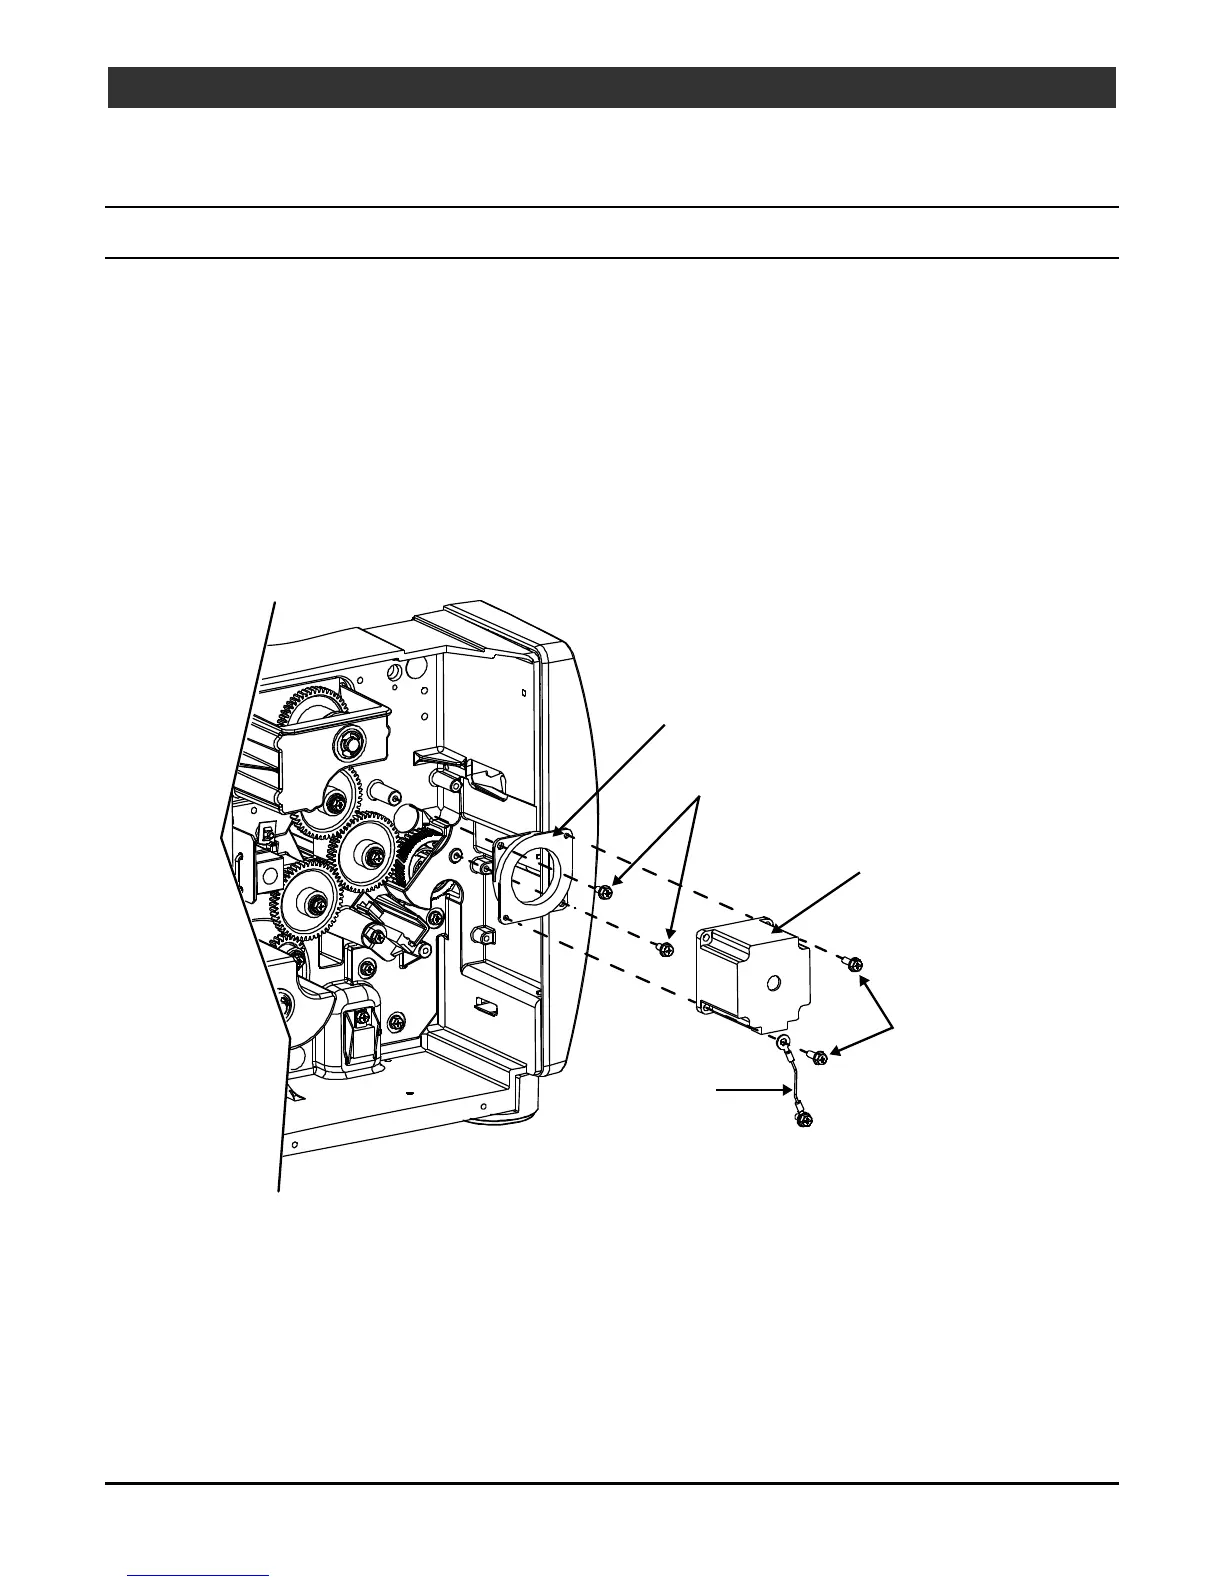
4.12 Drive Motor Assembly
Note: Though the illustration depicts the motor replacement of a 203DPI model, except as detailed below
the procedure is the same for 300/600DPI.
Removal:
1. Turn OFF and unplug the printer.
2. Remove the Cover Assembly; see Section 4.1.
3. Disconnect the motor cable.
4. Remove the two Screws that secure the Drive Motor to the Isolator (which also frees the Ground Cable)
and then remove the Drive Motor.
5. Remove the two Screws that secure the Isolator and remove.
Isolater
Drive
Motor
Ground
Cable
Isolater Screws
Drive Moto
Screws