Removing and Installing System Components | 159
Removing a 2.5-inch Hard-Drive Blank
CAUTION: To maintain proper system cooling, all empty hard-drive bays must
have drive blanks installed.
NOTE: This section is applicable to systems with hot-swappable hard drives only.
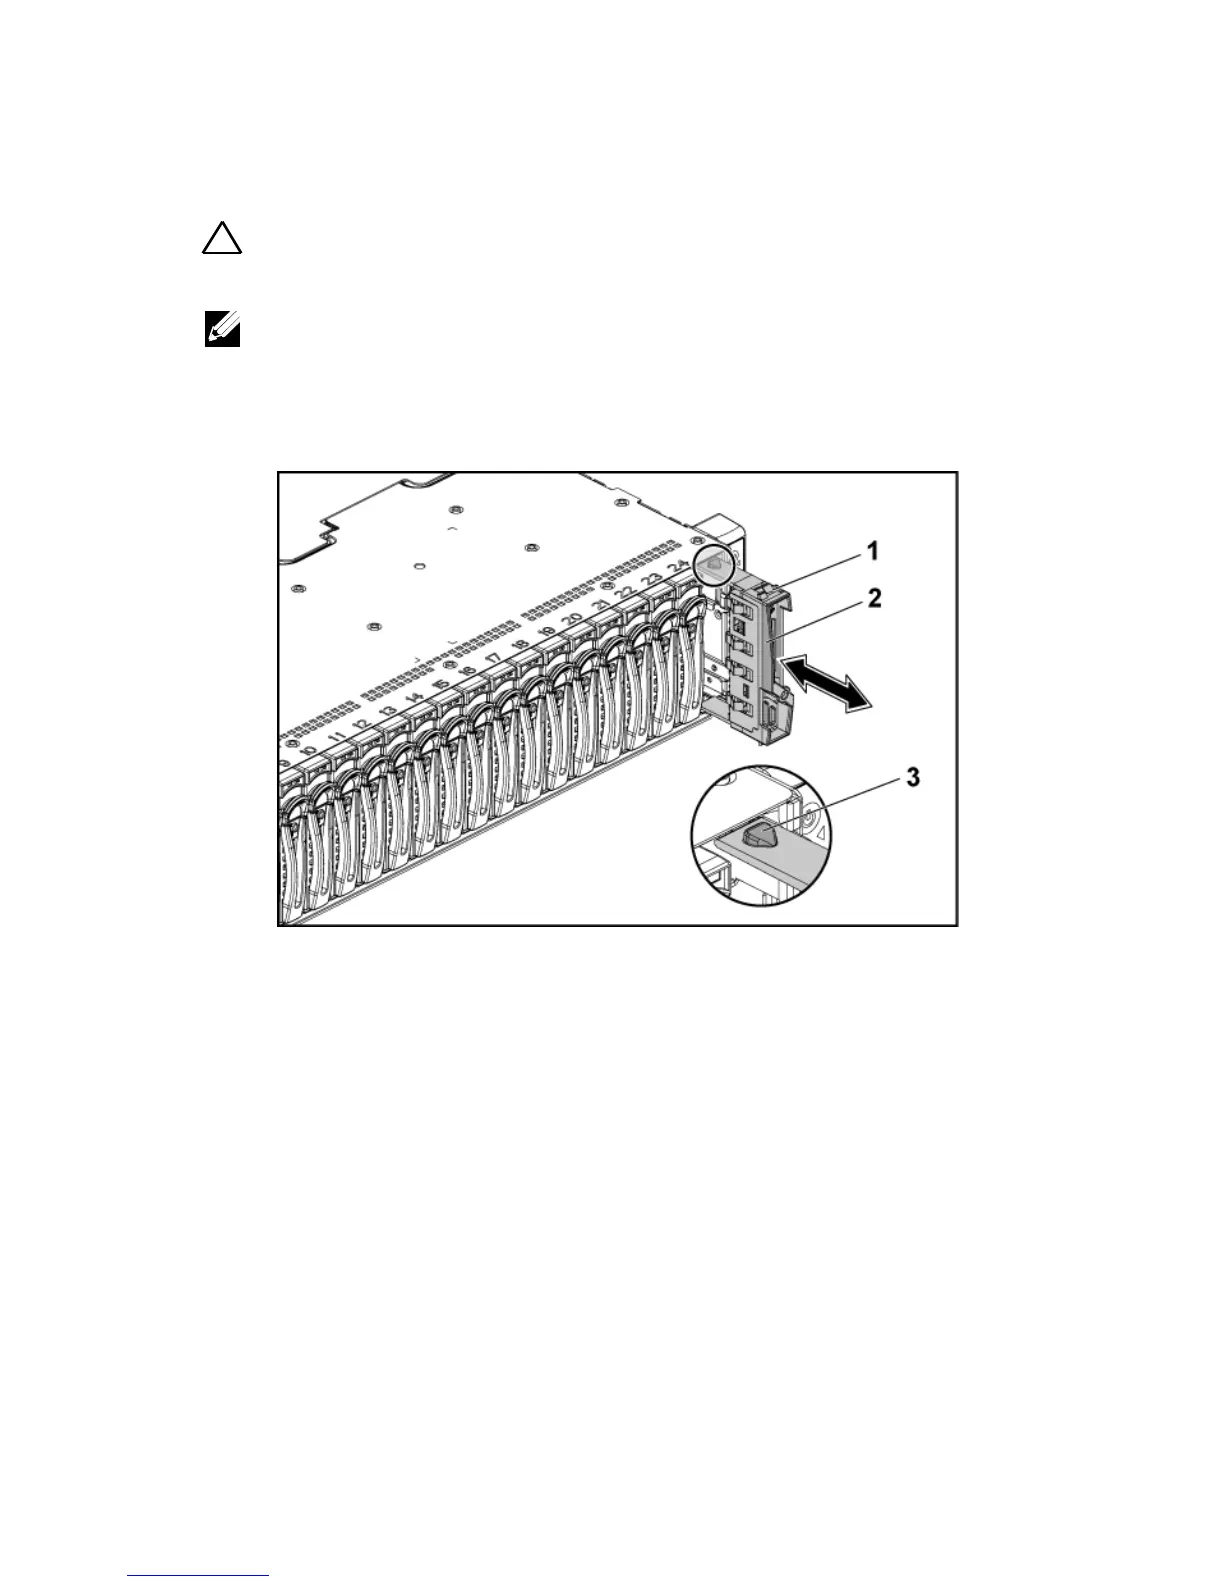
1 Pull the handle to remove the 2.5-inch hard-drive blank out of the
hard-drive bay. See Figure 3-7.
Figure 3-7. Removing or Installing a 2.5-inch Hard-Drive Blank
2.5-inch hard-drive blank
Installing a 2.5-inch Hard-Drive Blank
1 With the latch facing up, slide the latch into the hard-drive bay first.
2 Push the 2.5-inch hard-drive with a slight inclination into the hard-
drive bay until the hard-drive blank is seated in place. See Figure 3-7.

 Loading...


