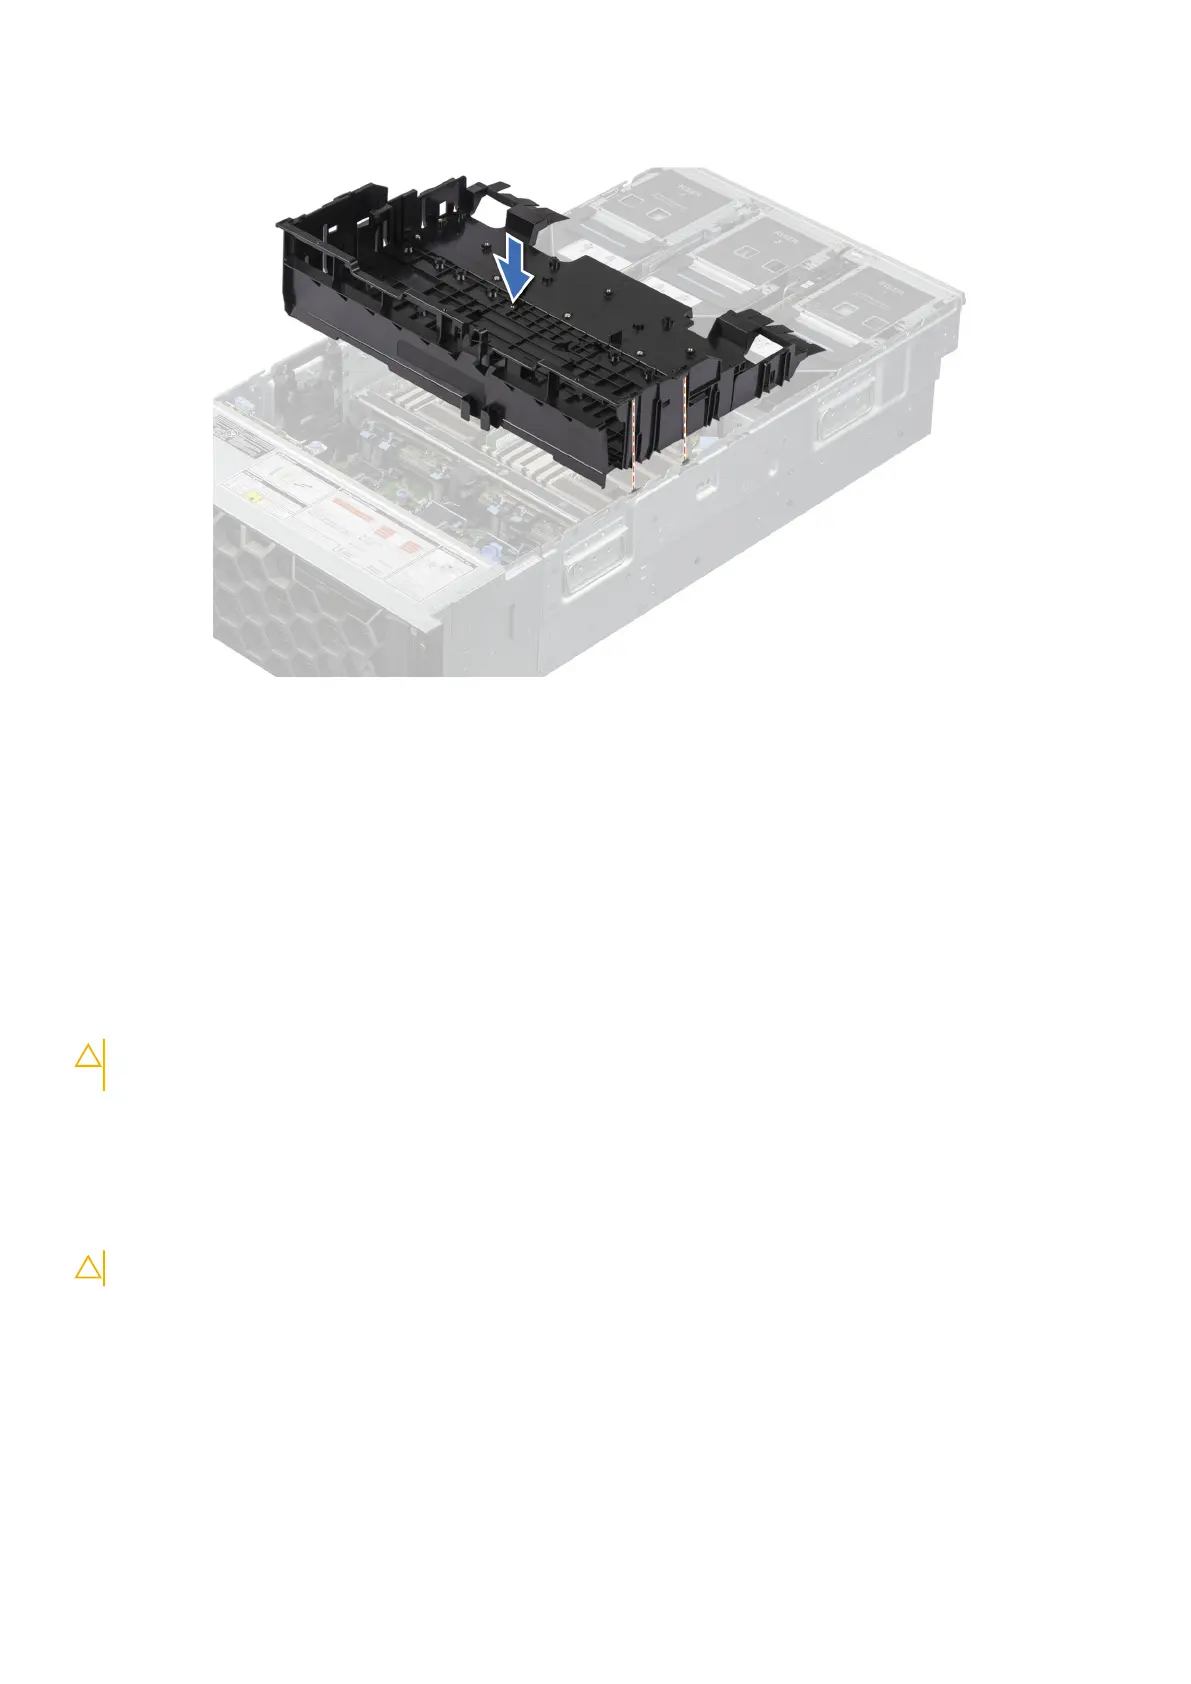
Figure 41. Installing the air shroud
Next steps
1. Install the cooling fan cage assembly.
2. Install the air shroud top cover.
3. Install the support bar.
4. Follow the procedure listed in After working inside your system.
Removing the GPU air shroud
Prerequisites
CAUTION:
Never operate your system with the air shroud removed. The system may get overheated quickly,
resulting in shutdown of the system and loss of data.
1. Follow the safety guidelines listed in the Safety instructions.
2. Follow the procedure listed in Before working inside your system.
3. Remove the support bar.
4. Remove the air shroud top cover.
5. Remove the cooling fan cage assembly.
6. Remove the full length expansion card risers.
CAUTION: The full length expansion card risers must be removed before removing the GPU air shroud.
Steps
Press the latches on either sides of the GPU air shroud, and lift the GPU air shroud out of the system.
Installing and removing system components
81






 To Next Page