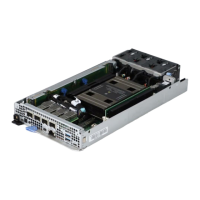
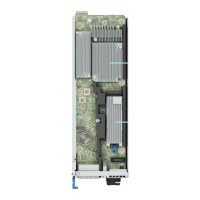
Figure 120. Removing the OCP riser
Next steps
Replace the OCP riser.
Installing the OCP riser
Prerequisites
1. Follow the safety guidelines listed in the Safety instructions.
2. Follow the procedure listed in the Before working inside your system .
3. Remove the system cover.
Steps
1. Slide the OCP riser into the OCP riser slot. Using a Phillips 2 screwdriver, tighten the captive screw and the two screws on
the chassis to secure the OCP riser in place.
2. Connect the signal cable and power cable on the system board connectors.
Installing and removing system components
145

 Loading...


