50 | SEVEN
™
CONTINUOUS GLUCOSE MONITORING SYSTEM
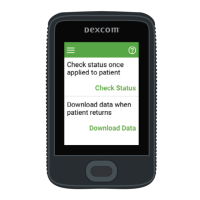
New Meter Screen
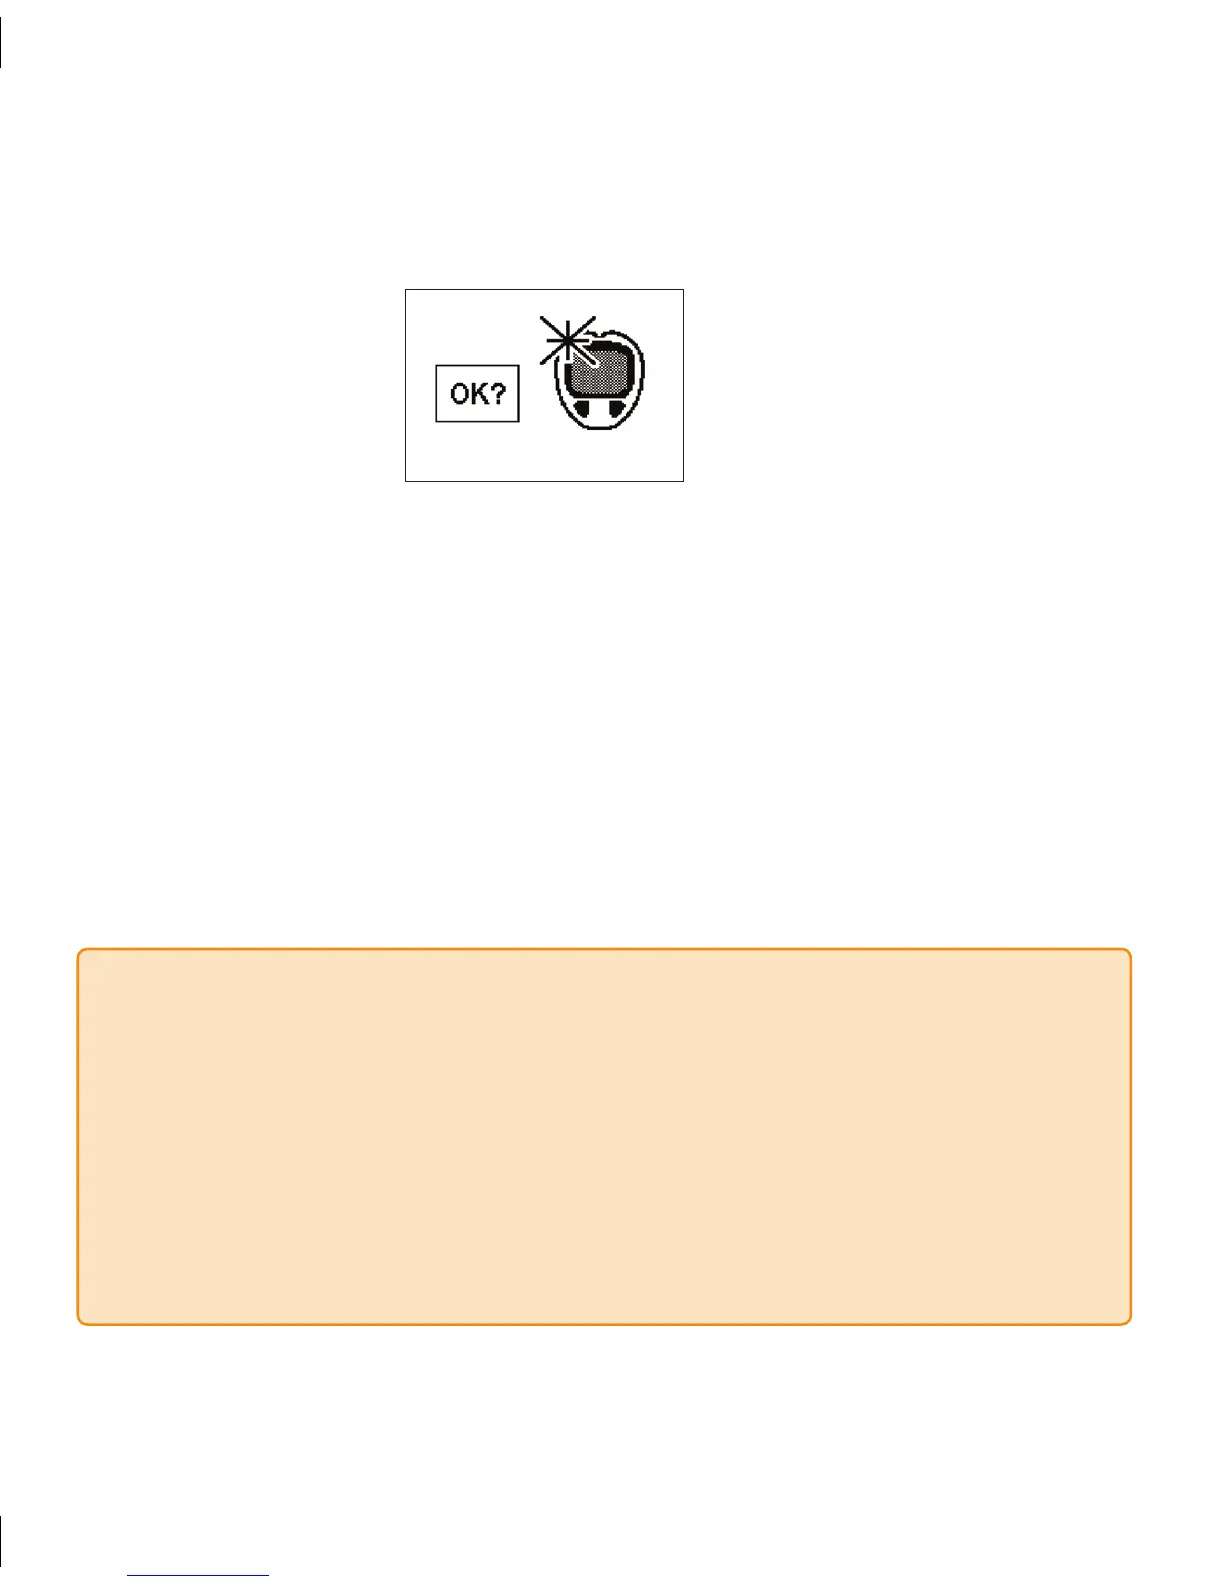
If you have never connected the OneTouch meter or you were using a different 4.
OneTouch meter before, then your Receiver will vibrate twice and you will see the
following screen:
Press the 5. OK button to “accept” this new meter. e symbol will then disappear
and the Receiver will return to the 1-Hour Glucose Trend Screen to indicate that
registration is complete. (Note: is process may take a few minutes to complete.)
Press the Push button on the connection cable to remove it.a.
e order that you disconnect the cable does not matter.b.
Check to see that the Receiver and meter have the same time.6.
After you have registered the devices all new BG readings taken and uploaded 7.
from this meter will be used to calibrate your Seven System. See Section 3.2.2 for
instructions on how to calibrate your Seven System.
NOTE
Blood glucose information stored in the OneTouch Ultra Meter before registering it •
to your Receiver will not be used for calibration. Always register a new meter before
uploading fingersticks to be used for calibration.
e Seven Receiver and OneTouch Ultra meter date and time must be within 2 minutes of
•
each other. If they are not, the BG fingersticks will not be accepted by the Seven System for
calibration. Anytime you change the date/time on your Receiver, connect the meter to the
Receiver using the Connection cable (without taking new BG fingerstick readings) to match
the date/time on the devices. You can upload BG readings as usual after that.