31
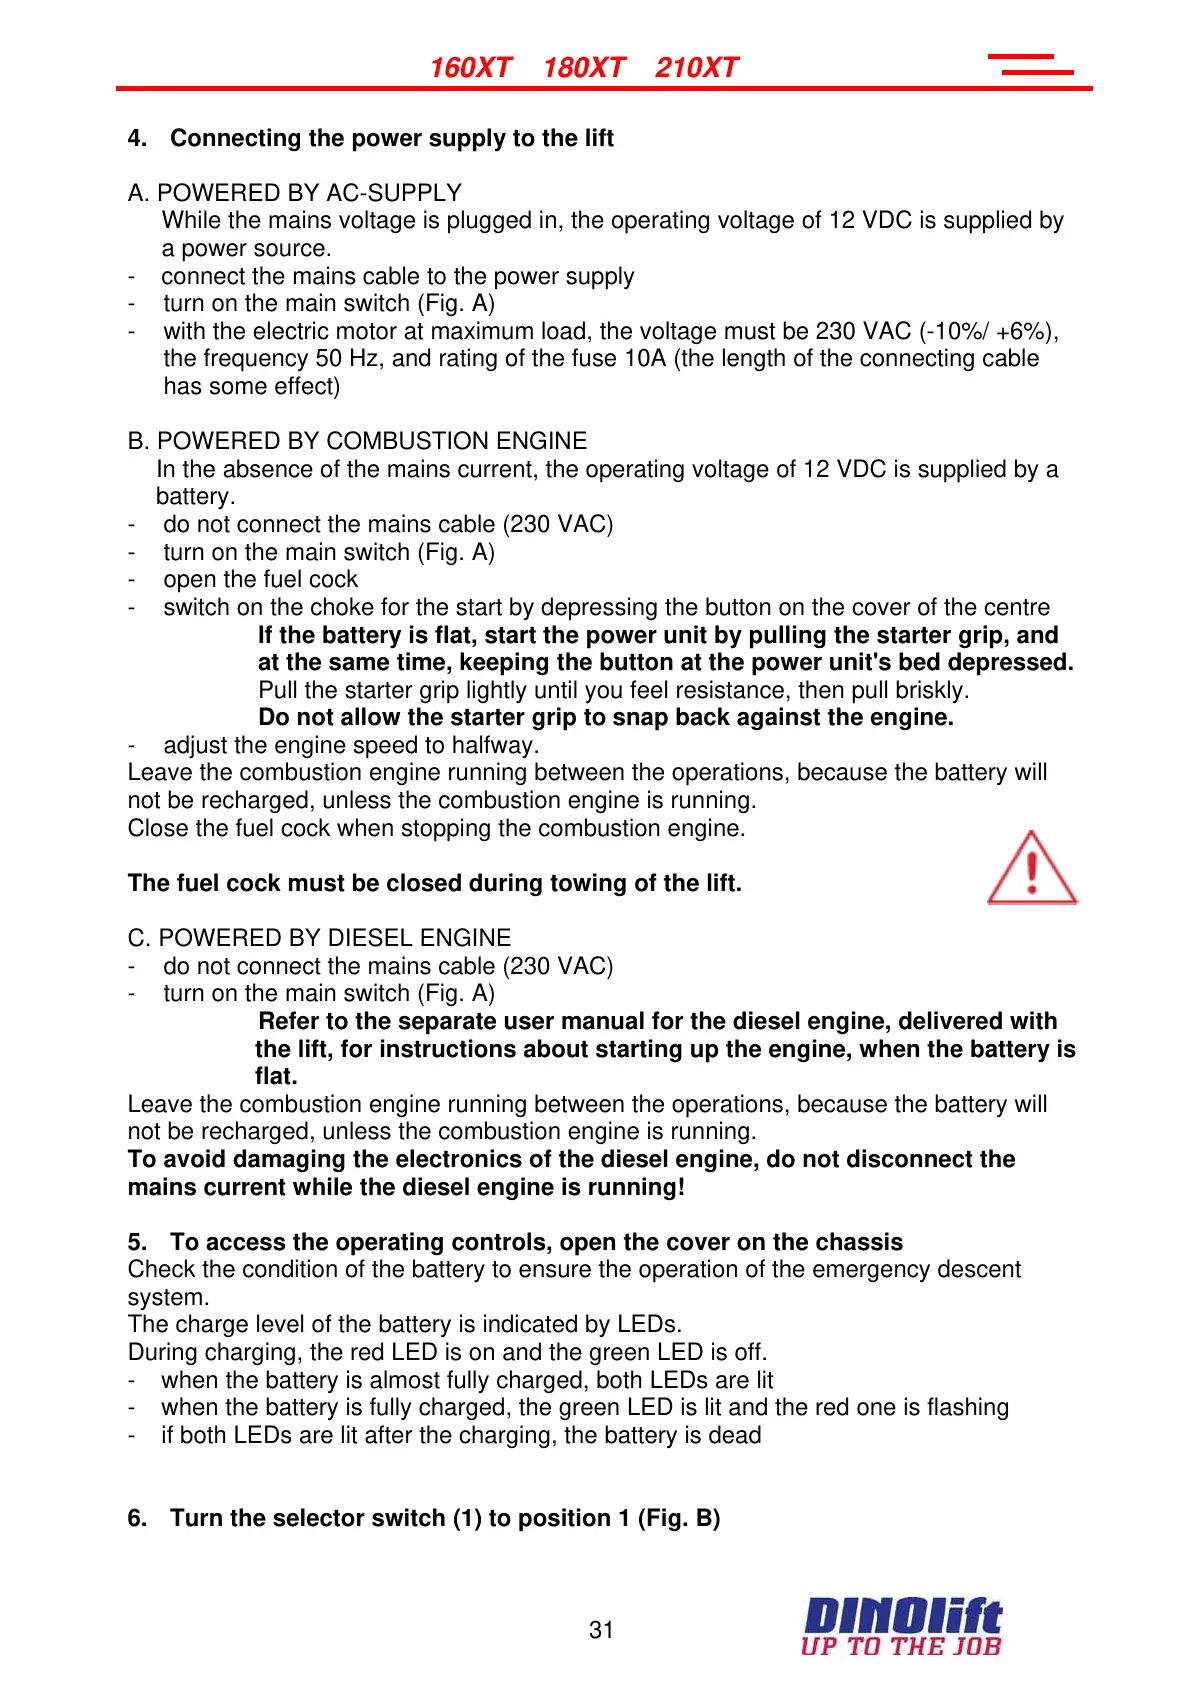
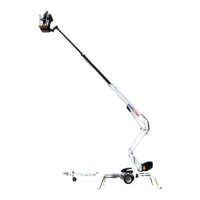
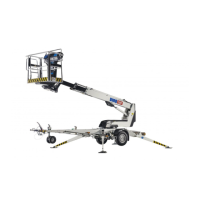
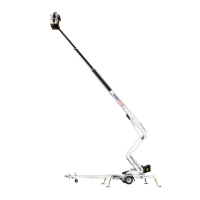
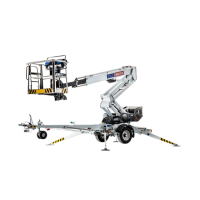
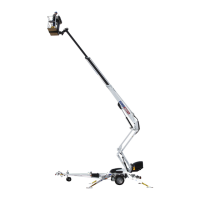
160XT 180XT 210XT
4. Connecting the power supply to the lift
A. POWERED BY AC-SUPPLY
While the mains voltage is plugged in, the operating voltage of 12 VDC is supplied by
a power source.
- connect the mains cable to the power supply
- turn on the main switch (Fig. A)
- with the electric motor at maximum load, the voltage must be 230 VAC (-10%/ +6%),
the frequency 50 Hz, and rating of the fuse 10A (the length of the connecting cable
has some effect)
B. POWERED BY COMBUSTION ENGINE
In the absence of the mains current, the operating voltage of 12 VDC is supplied by a
battery.
- do not connect the mains cable (230 VAC)
- turn on the main switch (Fig. A)
- open the fuel cock
- switch on the choke for the start by depressing the button on the cover of the centre
If the battery is flat, start the power unit by pulling the starter grip, and
at the same time, keeping the button at the power unit's bed depressed.
Pull the starter grip lightly until you feel resistance, then pull briskly.
Do not allow the starter grip to snap back against the engine.
- adjust the engine speed to halfway.
Leave the combustion engine running between the operations, because the battery will
not be recharged, unless the combustion engine is running.
Close the fuel cock when stopping the combustion engine.
The fuel cock must be closed during towing of the lift.
C. POWERED BY DIESEL ENGINE
- do not connect the mains cable (230 VAC)
- turn on the main switch (Fig. A)
Refer to the separate user manual for the diesel engine, delivered with
the lift, for instructions about starting up the engine, when the battery is
flat.
Leave the combustion engine running between the operations, because the battery will
not be recharged, unless the combustion engine is running.
To avoid damaging the electronics of the diesel engine, do not disconnect the
mains current while the diesel engine is running!
5. To access the operating controls, open the cover on the chassis
Check the condition of the battery to ensure the operation of the emergency descent
system.
The charge level of the battery is indicated by LEDs.
During charging, the red LED is on and the green LED is off.
- when the battery is almost fully charged, both LEDs are lit
- when the battery is fully charged, the green LED is lit and the red one is flashing
- if both LEDs are lit after the charging, the battery is dead
6. Turn the selector switch (1) to position 1 (Fig. B)
Courtesy of Crane.Market