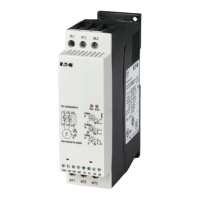
3 Installation
3.1 Introduction
DS7 Soft starter 09/16 MN03901001Z-EN www.eaton.com 61
3 Installation
3.1 Introduction
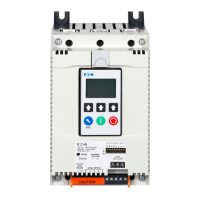
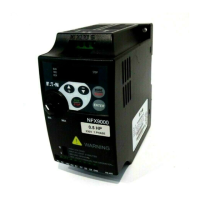
This chapter provides a description of the mounting and the electrical
connection for the soft starter DS7.
Following are a series of installation examples designed to cover the entire
DS7 series. The relevant mounting instructions are provided in the following
instructional leaflets:
• IL03902003Z: For size 1 devices (4 – 12 A device current)
• IL03902004Z: For size 2 devices (16 – 32 A device current)
• IL03902005Z: For size 3
a
nd
4 devices (41
-
200 A
device current)
3.2 Mounting positions
The maximum permissible angle of inclination for all soft starters of the DS7
is 30°.
Figure 38: Vertical mounting position
→
While installing and/or mounting the soft starter, cover all
ventilation slots in order to ensure that no foreign bodies can
enter the device.
→
Perform all installation work with the specified tools and without
the use of excessive force.
→
The DS7 soft starters must only be mounted on a non-
combustible base.
→
A mounting that is turned by 180° (stood on its head) is not
permissible!