Acclarix AX8/Acclarix AX7 Diagnostic Ultrasound System User Manual Presets
- 147 -
On the Measure Preset page, you can configure the measurements for each exam preset in each
imaging mode. Follow the steps below:
1. Select exam application
Select an exam application, for example ABD, in the Application drop-down list.
2. Select exam preset
Select an exam preset in the Preset list, for example Abdomen.
3. Select imaging mode
Select an imaging mode in the Imaging Mode list, for example 2D.
4. Select measurements
In the Group list, select a measurement group, and all the measurement items included in this
group are displayed in the Measurement list. Now the following operations are allowed through
the controls on the right side of the screen:
Add: Add measurement items to the selected measurement group. Clicking on Add button
will bring you a menu for selecting other measurement items.
Edit: Set the default measurement tool and measurement result for the select measurement
item.
Note:
Cancel and Copy operation is not available for this release.
10.4.4. Report Set-up
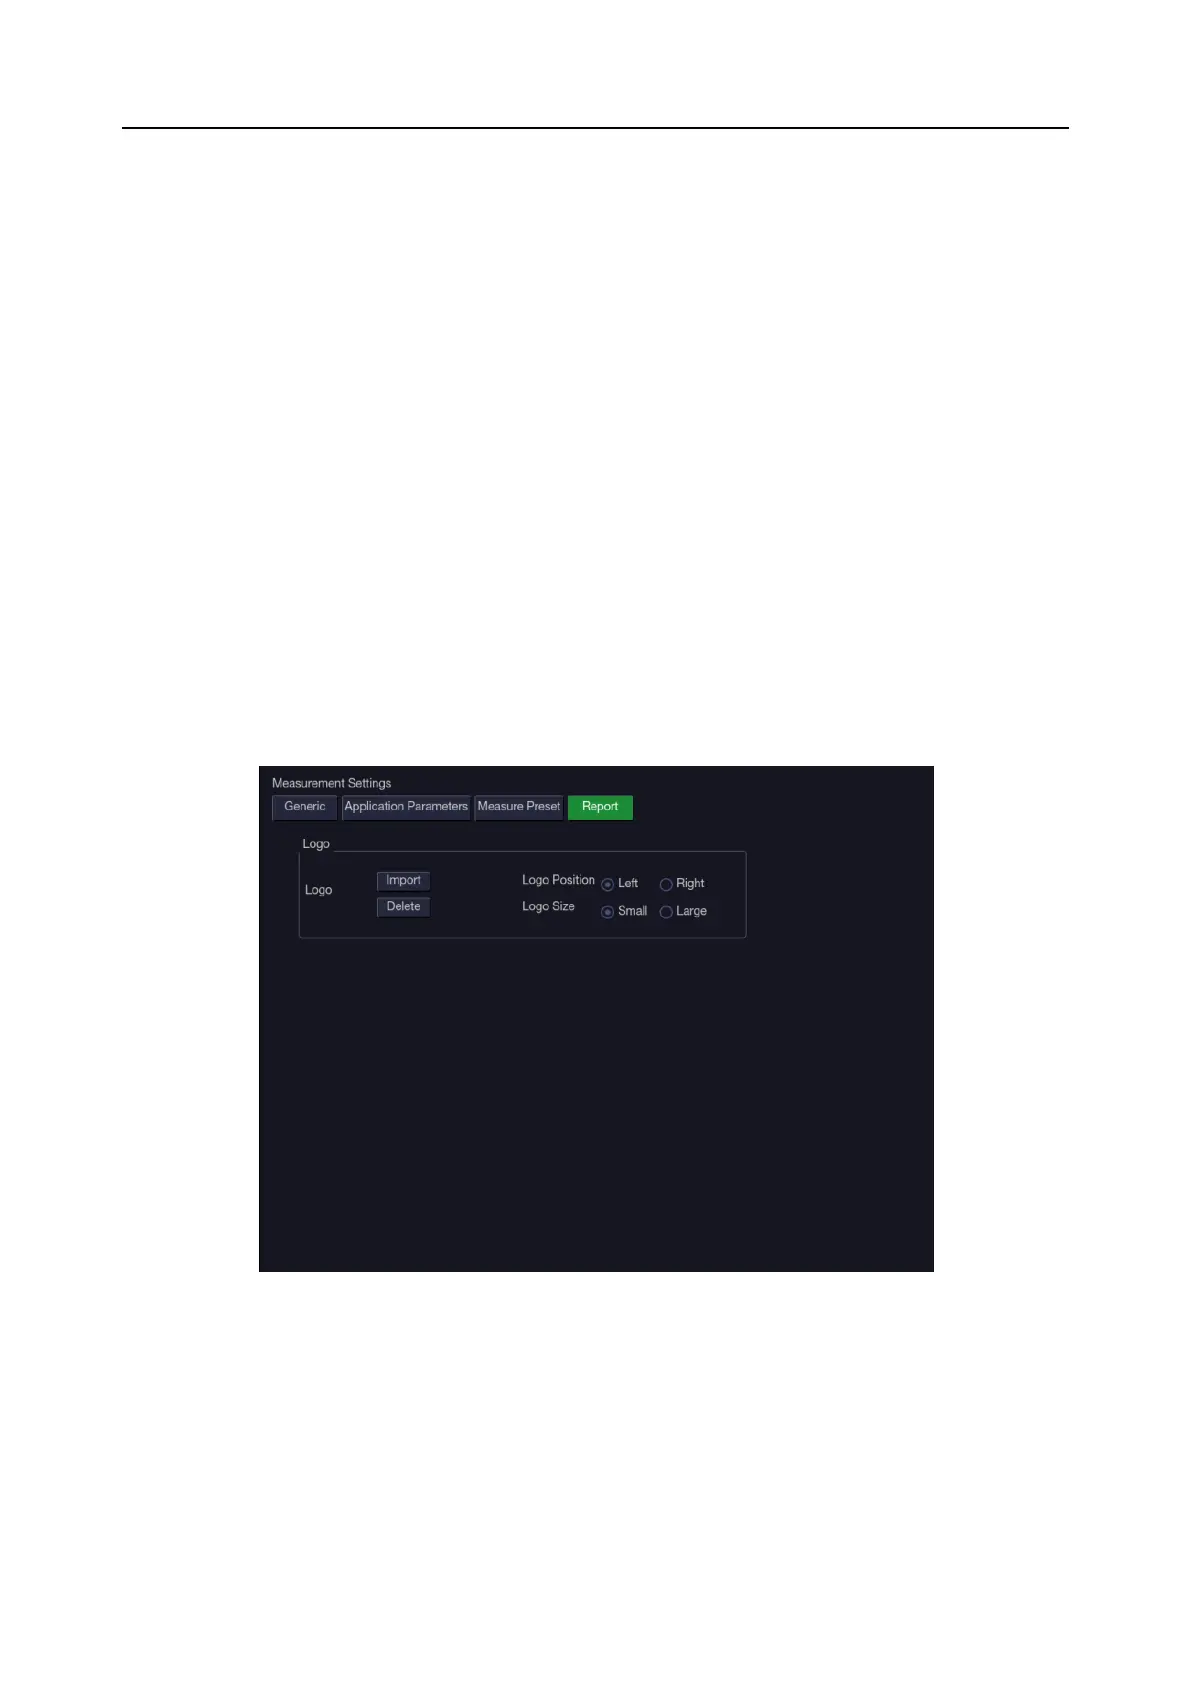
Figure 10-13 Report Set-up Screen
The system supports a user-defined report header by importing a logo and setting the logo’s
position and size.
Report logo settings are as follows:
Import: import a bmp format logo from USB disk.
Delete: delete the imported logo.
Logo Position: set the logo position to locating at the left or right side of report header.
Logo Size: set the logo size to Small or Large.
 Loading...