Chapter 5 Operation
5-3
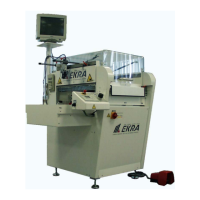
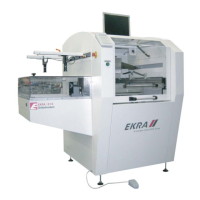
E1 Semi-automatic screen printer
System Manual
EKRA / Doku Eisermann 05_BEDIEN_PDF.FM
30.8.02
Aligning a stencil
Requirements:
The machine must be ready for operation and in its basic position.
The squeegees must be installed.
The main menu must be displayed.
A PCB must be mounted.
Start a printing process by pressing the foot switch.
When the printing table has run up, press the Stop button on
the control panel.
Open the cover.
Caution:
Check the height of the table. The upper edge must not be above the
upper edge of the stencil guideway. If it is, lower the table by turning
the snap-off handwheel.
Turn the screen clamping switch to the "0" position (OFF).
Release the levers on the stencil guideway.
Push the stencil into the stencil guideway towards the rear to the stop
(position the print layout centrally).
Adjust the position of the stencil until the PCB layout and the stencil lay-
out are fully aligned.
Close the levers on the stencil guideway.
Turn the screen clamping switch to the "I" position (ON).
On the right-hand side of the machine, set the required snap-off with
the handwheel.
Close the cover.
Press the Stop button again to end the printing process.
The printing cycle is brought to an end and the printing table moves out.
STOP
STOP