Chapter 5 Operation
5-7
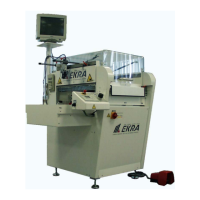
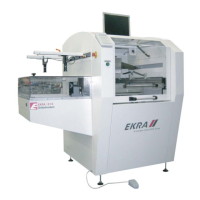
E1 Semi-automatic screen printer
System Manual
EKRA / Doku Eisermann 05_BEDIEN_PDF.FM
30.8.02
Note:
Adjust the flooding squeegee for screen printing in such a way that
the steel squeegee will never touch the screen (risk of damage).
Adjusting the printing table
Requirements:
The machine must be ready for operation and in its basic position.
The squeegees must be set up.
The main menu must be displayed.
A PCB must be mounted.
The printing table must be in the centre of the adjustment range.
Place the frame of the test print film on the printing table locating pins.
⇒ The test print film is now lying over the PCB.
Open the cover and apply solder paste to the screen.
Close the cover.
Start a printing process by pressing the foot switch.
After the printing process, use the scale screws on the printing table to
align the PCB with the printed image on the test print film.
If you are working with the manual optical positioning system (MOPS),
you can now teach the fiducials.
Note:
Refer to the section on using the manual optical positioning system
in this manual.
Remove the test print film from the printing table and start the printing
process.