48
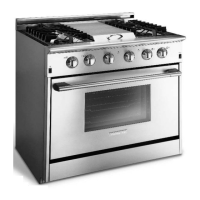
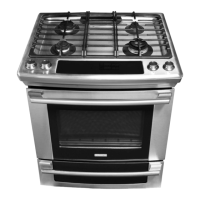
Place each burner onto its corresponding burner base,
being certain that the burners align with the ignitor cor-
rectly. Set each burner cap on top of its corresponding
burner ring. Place each grate onto the top frame.
WARNING
Never attempt to operate the cooktop section of the
range with any of the burner rings, burner caps or
grates removed.
Operation
VERIFYING THE OPERATION
Before beginning the test procedure, ensure that all
burner rings, burner caps, and grates are properly
positioned on the top frame. Turn on the gas supply
at the shut-off valve. Turn on the power supply to the
position to stop the heating process.
Test each top burner separately by pressing and turn-
least 2 minutes to allow any gas to dissipate, then repeat
have a sharp, blue inner cone that will vary in length
proportional to the burner size.
WARNING
• Therangeandshut-offvalvemustbe
disconnected from the gas supply piping
during any pressure testing exceeding 1/2 psi
(3.5kPa).
• Therangemustbeisolatedfromthegas
supply piping by closing the shut-off valve
during any pressure testing at or below 1/2
psi (3.5kPa).
NOTES
follow these troubleshooting steps:
range.
to ensure the installtion has been completed
correctly.
anauthorized service company. Do not attempt
responsible for service required to correct faulty
installation.
TO ENSURE PROPER AND SAFE
OPERATION
NOTE
REFER TO THE USE AND CARE MANUAL FOR
DETAILED INSTRUCTIONS.
Install or locate the appliance only in accordance
with the provided Installation Instructions.
replace any part of your appliance unless it is
room.
area where the range is in use. Never allow
children to sit or stand on any part of the oven.
Do not let children play with the range.
gas shut off valve and how to shut it off in an
emergency situation.
any type of servicing.
detergents on this appliance. They may cause
permanent damage to the surface.