Setting Up a Network Connection
204
Regardless of how many computers and laser systems are involved in your network,
there are several common steps that need to be performed to setup a network
connection.
1. Connect all cables and hardware (see diagrams throughout this procedure)
2. Set the computers TCP/IP network settings. To access, use the following path:
3. Start – Settings – Network Connections – right click Local Network Connection
– Properties – Internet Protocol - Properties
Example:
4. Install the Print Driver address (port). See “Installing Print Driver” on page
______.
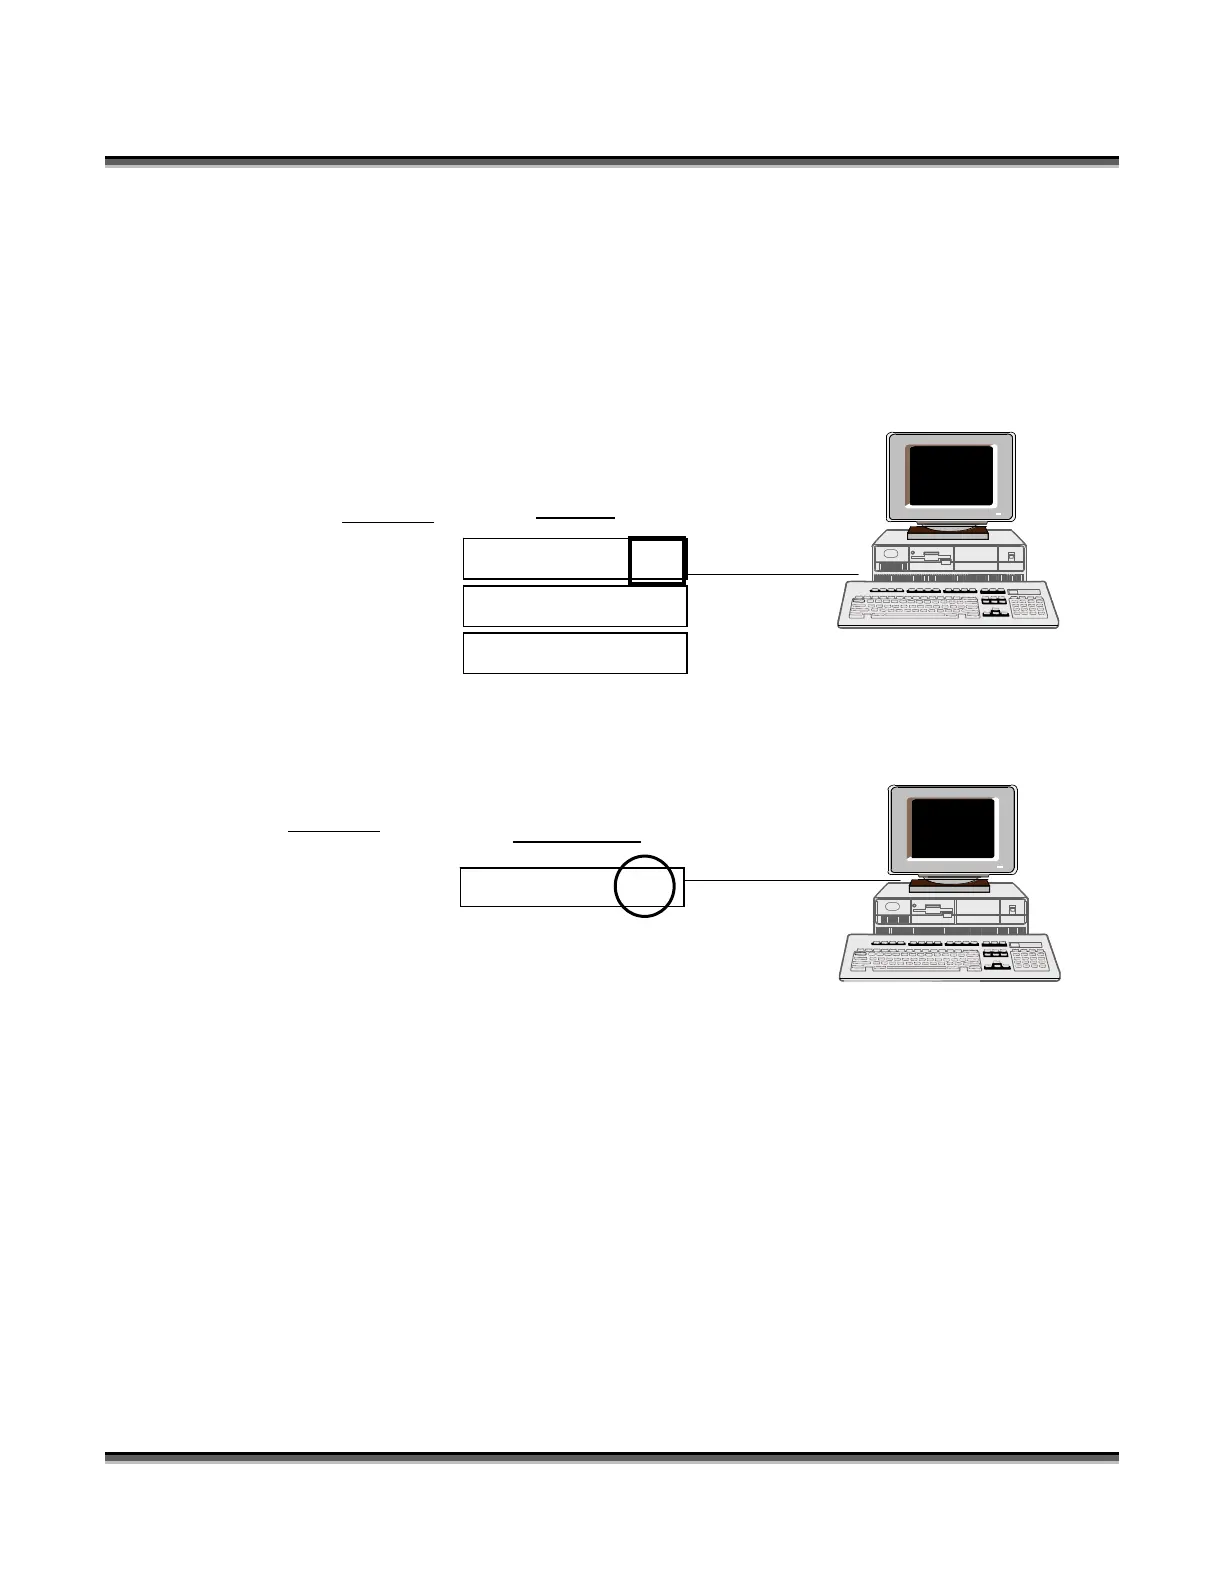
Example:
TCP/IP
192 . 168 . 3 . 3
255 . 255 . 255 . 0
N/A
Print Driver
192 . 168 . 3 . 4
IP address:
 Loading...


