Setting Up a Network Connection
205
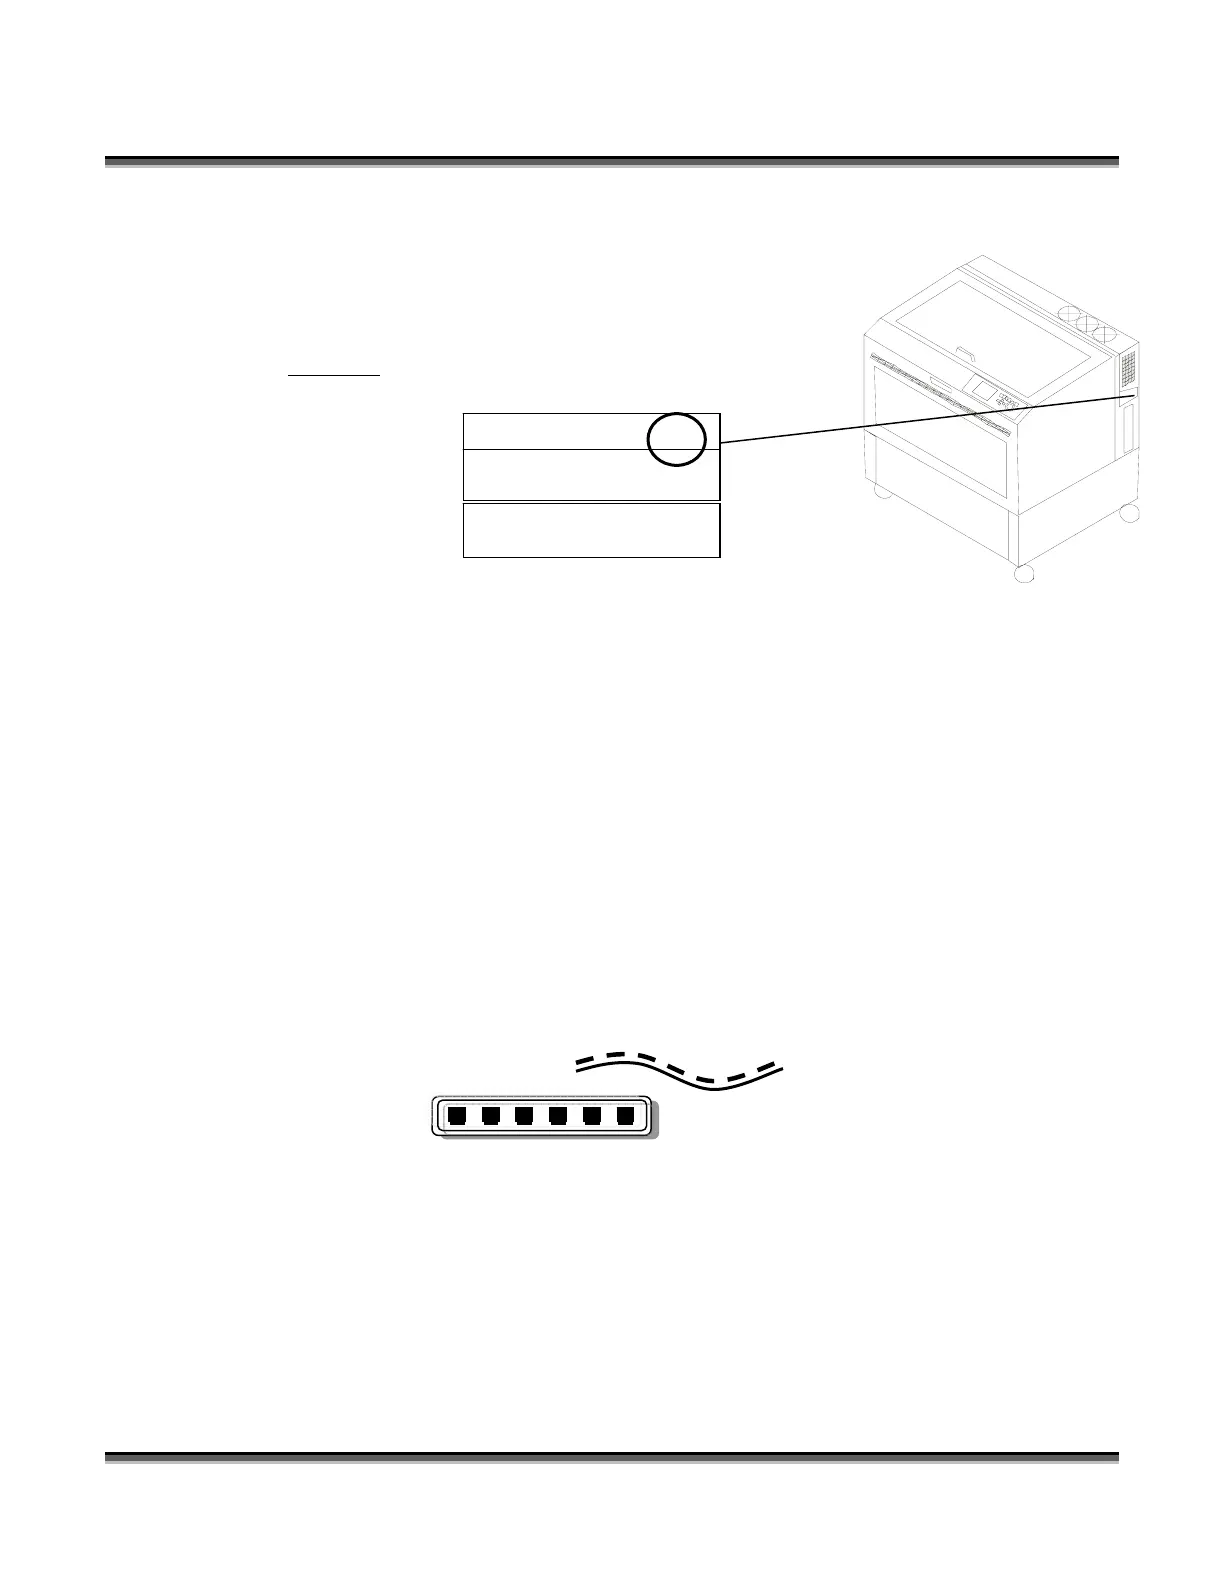
5. Set the Legend network settings. On the Legend LCD panel select Options –
Networking. After setting the Network settings,
scroll to options – Save Settings.
Example:
6. “Ping” the laser. This is an easy method of determining if the computer and
the laser are “talking” to each other. Go to Start – Run – type cmd, then click
OK. This will take you to a DOS command prompt. Type “ping 192.168.X.X”
(do not include the quotes - the IP Address after “ping” must be the same as the
IP Address that you have entered in the Legend). If you receive a “Request
Timed Out”, the laser and the computer are not “talking”. If you receive a
“Reply from 192.168.X.X” your computer is talking to your Legend.
7. Note – The following is a helpful hint for users setting up their network
connections for the first time.
8. The last octet (the number in the square and circles above) in the TCP/IP
Address will always be different than the IP Addresses assigned to the Print
Driver and the Legend network settings.
9. Stated another way – The IP address for the Print driver and the Legend settings
must be the same. These two must differ from the TCP/IP address.
10. In addition to your computer and laser settings, these procedures illustrate the
cables and other hardware that may be required for common network setups.
11. Crossover cable
12. Standard CAT5 cable
13. Hub
Le
end EX/TT
192 . 168 . 3 . 4
255 . 255 . 255 . 0
0 . 0 . 0 . 0
 Loading...


