LX-300+/1170 Revision C
Disassembly and Assembly Disassembly and Assembly 75
4.2.2 Upper Housing Removal
1. Remove platen knob, cover assembly, printer, tractor unit and paper eject unit.
Remove the color upgrade kit if it is installed (LX-300+ only).
2. Set the release lever to the tractor feed.
3. Remove 4 screws for LX-300+ and 6 screws for LX-1170 (CBP, Tite, 3x10 F/Zn,
Torque 0.78-0.98) securing the upper housing to the lower housing.
4. .Remove the upper housing.
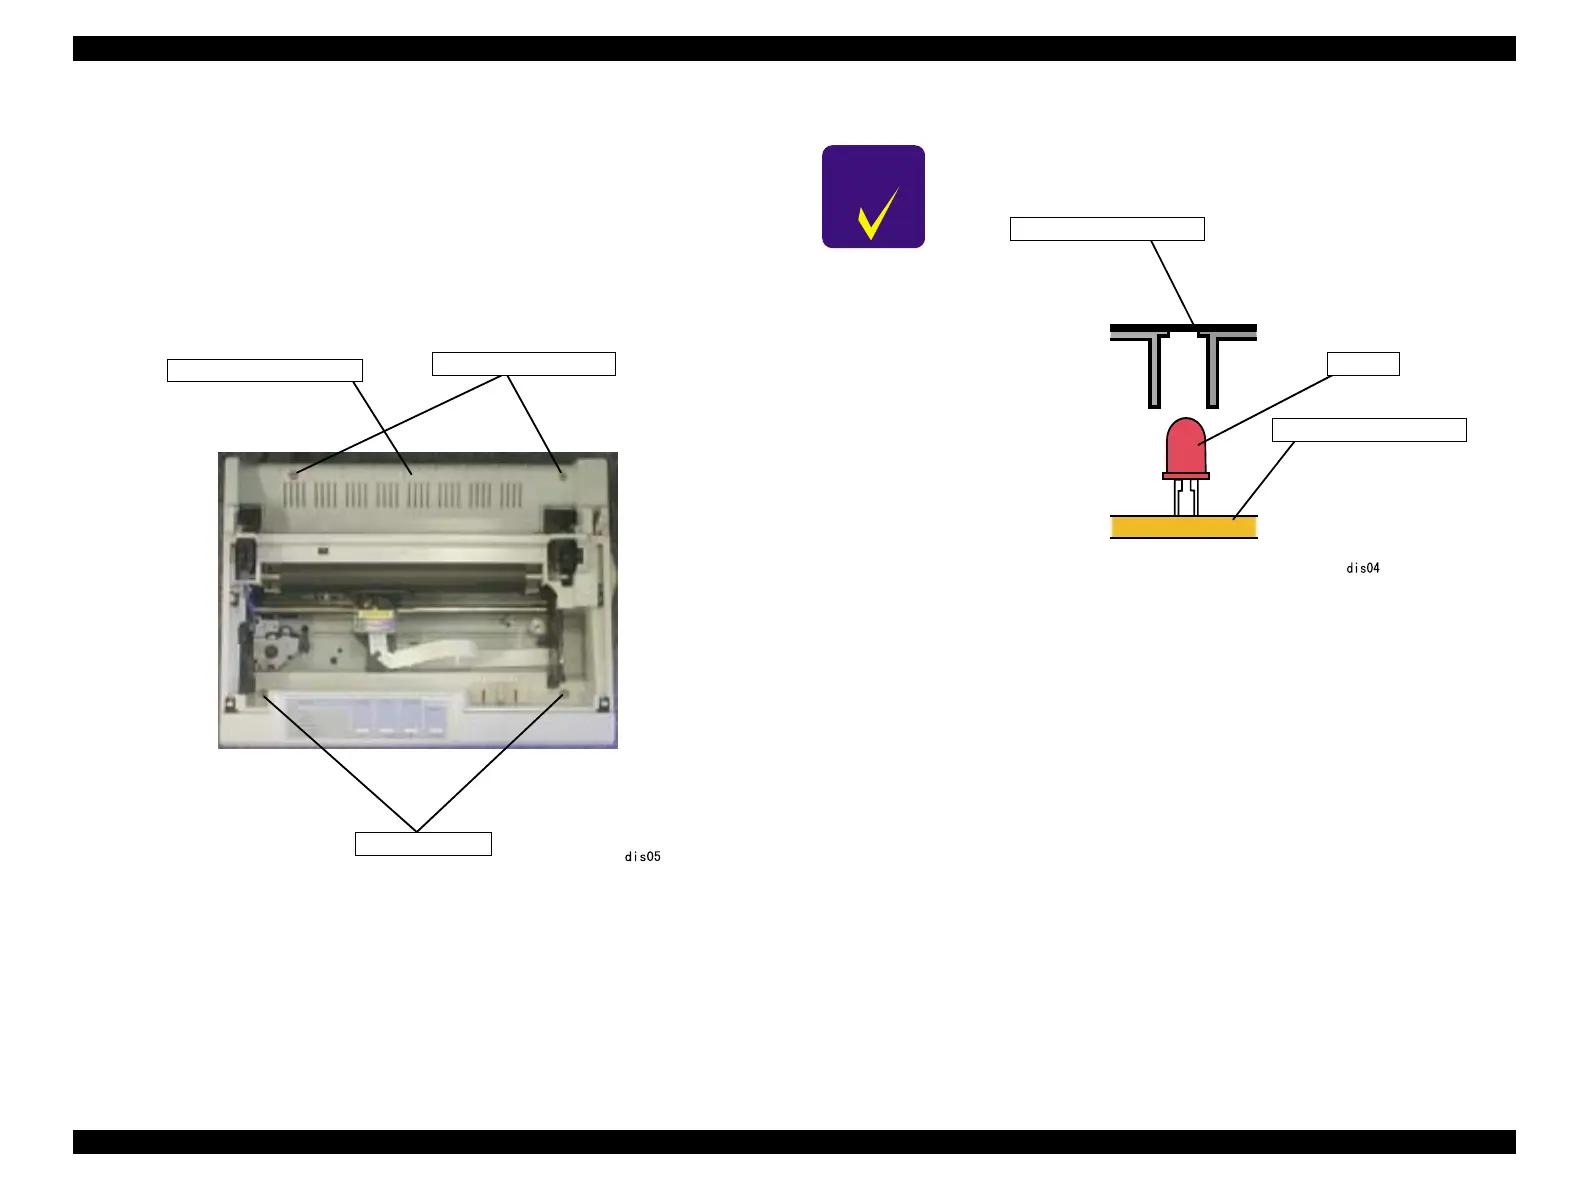
Figure4-2. Upper Housing Removal
Upper Housing
CPB (3x10)
C.B.P., Tite, 3x10 F/ZN
C H E C K
P O I N T
When installing the upper housing, be sure to insert LEDs on
the panel board to the LED holes of the upper housing.
Upper Housing
LED
Panel Board Assembly

 Loading...


