LX-300+/1170 Revision C
Disassembly and Assembly Disassembly and Assembly 88
4.2.7.12 Paper Guide Removal
1. Remove the printer mechanism. (See 4.2.3 "Printer Mechanism Removal".)
2. Remove the platen. (See 4.2.7.2 "Platen Removal".)
3. Remove the carriage unit. (See 4.2.7.3 "Carriage Unit Removal".)
4. Remove the HP sensor. (See 4.2.7.7 "HP Sensor Removal".)
5. Remove the PG sensor. (See 4.2.7.8 "PG Sensor Removal".)
6. Remove the PF motor assembly and release lever. (See 4.2.7.10 "PF Motor Assembly
Removal".)
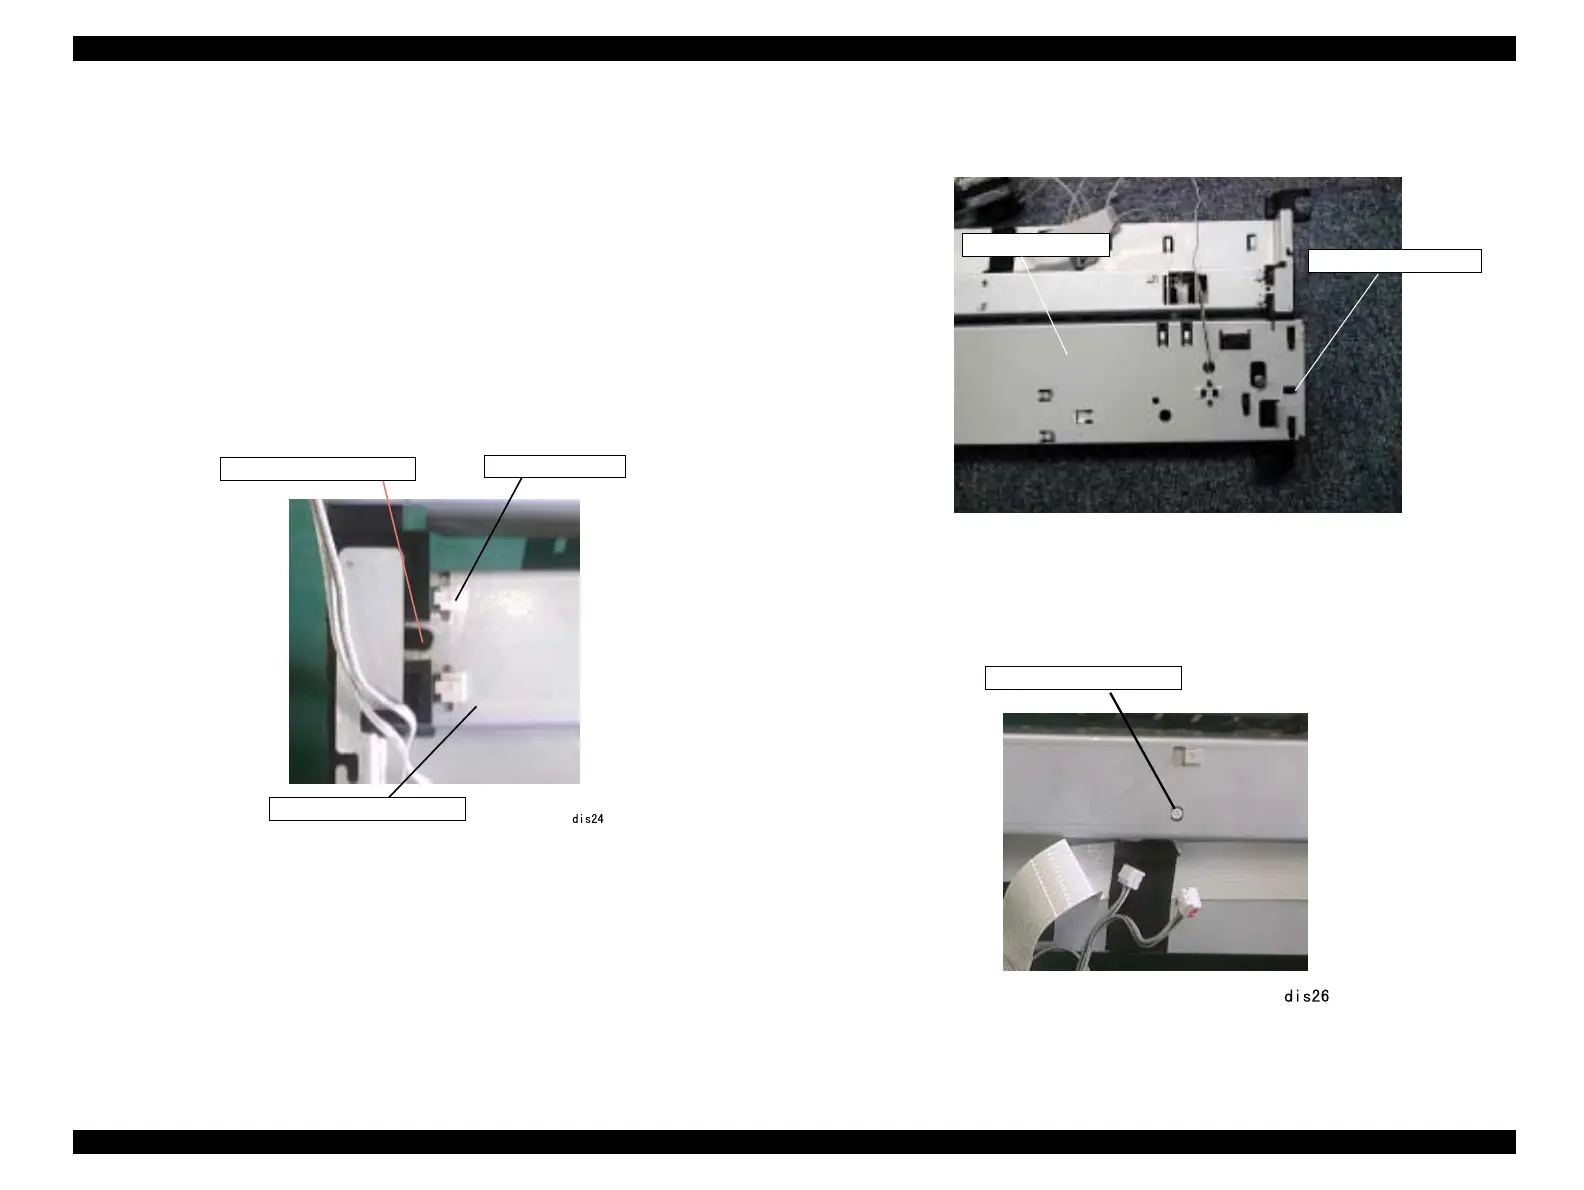
7. Release 1 hook securing the paper guide to the bottom of the paper guide to the lower
paper guide, pull the paper guide to the rear and remove it.
Figure4-25. Lower Paper Guide Removal
8. Release 1 hook at the left frame securing the base frame and remove it by pulling it to
the rear.
Figure4-26. Left Frame Removal
9. Release 1 hook securing the paper guide to the lower paper guide and remove the paper
guide along with the release shaft by pulling it to the left.
Figure4-27. Lower Paper Guide
Hook at the left frame
Lower paper guide
Paper guide
dis25a
Hook at the left frame
Base frame
Hook at the paper guide

 Loading...


