29
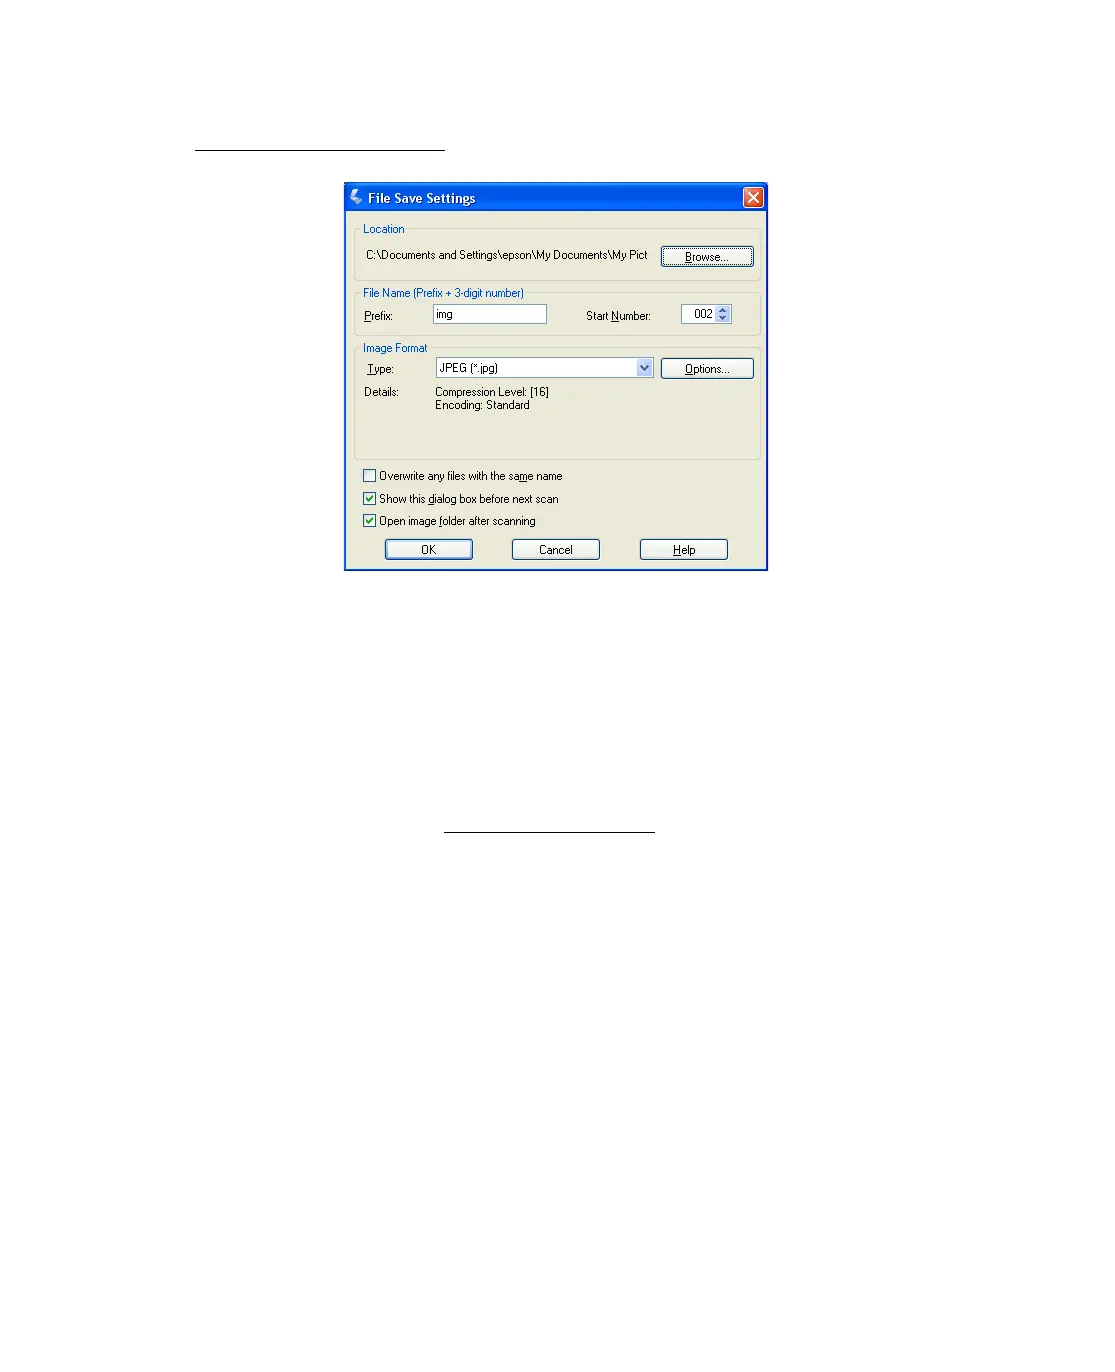
3. The File Save Settings window appears. For instructions on selecting options, see
Selecting File Save Settings.
4. When you are finished selecting File Save Settings, click OK. Epson Scan starts
scanning in Full Auto Mode.
5. The scanned image is automatically saved in the specified location.
If the Open image folder after scanning checkbox is selected in the File Save
Settings window, Windows Explorer automatically opens to the folder where the
scanned image was saved.
For more information, see Using Full Auto Mode.
Starting Epson Scan With Another Scanning
Program
1. Start your scanning program.
Double-click the program icon from your desktop, if it is available, or select Start
> All Programs
or Programs > program folder > program icon.
2. Open the File menu and select Get Photo.
3. Click the Camera/Scanner icon.
4. Select your Epson Stylus CX all-in-one.
 Loading...


