73
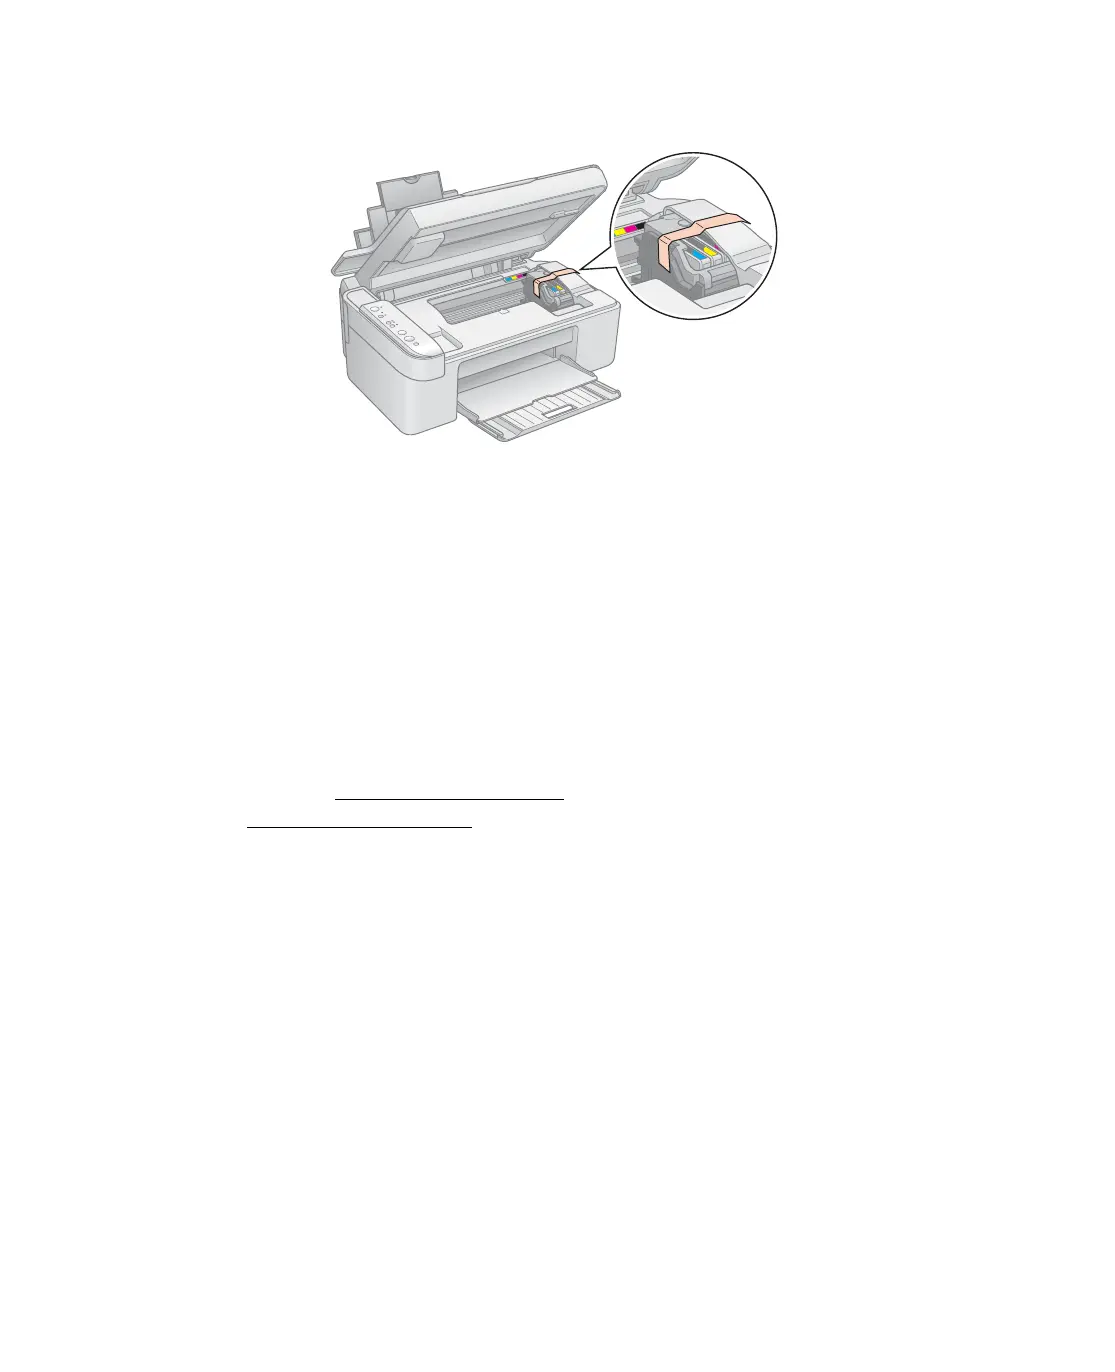
5. Secure the ink cartridge holder (print head) to the case with tape.
Caution: Be sure to remove the tape after installing the printer in its new
location.
6. Close the scanner section, push in the output tray extension, and close the output
tray.
7. Repack the Epson Stylus CX in the original box using the protective materials
that came with it.
Keep the Epson Stylus CX level as you transport it.
After transporting the Epson Stylus CX, remove the tape securing the print head, plug
in the Epson Stylus CX, and turn it on. If you notice a decline in print quality, clean
the print head; see Cleaning the Print Head. If output is misaligned, align the print
head; see Aligning the Print Head.
 Loading...


