4. Pick up the handset.
e
connection is established when
x
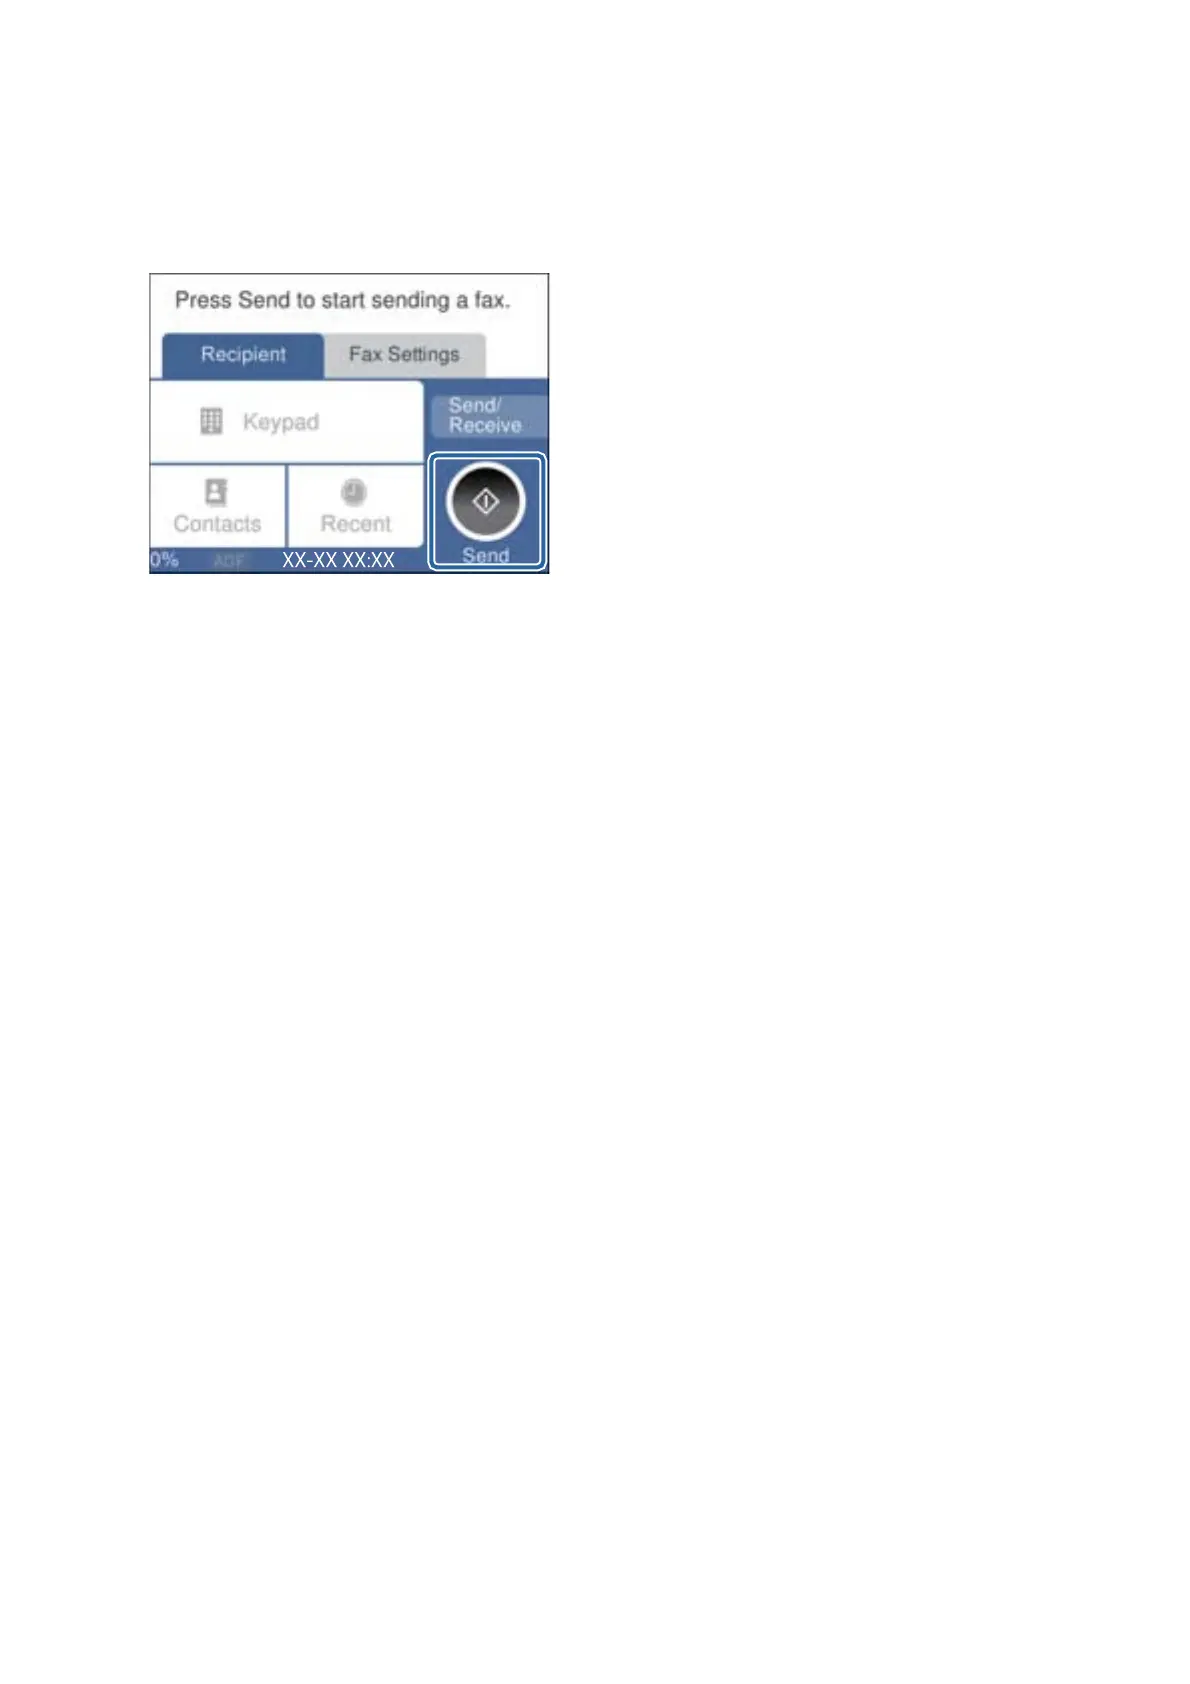
(Send) is enabled as the following screen.
Related Information
& “Making Settings for a PBX Phone System” on page 114
Making Basic Fax Settings
First make basic fax settings such as Receive Mode using the Fax Setting Wizard, and then
congure
the other
settings as necessary.
e
Fax Setting Wizard is automatically displayed when the printer is turned on for the
rst
time. Once you have
made the settings, you do not need to make them again unless the connection environment is changed.
Making Basic Fax Settings Using the Fax Setting Wizard
Make basic settings by following the on-screen instructions.
1. Connect the printer to the phone line.
Note:
Because an automatic fax connection check runs at the end of the wizard, make sure you connect the printer to the
phone line before starting the wizard.
2. Tap Settings on the home screen.
3. Tap General Settings > Fax Settings > Fax Setting Wizard.
4. On the Fax Setting Wizard screen, tap Proceed.
e wizard begins.
5. On the fax header entry screen, enter the sender name such as your company name, and then tap OK.
Note:
Your sender name and your fax number appear as the header for outgoing faxes.
6.
On the phone number entry screen, enter your fax number, and then tap OK.
User's Guide
Faxing
112
 Loading...