25
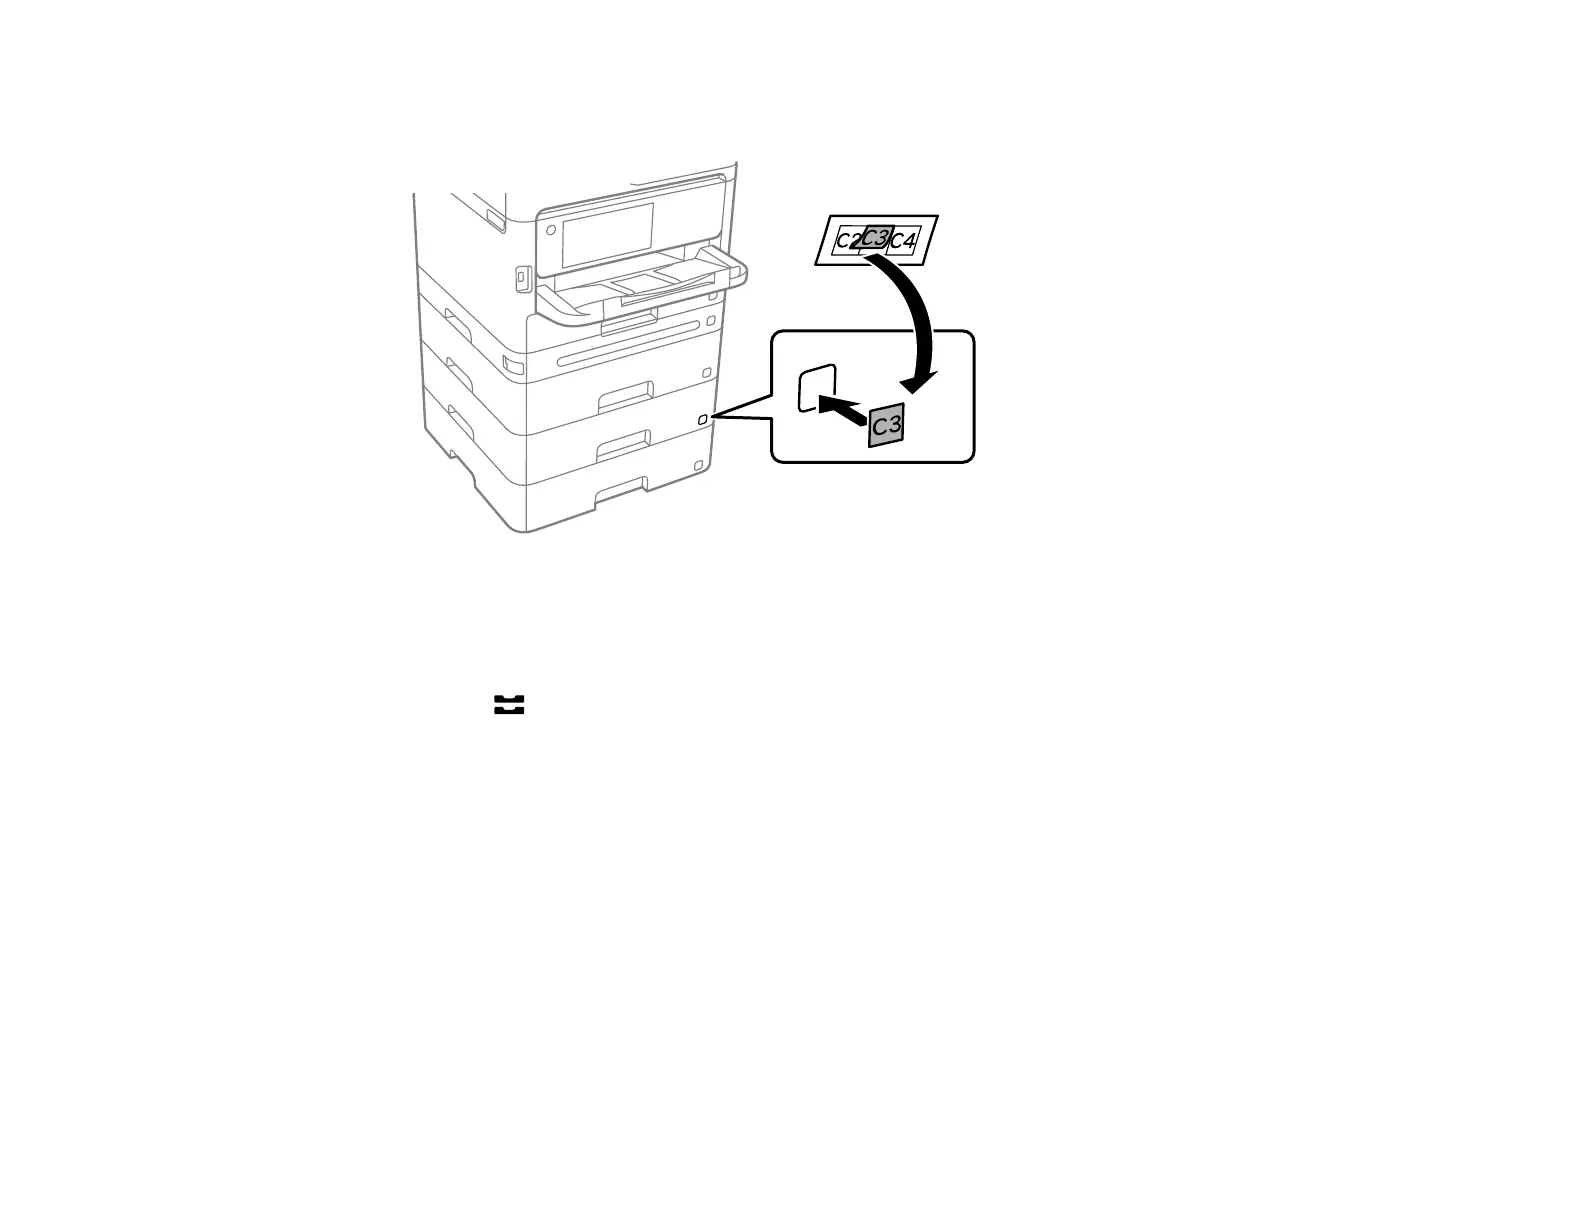
11. Place the correct sticker on each cassette unit to indicate the cassette number.
12. Connect the power cord and other connection cables, then plug in the product.
13. Turn on the product.
14. Press the Paper Setting button and make sure the installed cassette units are displayed on the
screen.
15. Enable the optional paper cassette units in the printer software.
Enabling the Optional Paper Cassettes - Windows
Enabling the Optional Paper Cassettes - PostScript Printer Software - Windows
Enabling the Optional Paper Cassettes - Mac
Enabling the Optional Paper Cassettes - PostScript Printer Software - Mac
Parent topic: Installing or Using Optional Parts
Related references
Product Status Messages
Related tasks
Synchronizing Printer Settings - PCL Driver - Windows
Transporting Your Product