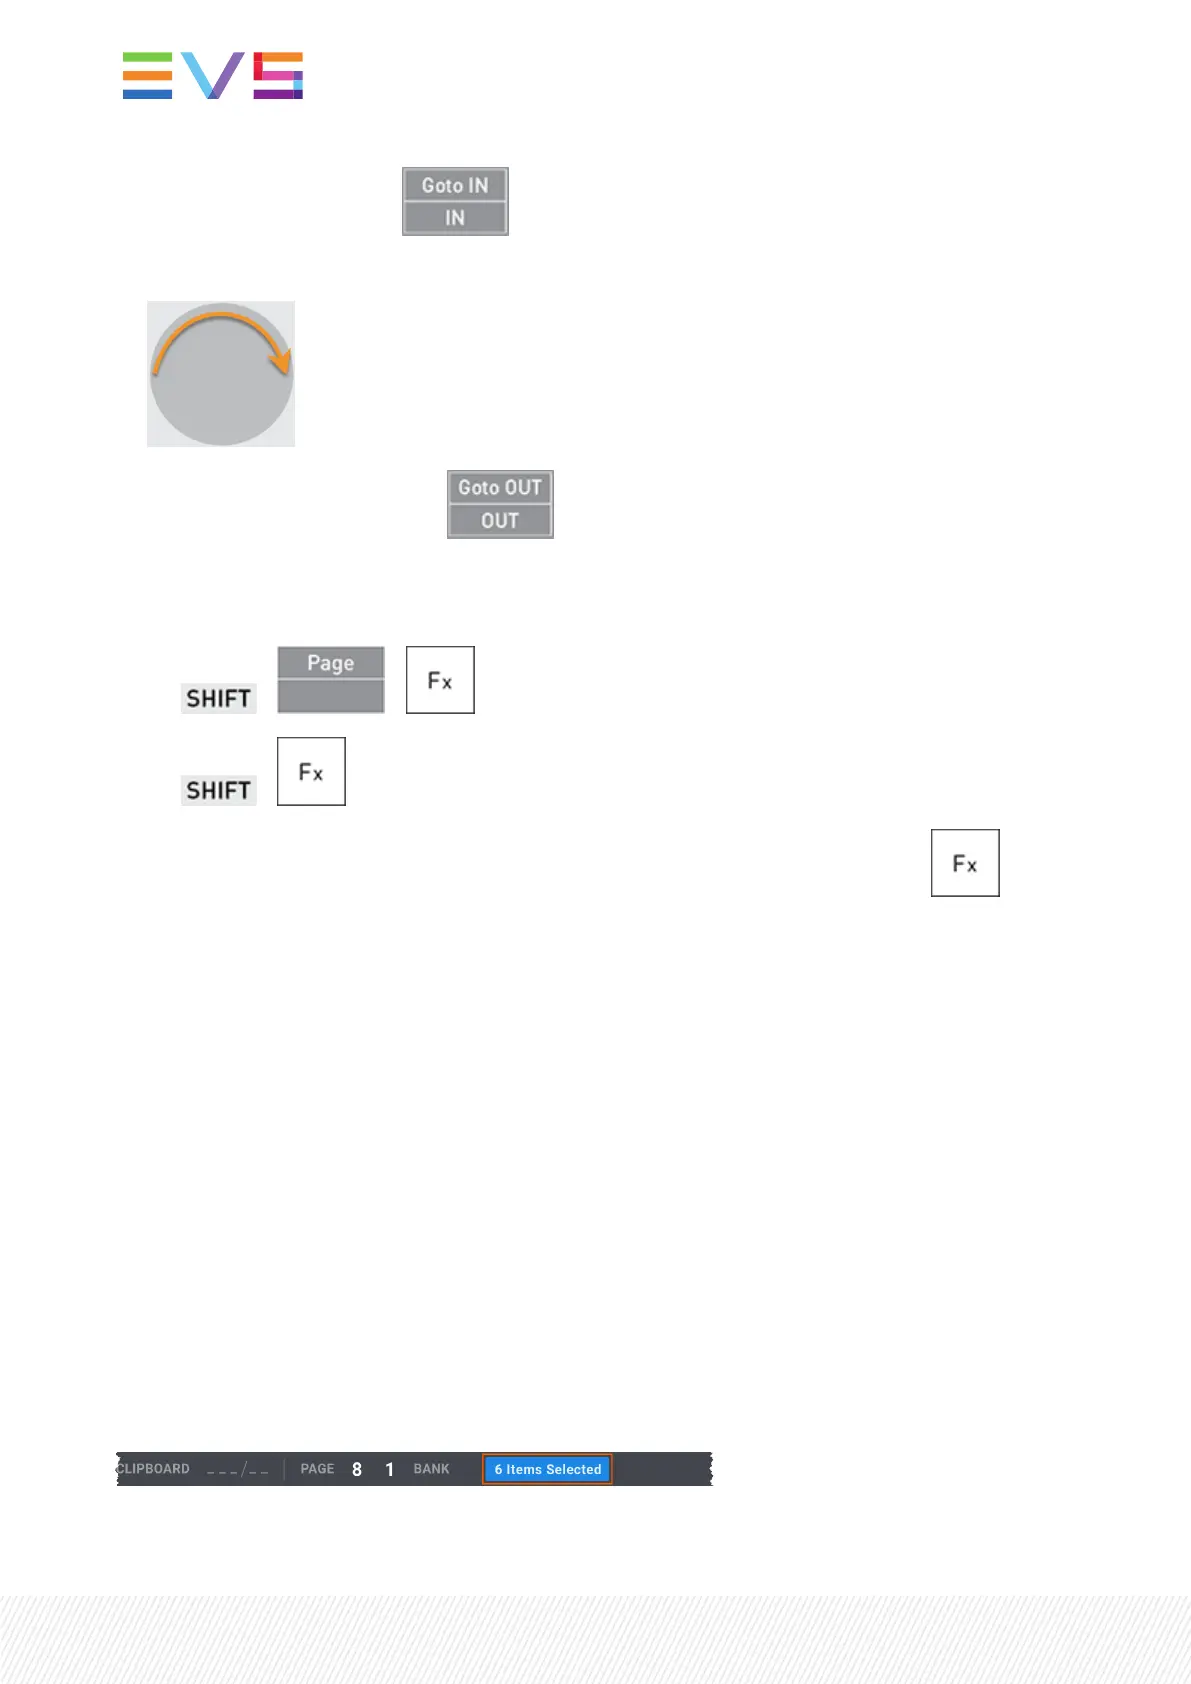
2. Press IN to set the IN point: .
3. In the record train, jog to the requested position for OUT.
4. Press OUT to set the OUT point: .
5. Select the requested page and bank where to store your clip.
See section "Navigating in Pages and Banks" on page 75.
a. + +
b. +
6. Press an empty Function key (unlit key) corresponding to the requested clip position: .
A notification for the clip creation is displayed at the top right of the Viewer and the top right of the
touchscreen.
As long as the clip is still growing (not fully saved, guardbands included), the clip position will blink green
on the Remote Panel if the growing clip is not loaded and red if the growing clip is loaded.
6.3.3.SelectingClips
Selecting Clips from the LSM-VIAViewer Clip Grid
Introduction
A single clip, or clip angle, can be selected from the LSM-VIAViewer Clip grid. See section "Navigating in
Pages and Banks" on page 75 to know how to navigate to other pages and banks.
A multiselection is possible as well. Then, the number of selected CAMangles is displayed at the bottom
of the LSM-VIAViewer screen, would you use the CAMmode or the Clip mode:
80| January 2022 | Issue 1.4.G
 Loading...