A1400 AIR 35 532129 04 - Rev.B
1
2
1
1
6
39
40
41
Translation of the original instructions
ENGLISH
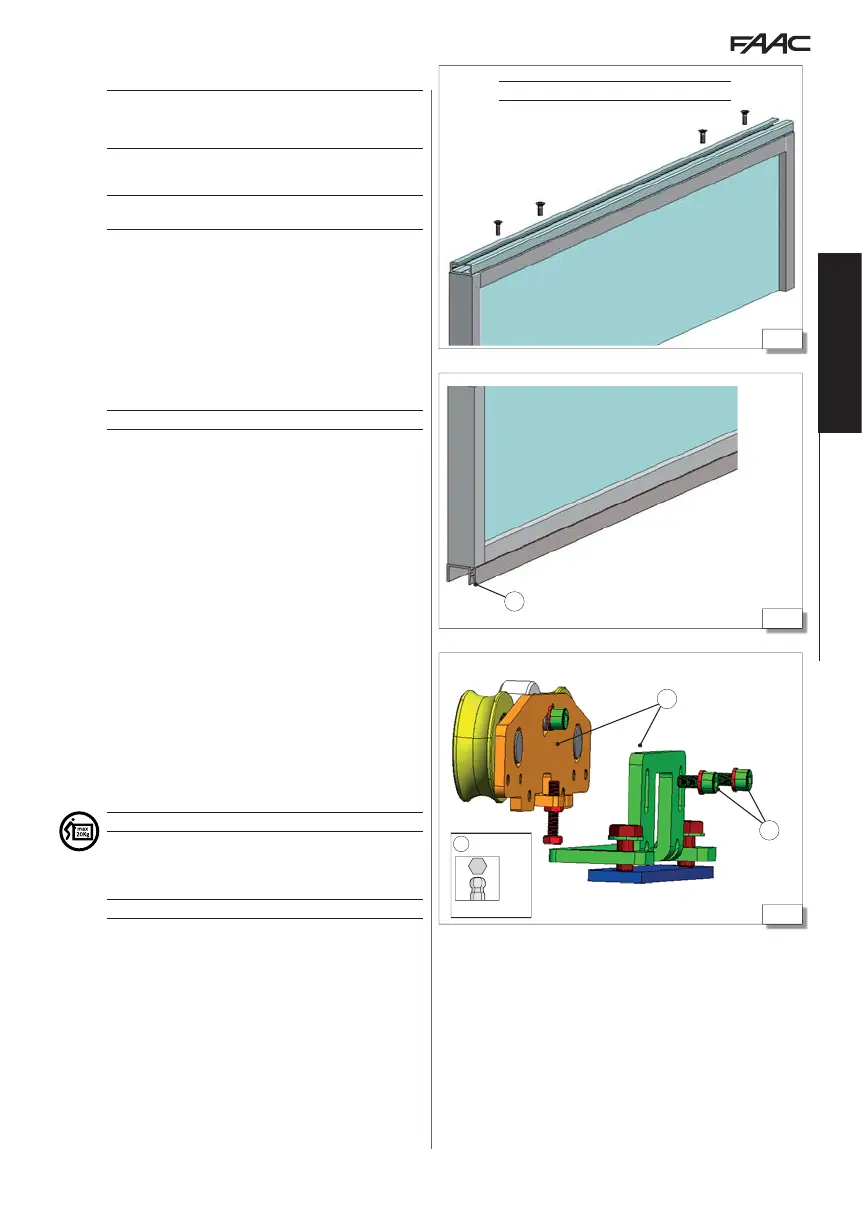
9.2 MOUNT PROFILES ON THE LEAVES
!
Before installing the leaves, ensure there is no cutting or dragging hazard.
Check leaf verticality.
Remove any protrusions and/or sharp edges on the frame and leaves.
1. Position and fasten the attachment profile onto the top of the
leaf 39.
!
Use suitable screws for the weight of the leaf with adequate tightening
torque.
2. Position and fasten the lower guide profile onto the bottom of
the leaf 40.
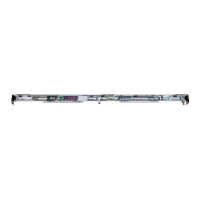
9.3 MOUNT THE LOWER SWEEPER
(OPTIONAL ACCESSORY)
1. Cut the sweeper to the same length as the leaf.
2. Insert the brush into the appropriate housing in the lower guide
profile 40-
.
GLASS LEAVES
For installation of glass leaves see the dedicated section: § 10 38.
9.4 INSTALLING THE LEAVES
Install each leaf as described below.
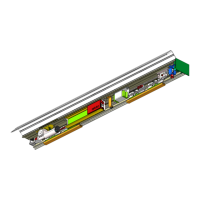
1. Disassemble the 2 carriages:
- Remove the 2 fastening screws 41-
.
- Separate the top plate of the carriage from the bottom plate
41-
.
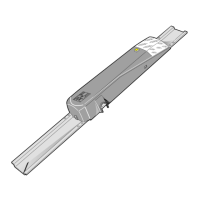
2. Place the wheels of the upper plate unit on the sliding guide (two
plates for each leaf) 42-
.
3. Adjust the counter wheel to prevent the carriage from falling
42-
.
4. Slowly insert the lower plates of the carriage into the profile
42-
.
5. Adjust the position of the two plates on the leaf.
- Keep to the measurements indicated in diagrams 115 or 116
and:
- 118 - 116 for RIGHT single leaf automations
- 119- 117 for LEFT single leaf automations
- 120 - 118 for DOUBLE leaf automations
6. Fasten the plates of the carriages using the 2 screws 42-
.
7. Lift the leaf until the upper and lower plates of the carriage come
into contact 43-
. Align the slots.
For manual lifting, there should be 1 person for every 20 kg to be lifted.
8. Fasten the 2 plates of the carriage together 43-
.
!
Adjust the counter wheel 47 37.
Screws not supplied.