2. Commissioning
2-28
Festo P.BE-CPX-PNIO-E N en 1407c English
2.6 Basic hardware configuration
The following sections describe hardware configuration with
the SIEMENS PLC SIMA TIC S7 and the Siemens SIMA TIC
STEP 7 configuration and programming software.
Other control systems may require other settings or a differ-
ent approach.
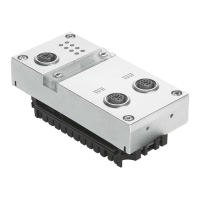
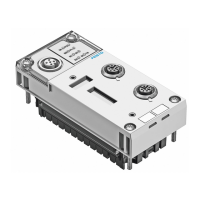
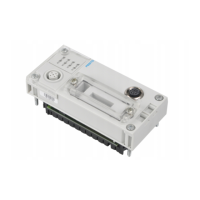
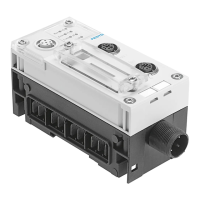
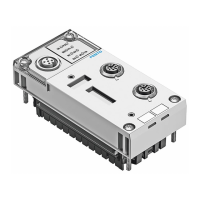
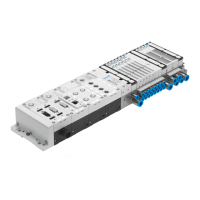
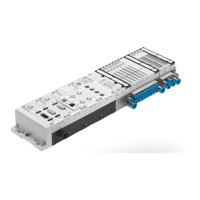
2.6.1 Localise and ident ify CP X terminal in the network
Use the “Node flashing test” function (flashing) in order to
localise your CPX terminal in the network: The LEDs TP1 and
TP2 flash simultaneously. This function helps you with the
assignment of the Device Name. You can also use this func-
tion to test whether there is a logical data connection to the
CPX terminal.
1. S tart the PROFINET hardware configuration in your config-
uratio n and programming software (e.g. HW Config in
Siemens STEP 7).
2. S tart the “Assign Device Name” function through the
STEP-7 menu: PLC > Ethernet > Assign Device Name.
The Assign device name window is displayed.
3. If the CPX terminal is not displayed, start updating of the
display: To do this, click on “Update”.
The network is searched and the network participants
found are listed (under “Available devices”).
4. Mark your searched-fo r CPX terminal in the list (recognis-
able e.g. through the MAC-ID) and cli ck on “Flashing on”.
The LE Ds TP1 and TP2 of the bus node at the searched-for
CPX terminal flash for uni que identification.
You can assign a device name to the CPX terminal in the
next step. This device name is also stored on the memory
card of the bus node (if inserted).