2. Commissioning
2-39
Festo P.BE-CPX-PNIO-EN en 1407c English
3
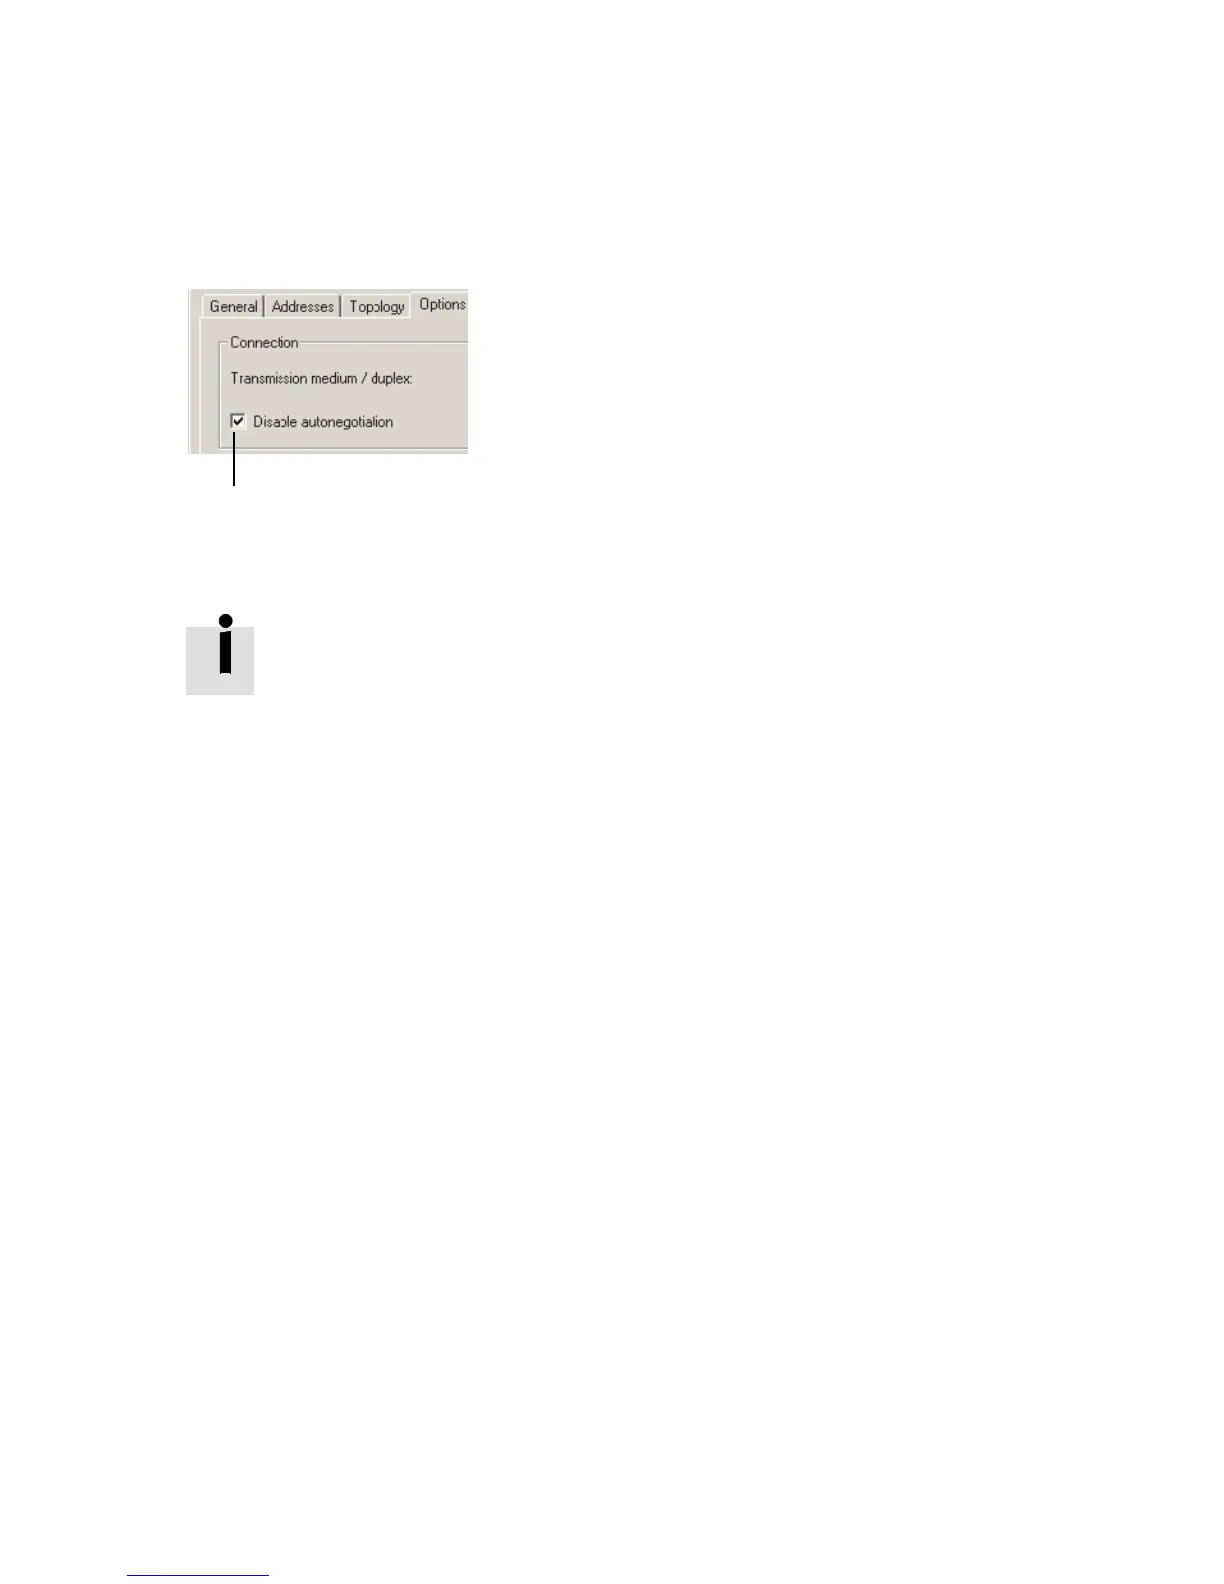
17. Deactivate crossover detection 3:
Place a check in front of “Deactivate Autonegotiation/
Autocrossover” (Disable Auto negotiation).
18. Also deactiva te crossover detecti o n in the co unterpart
station, e.g. in the control system (PLC/Master).
Deactivation of crossover detection is required for “F ast start-
up”. These additional functions are possible only with cros-
sover detection deactivated.
19. Use a sui table network cable for this connection, in this
case a crossed line, for example (if the crossover detec-
tion is deactiv ated on both sides of the connection and a
connection between PLC or master and slave is created).
20. Repeat the steps 14. to 19. for port X2 TP2.
2.6.5 Ass igning or changing IP address
You can manuall y assign or change the IP address of the CPX
terminal in the next steps. The controller usually takes o ver
the allocation of an IP address (auto matic addressing using
the DHCP server integrated in the controller).
If you would like to accept the specified IP address, you can
skip the steps 21. to 23..
Assigning or changing
IP address
21. For IP addressing, choose the tab “Addresses” ( 1 in
Fig. 2/8).
The “Addresses” tab is di splayed (see Fig. 2/9).