Chapter 4: Maintenance
Clean the Vacuum Interface Cones
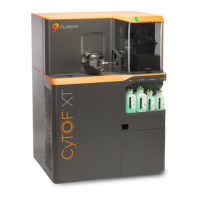
72 CyTOF XT User Guide
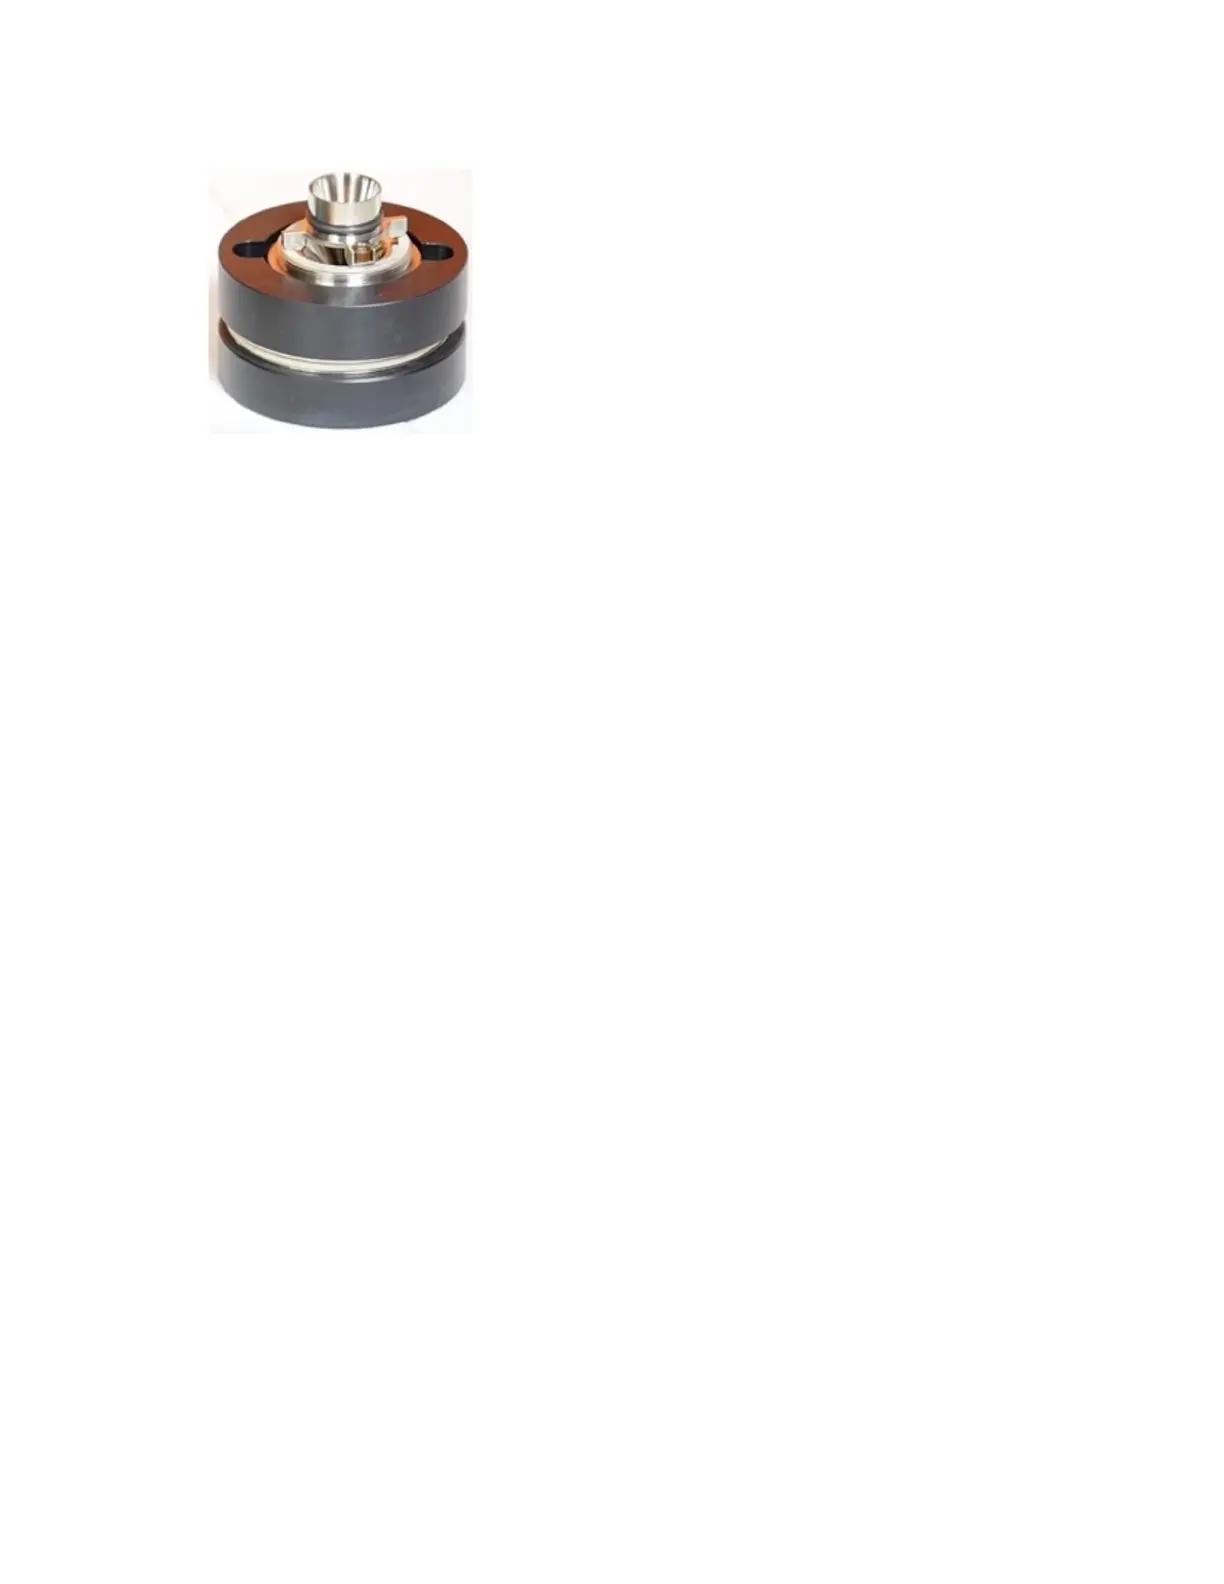
d Place the skimmer-reducer assembly on the top adapter with the screws facing up.
4 Sonicate cones in DIW for 15 min.
5 Repeat Steps 3 and 4.
6 Air-dry the cones thoroughly before reinstalling.
Reinstall Cones
1 Place the skimmer-reducer assembly on the side of the cone removal tool with 2
magnets.
2 Coat the threads of the skimmer-reducer assembly with graphite using a No. 2 pencil to
make installation of the skimmer-reducer assembly easier and smoother.
3 Place the skimmer-reducer assembly flush into the interface and begin to turn it
clockwise.
4 After a few clockwise turns, turn the skimmer-reducer assembly counterclockwise by a
quarter-turn. If this occurs smoothly, the assembly is being threaded properly. If it turns
back with difficulty, completely remove the skimmer-reducer assembly, and start again.
5 Continue to turn the assembly clockwise until it is firmly seated in the interface. Detach
the cone removal tool.
6 Place the other side of the cone removal tool (with 4 magnets) in the non-threaded
holes of the sampler cone. Seat the sampler cone flush with the interface. Turn the
sampler cone clockwise while applying gentle forward pressure.