EasyManuals Logo

Fronius Primo 3.0-1 Service Manual

Fronius Primo 3.0-1
Go to English
160 pages
To Next Page IconTo Next Page
To Previous Page IconTo Previous Page
Page #118 background imageLoading...
Page #118 background image
118
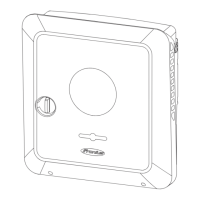
Remove the control switch with shaft
(2) downwards
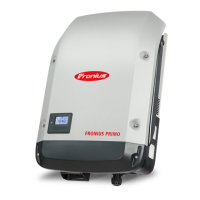
Remove the four 4x9 mm TX20 screws
(3) and take the disconnector out of the
wall bracket.
Remove the hidden fuse (4) from the
DC disconnector
* Note:
the strain-relief device is still
connected to the DC disconnector
in the illustration.
The strain-relief device can be loo-
sened to disconnect the AC and DC
cables and must be removed from
the DC disconnector when the DC
disconnector is removed.
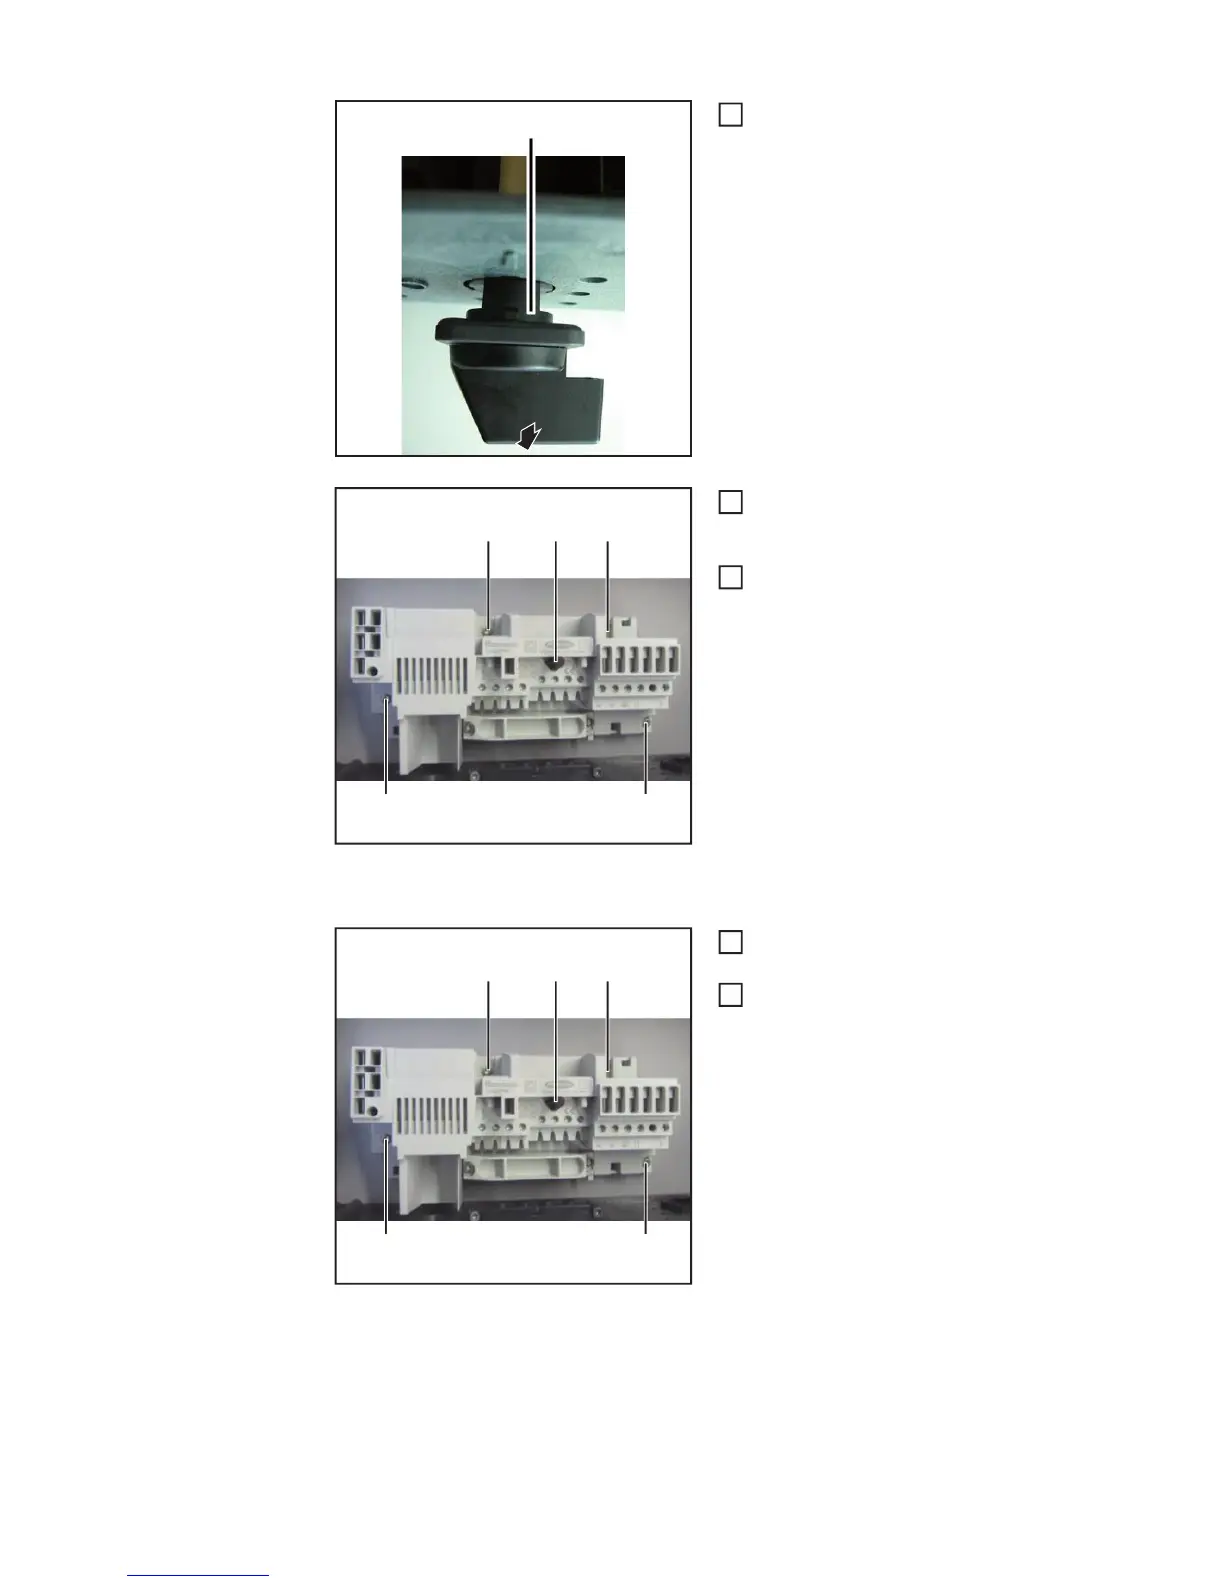
Installing the DC disconnector:
Attach the hidden fuse (4) to the new
DC disconnector
Place the new DC disconnector with
hidden fuse in the wall bracket and se-
cure using four 4x9 mm TX20 screws
(3)
Tightening torque = 2 Nm
2
(2)
2
(3)
(3)(3)
(3) (4)
*
3
4
(3)
(3)(3)
(3) (4)
*
1
2

Table of Contents

Other manuals for Fronius Primo 3.0-1

Questions and Answers:

Question and Answer IconNeed help?

Do you have a question about the Fronius Primo 3.0-1 and is the answer not in the manual?

Fronius Primo 3.0-1 Specifications

General IconGeneral
PurposeSolar panel
Efficiency98 %
Output power3000 W
Input current12 A
Input voltage80 - 1000 V
Output voltage- V
Input frequency50 - 60 Hz
Power supply typeAuto
Adjustable output voltage-
International Protection (IP) codeIP65
Product colorBlack, Grey
Built-in displayYes
Operating temperature (T-T)-40 - 55 °C
Weight and Dimensions IconWeight and Dimensions
Depth204 mm
Width431 mm
Height645 mm
Weight21500 g

Related product manuals