134
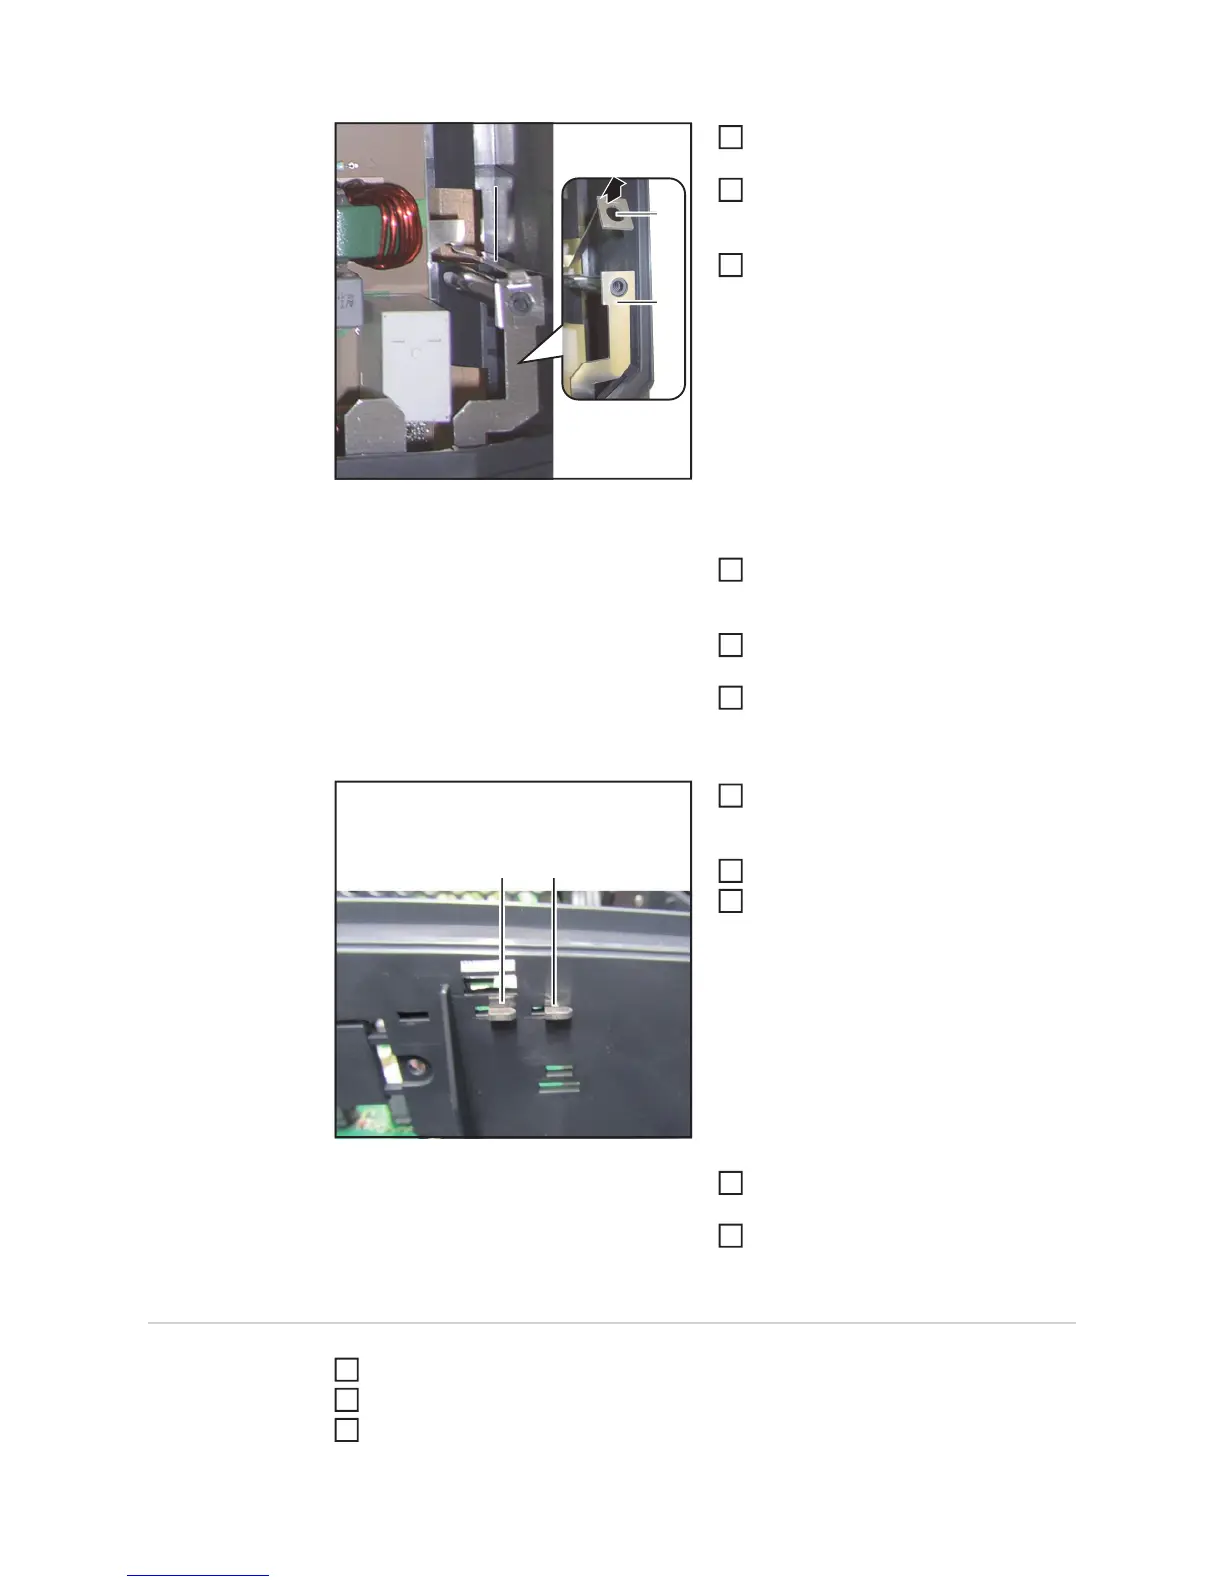
Bend the grounding lug (11) to one
side
Feed the ground connector for plug-in
cards (10) out of the base shell of the
housing
Remove the PrimoFIL PC board
Installing the PrimoFIL
Remove the protective film from the
thermally conductive pad for the new
PrimoFIL PC board
Carefully insert the new PrimoFIL PC
board into the base shell of the housing
Secure the PC board using seven 4x9
mm TX 20 screws (9)
Tightening torque = 2 Nm
Reattach the ground connector for
plug-in cards (10) to the base shell of
the housing
Bend the grounding lug (11) back
Re-insert the PC board holder (8).
Secure the ferrite cores (5) and (7)
back in the divider.
Restore all cable connections (1) to (7)
And finally... Reinsert the RECERBO PC board and check that it is properly supported
Reinsert option cards (e.g. Datamanager card) if present
Connect any socket boards that have not been connected with the rest of the data
communication cables and end plugs
(11)
(10)
7
(10)
(11)
7
8
9
1
2
3
(10) (10)
4
5
6
7
8
1
2
3
 Loading...