Fitting the ex-
tension plate
Attaching extension plate to gas cylinder holder
1
Place extension plate (12) onto gas
cylinder holder (8) so that the
eight holes in each overlap
-
Note! The screws for fixing the
extension plate to the gas cy-
linder holder must be inserted
in the direction of the power
source.
2
Insert the enclosed „ExtrudeTite“
screws into each of the two upper-
most (10) and the two lowermost
(11) holes
3
Screw the extension plate (12) to
the gas cylinder holder (8) using
these four screws
Dismantle the
power source
and the cooling
unit
Connection between power source and cooling
unit
1
Loosen the Allen screws on the
front and back feet of the power
source
-
NOTE! When lifting the power
source, take care not to strain
the cable connection between
the power source and cooling
unit.
2
Carefully lift power source and un-
plug connection (13) between it
and the cooling unit
3
Lift power source off cooling unit
4
Loosen the two „ExtrudeTite“ screws on the front and back feet of the coo-
ling unit
5
Lift the cooling unit off the base of the trolley
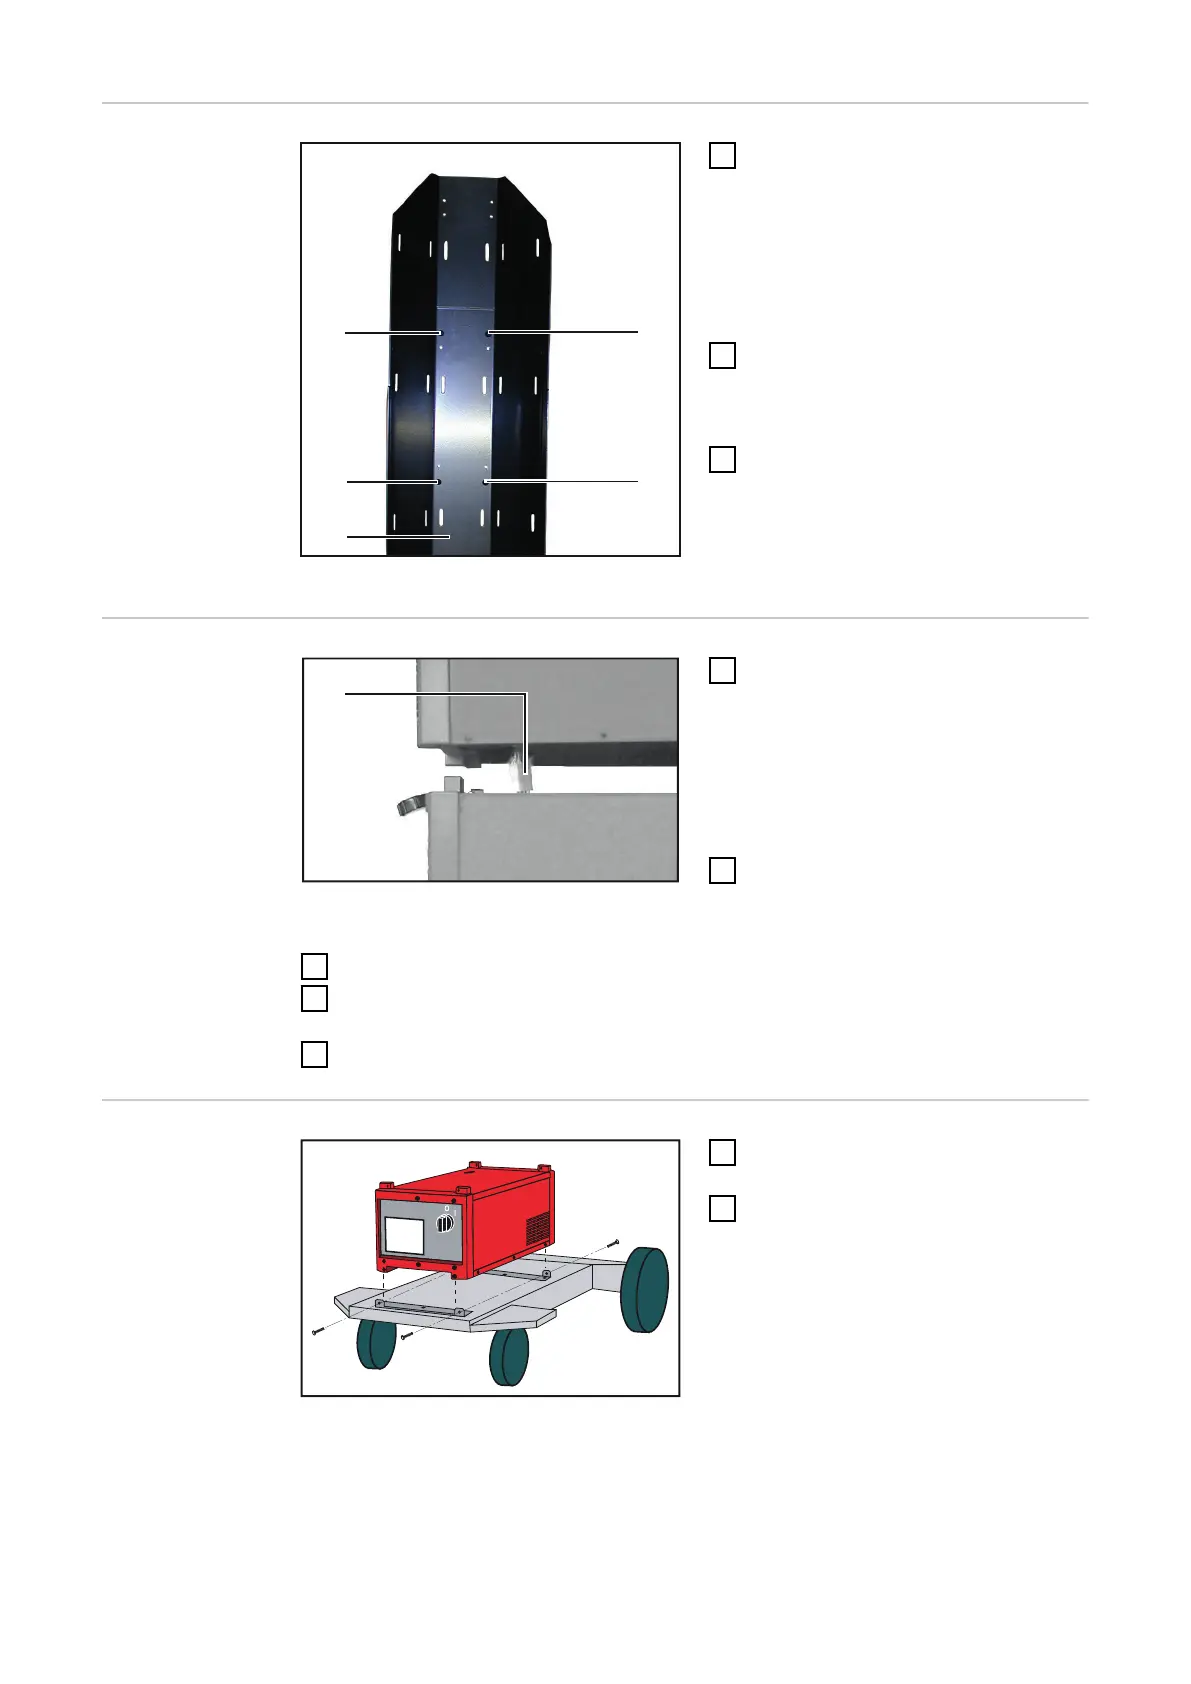
Fitting the auto-
transformer on
the trolley
1
Place the auto-transformer on the
base of the trolley
2
Secure the auto-transformer to
the fastening brackets on the base
of the trolley at the front and rear
using two „ExtrudeTite“ screws
(from the cooling unit)
46
 Loading...