5 Tools
226
Tools
5
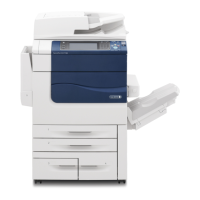
The F code (sub address) and password use not more than 20 digits 0 to 9, ∗, and #.
1
Select [On].
2
Enter the F code with the numeric keypad,
and select [Next].
Note • The F code consists of “0” + mailbox
number. For example, if the mailbox
number is 123, the F code is “0123”.
3
Enter the password as required with the
numeric keypad, and select [Save].
Note • You can enter up to 20 digits for the
password.
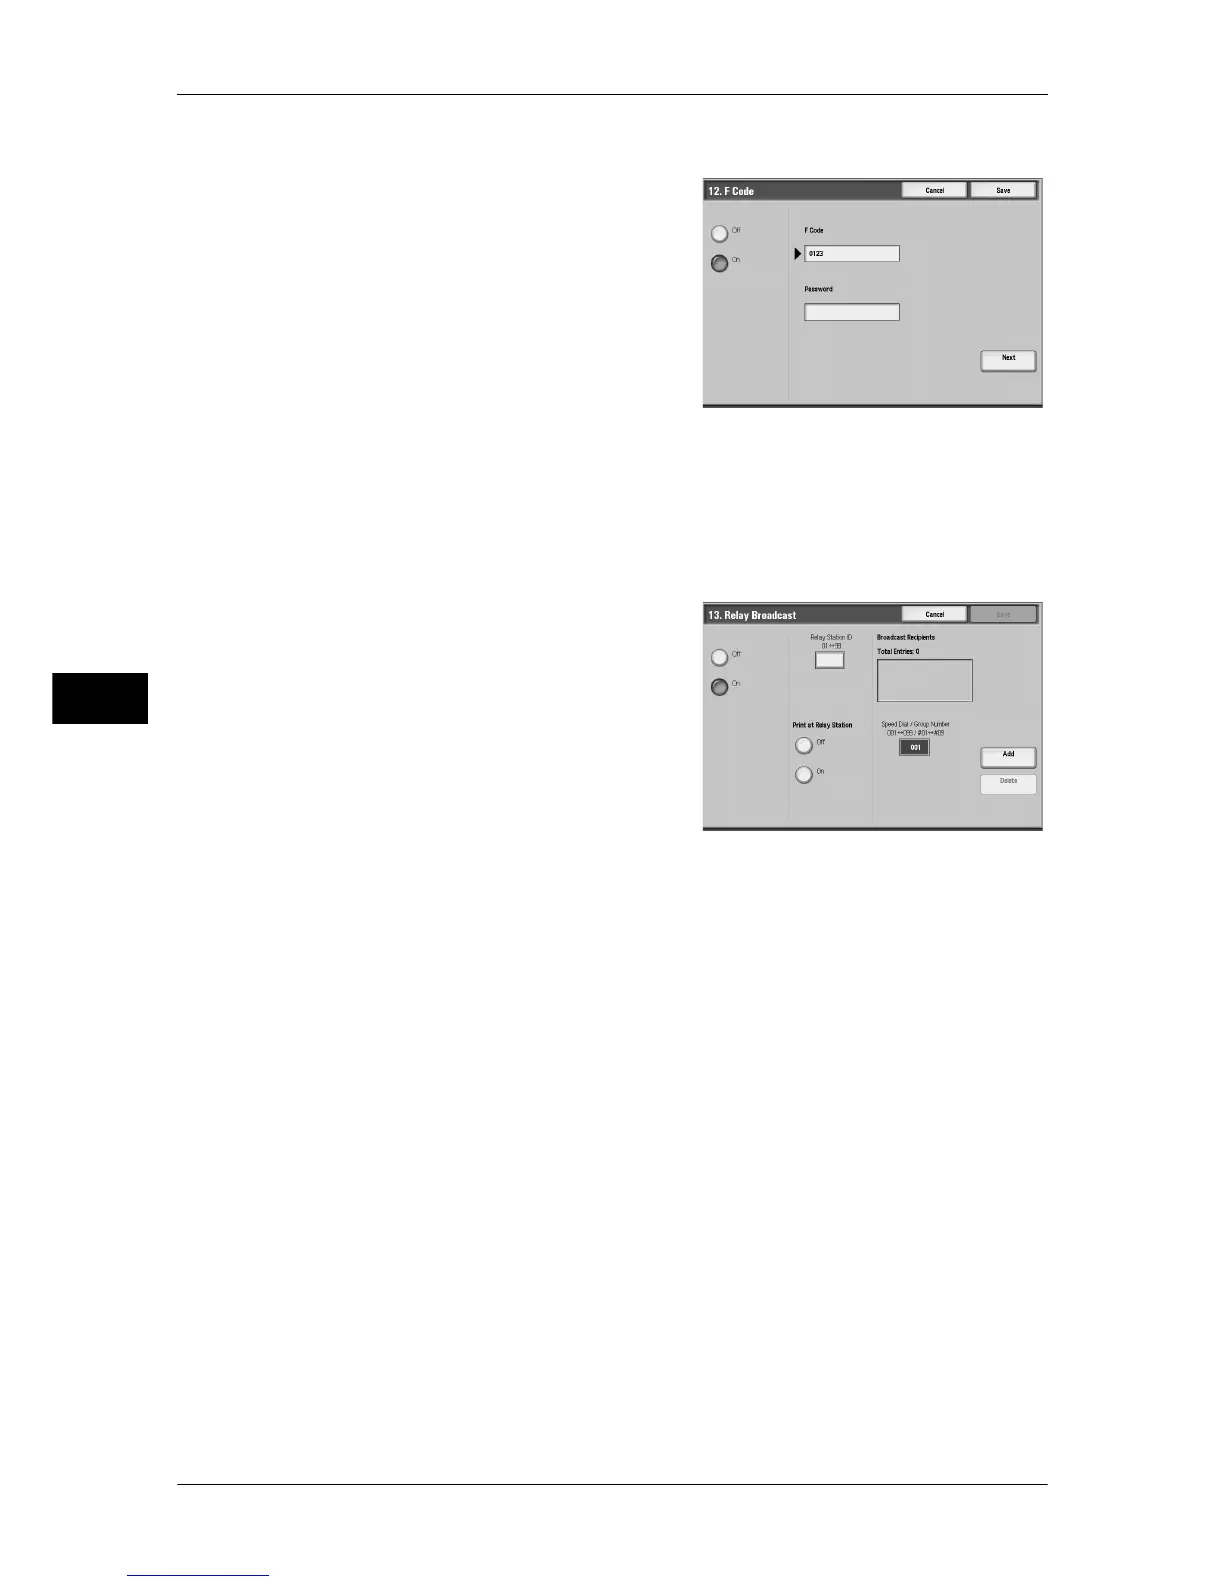
Relay Broadcast
Set the instruction given to a relay station, which is used when the machine is an initiating
station and the registered address number is a relay station for relay broadcast.
When selecting [On], set [Relay Station ID], [Broadcast Recipients], and [Print at Relay
Station].
1
For a relay broadcast, select [On].
2
With the numeric keypad, enter the two-digit
relay station ID.
Note • The relay station ID is the address
number for the initiating station (this
machine) already registered on the relay
station.
3
With the numeric keypad, enter the address
number (001 to 099) or group dial number
(#01 to #09) for the broadcast destination,
and select [Add].
Note • If there is more than one broadcast destination, continue by entering another address
number or group dial number, and pressing [Add].
4
To print a document also at the relay station, under [Print at Relay Station] select [On].
5
Select [Save].
Billing - Day Time, Billing - Night Time, Billing - Midnight
Set the connection time for one unit charge in each of the time bands (daytime/night/
midnight).
You can set the value from 0.1 to 255.9 seconds in 0.1 second increments.
This item appears when the fax feature for the Login Setup/Auditron Administration is enabled. For
information on how to enable the feature, refer to "Auditron Mode" (P.233).
The registered details can be confirmed by printing the [Billing Data List]. For information about how to
print, refer to "Billing Data List" (P.88).
1
Enter the System Administration mode.
For details on how to enter the System Administration mode, refer to "System Settings Procedure"
(P.104).
2
Select one of [Billing - Day Time], [Billing - Night Time], and [Billing - Midnight], and
select [Change Settings].
 Loading...