132 4 Paper
9. Press the < > button until the desired
paper type is displayed.
(Example: Bond)
10. Press the <OK> button to apply the setting.
11. To configure settings for other trays, press
the < > button or <Back> button until the
screen in step 8 is displayed. Then repeat
the steps that follow.
To exit the setting operation, press the
<Settings> button to return to the [Ready to
print] screen.
Configuring Image Quality Settings for Each Paper Type
The printer performs image quality processing in accordance with the current paper type
setting. Use the following procedure to change the image quality process if problems with
print and image quality often happen.
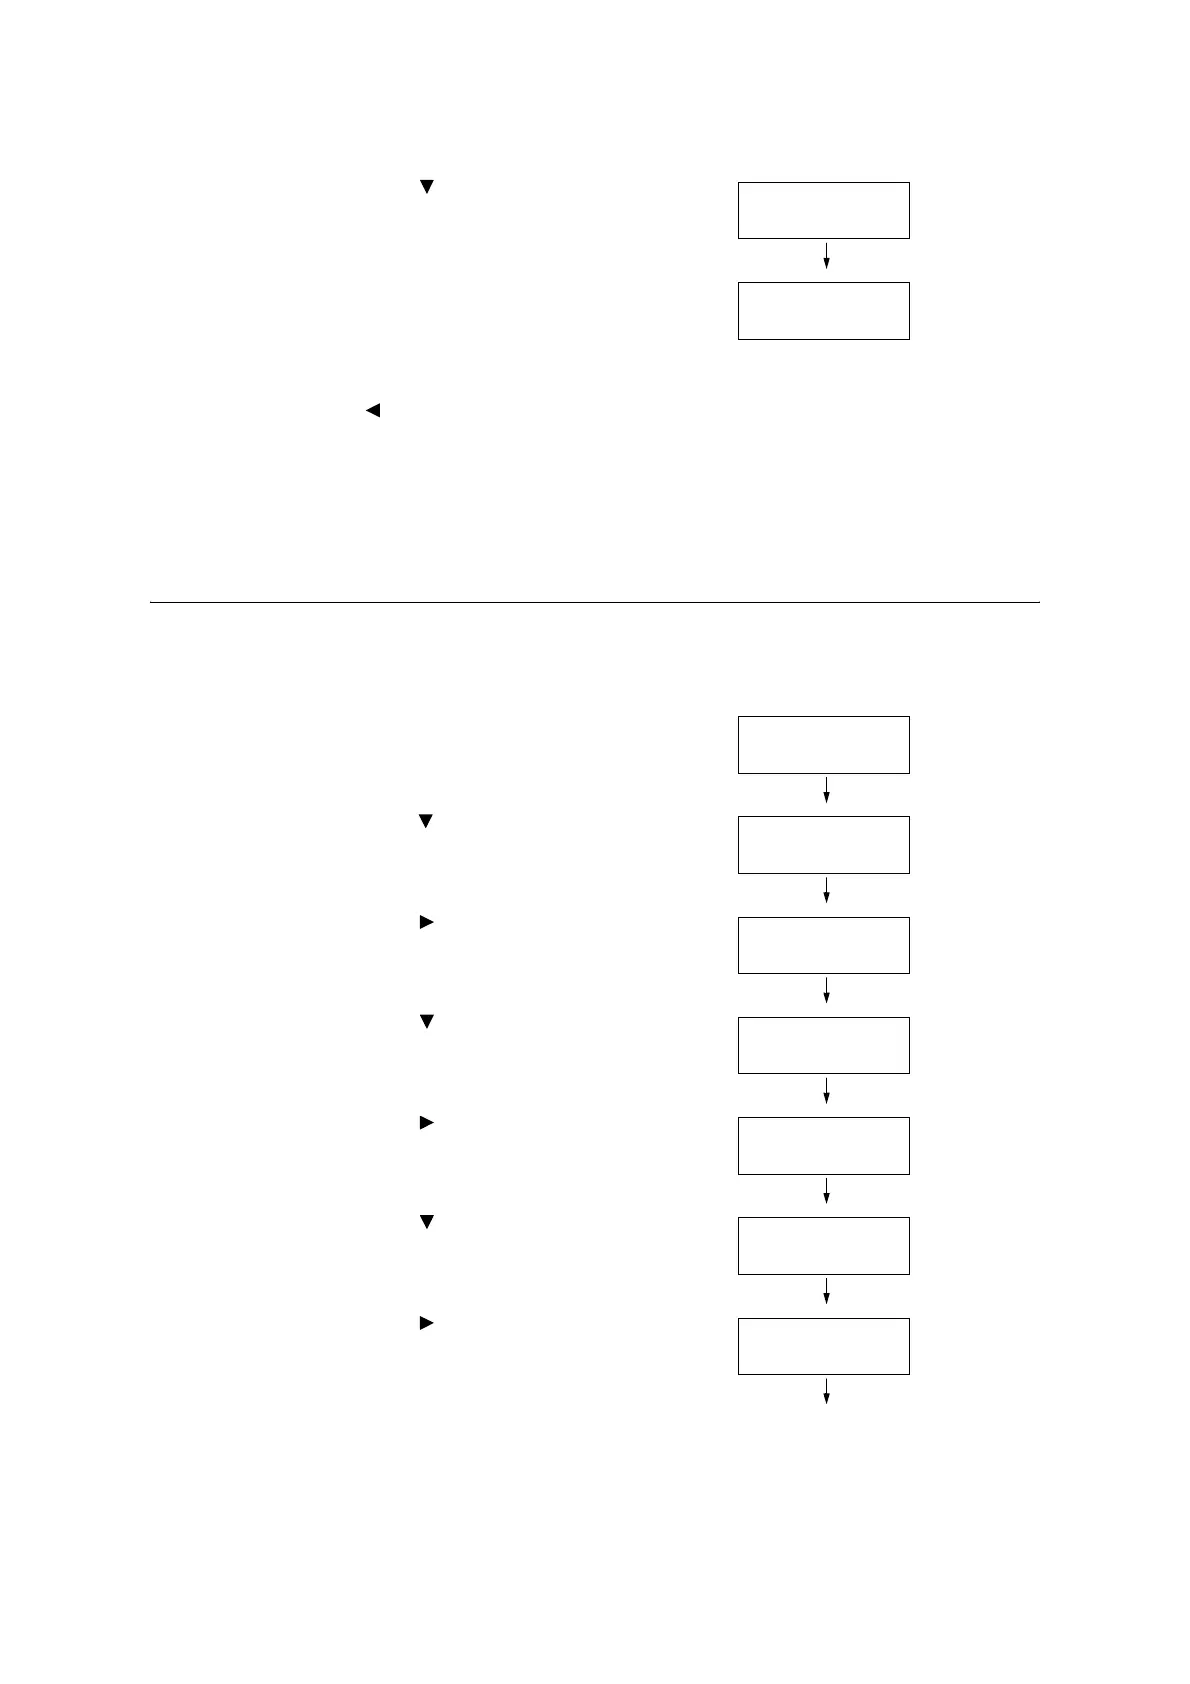
1. On the control panel, press the <Settings>
button to display the menu screen.
2. Press the < > button until [Admin Menu] is
displayed.
3. Press the < > or <OK> button to select.
[Network/Port] is displayed.
4. Press the < > button until [Printer
Settings] is displayed.
5. Press the < > or <OK> button to select.
[Substitute Tray] is displayed.
6. Press the < > button until [Image Quality]
is displayed.
7. Press the < > or <OK> button to select.
[Plain] is displayed.
Tray 1
Bond
Tray 1
•
Bond
Settings
LanguageEmulation
Settings
Admin Menu
Admin Menu
Network/Port
Admin Menu
Printer Settings
Printer Settings
Substitute Tray
Printer Settings
Image Quality
Image Quality
Plain

 Loading...


