7.4 Changing an IP Address 333
7.4 Changing an IP Address
This section explains how to change the fixed IPv4 address on the printer manually.
Note
• Use CentreWare Internet Services to change the fixed IPv6 address on the printer. Use this address to
access CentreWare Internet Services. Set the IPv6 address by selecting [Properties] tab >[Connectivity]
> [Protocols] > [TCP/IP].
Changing an IP Address
Important
• Addresses including IP address, subnet mask and gateway address depend on your network
environment. Consult your network administrator for setting addresses.
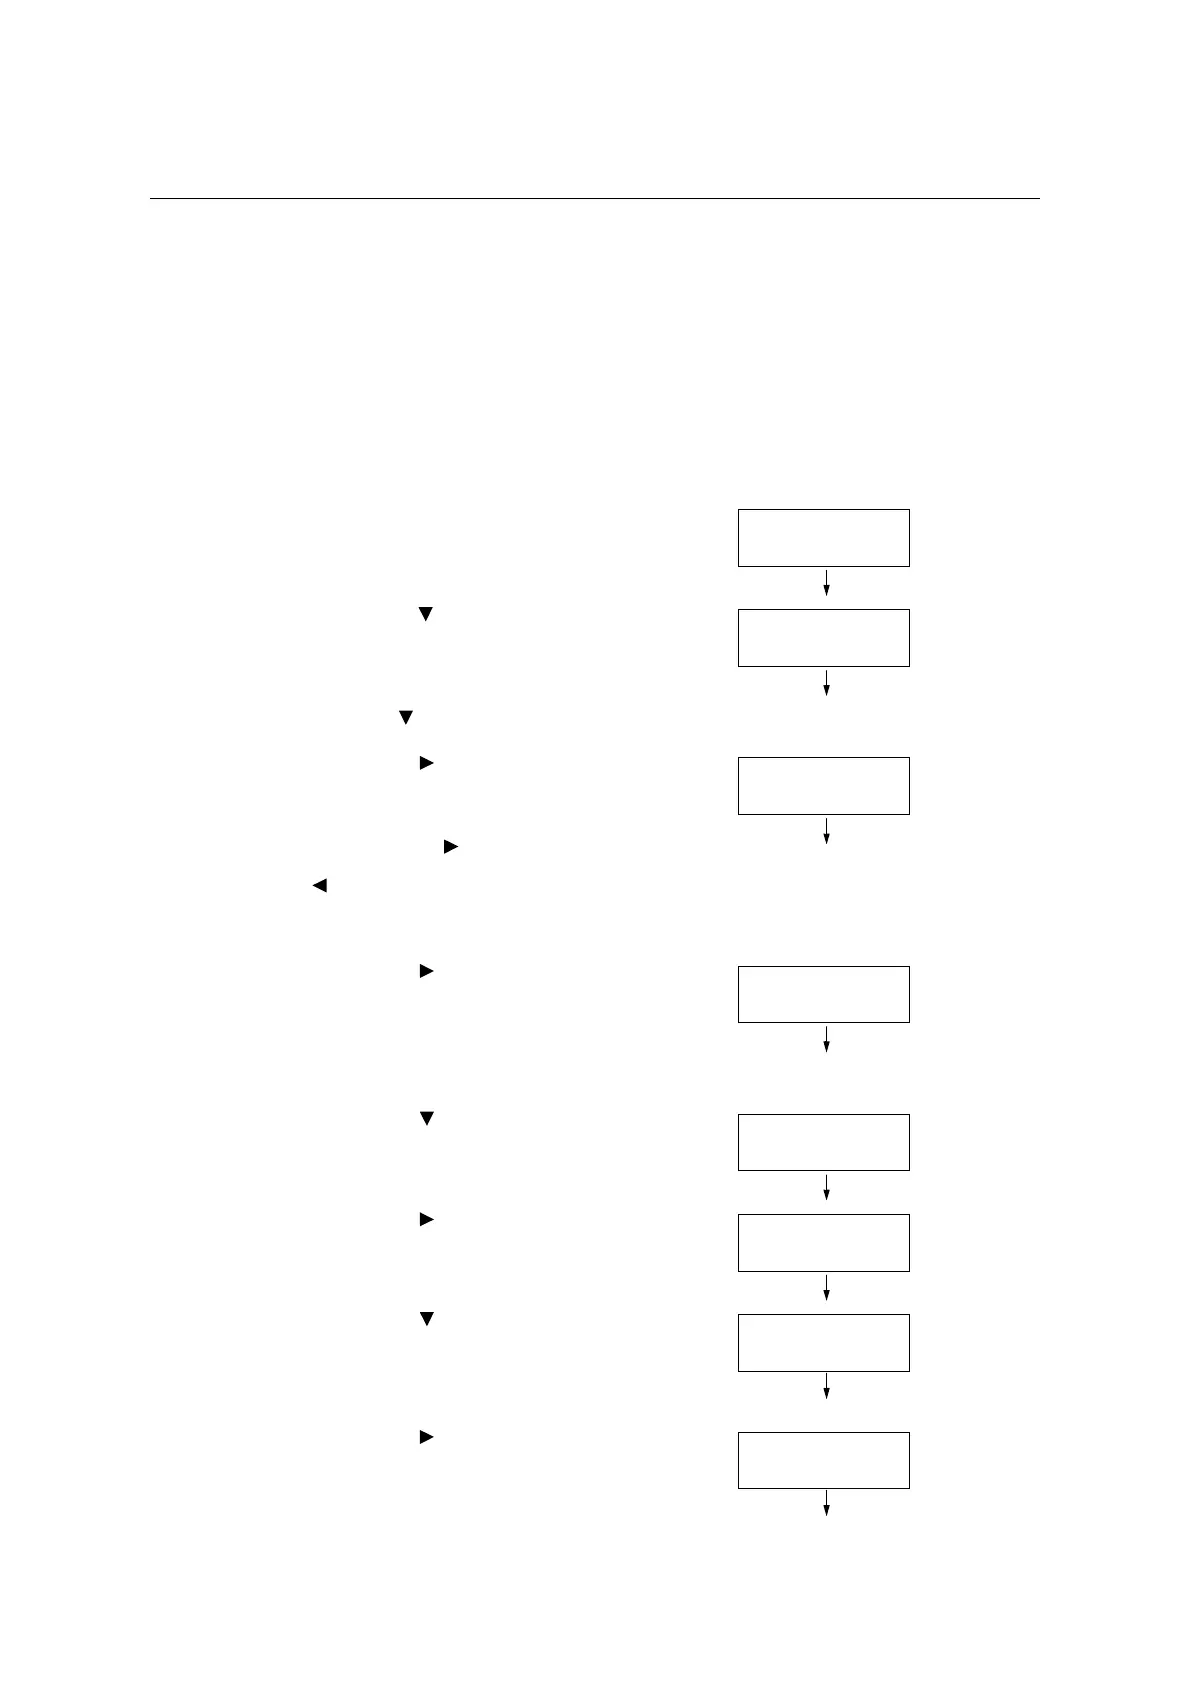
1. On the control panel, press the <Settings>
button to display the menu screen.
2. Press the < > button until [Admin Menu] is
displayed.
Note
• If you went past the desired item, return to the item by
pressing the< > button.
3. Press the < > or <OK> button to select.
[Network/Port] is displayed.
Note
• If you pressed the
<> or <OK> button on the wrong
item, return to the previous screen by pressing the
<> or the <Back> button.
• To start over from the beginning, press the <Settings>
button.
4. Press the < > button to select. [LPD] is
displayed.
Note
• [Parallel] appears only when the Parallel Port Kit
(optional) is installed.
5. Press the < > button until [TCP/IP
Settings] is displayed.
6. Press the < > or <OK> button to select.
[IP Mode] is displayed.
7. Press the < > button until [IPv4 Settings]
is displayed.
8. Press the < > or <OK> button to select.
[Get IP Address] is displayed.
Settings
LanguageEmulation
Settings
Admin Menu
Admin Menu
Network/Port
Network/Port
LPD
Network/Port
TCP/IP Settings
TCP/IP Settings
IP Mode
TCP/IP Settings
IPv4 Settings
IPv4 Settings
Get IP Address

 Loading...


