7.12 Adjusting Tone Density 379
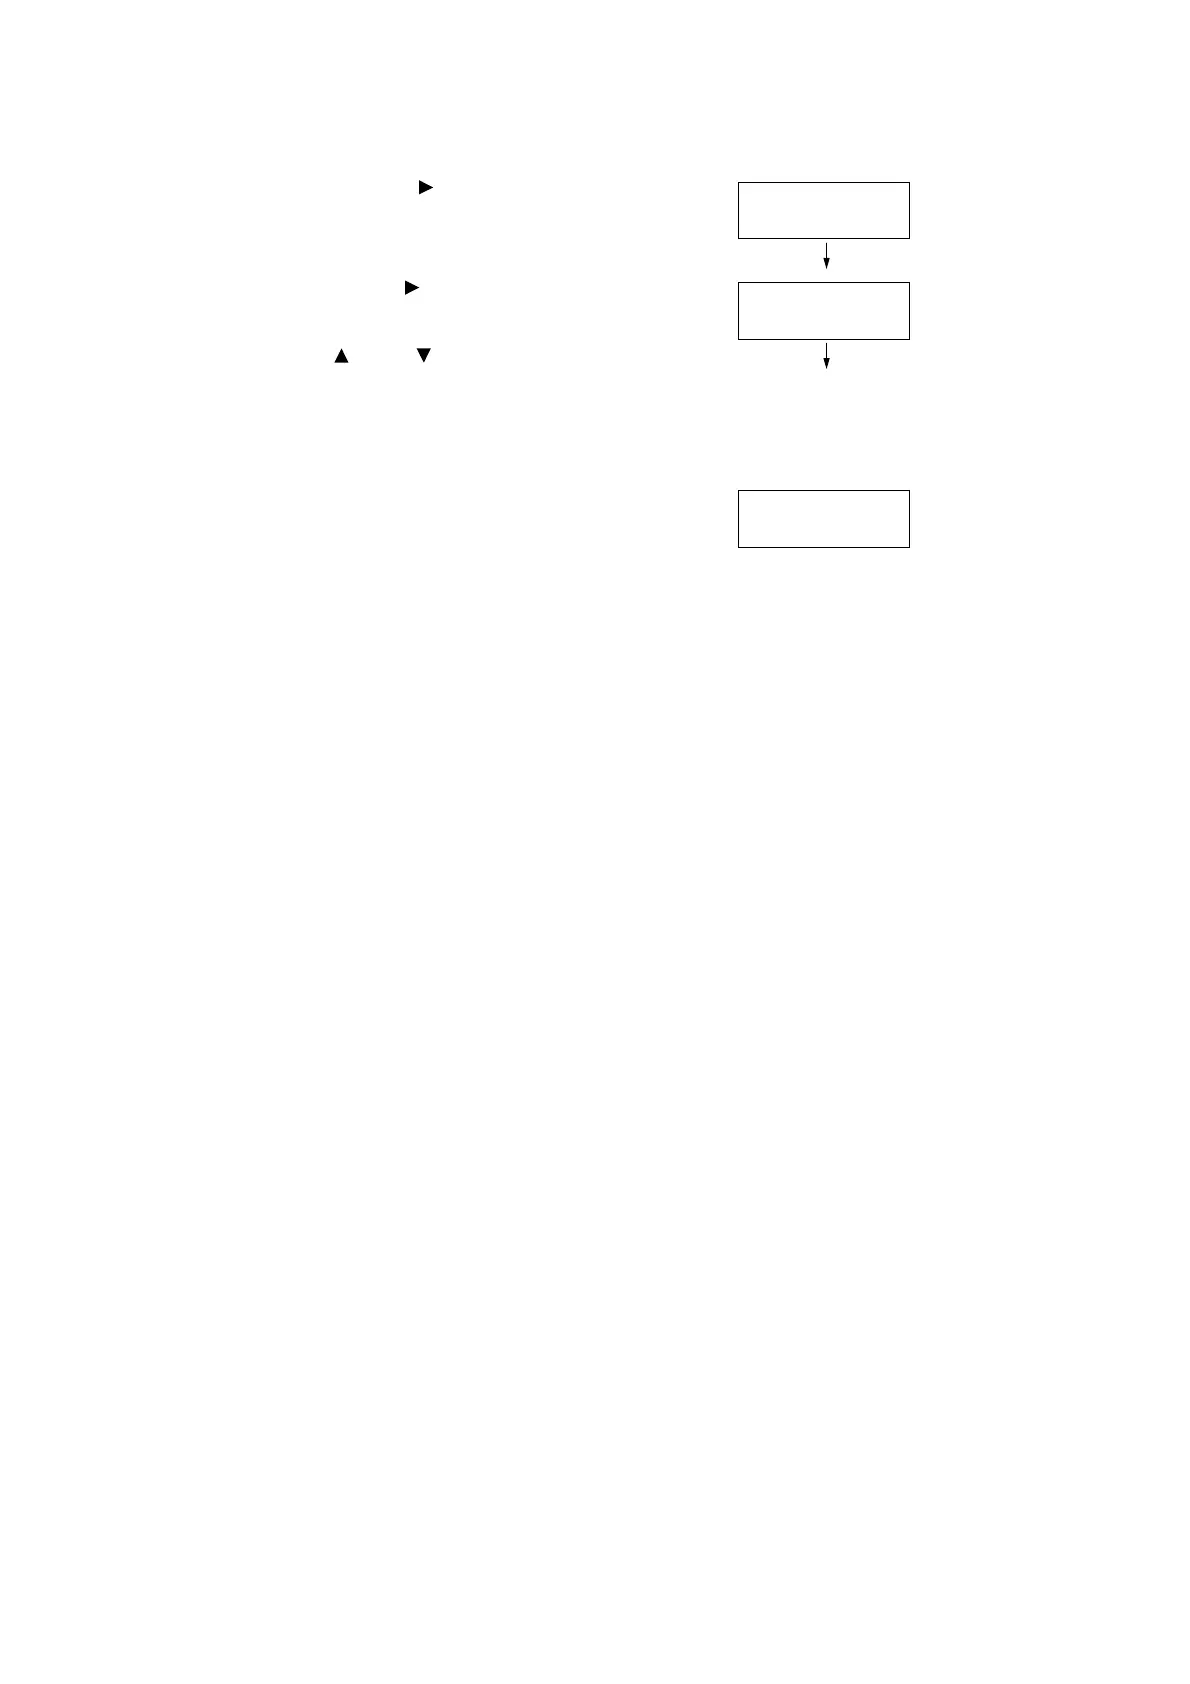
11. Press the < > or <OK> button to apply the
selection.
A screen that allows you to enter the
adjustment value is displayed.
12. Use the < > button to move to the field
you want (L: low density; M: medium
density; H: high density) and then use the
< > and < > buttons to enter the
adjustment value. (Example: H=-2)
Note
• The density values can be entered within the range of -6 to 6.
13. After entering the adjustment values, press
the <OK> button to apply them.
14. To adjust the density of other colors, use
the <Back> button to return to Step 9 and
repeat the steps from there.
15. After you are finished configuring settings,
press the <Settings> button to return to the
[Ready to print] screen.
After changing the density settings for all colors, reprint the Calibration Chart using the
procedure in “Printing a Calibration Chart” (P. 374).
If the result is not satisfactory, perform the calibration again.
[Process Gray] is gray made by mixing CMY toners. If the calibration was successful,
process gray should be close to black.
If any one of the CMY colors looks stronger than the other two, perform calibration again for
the strong color.
Cyan Text
•
L= 0,M= 0,H= 0
Cyan Text
L= 0,M= 0,H= -2
Cyan Text
•
L= 0,M= 0,H= -2

 Loading...


