9. INSTALLATION
9-4
Using Flush Mount Kit S (OP20-46)
An optional flush mount kit type S is required. The table below shows the contents of
the OP20-46 kit.
Name: Flush Mount Kit F, Type: OP20-46, Code No. 001-435-780
1. Using the template (supplied), cut out a hole in the mounting location.
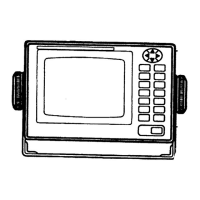
2. Detach the display unit from the hanger.
This hanger can be discarded.
3. Attach the Mount S Sponge (supplied) at the back of the display unit.
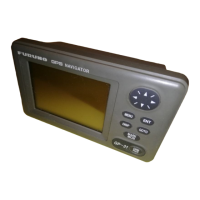
4. Set the display unit into the mounting hole. Make sure that the display unit is not
tilted and has a service space more than 100 mm at the back of unit.
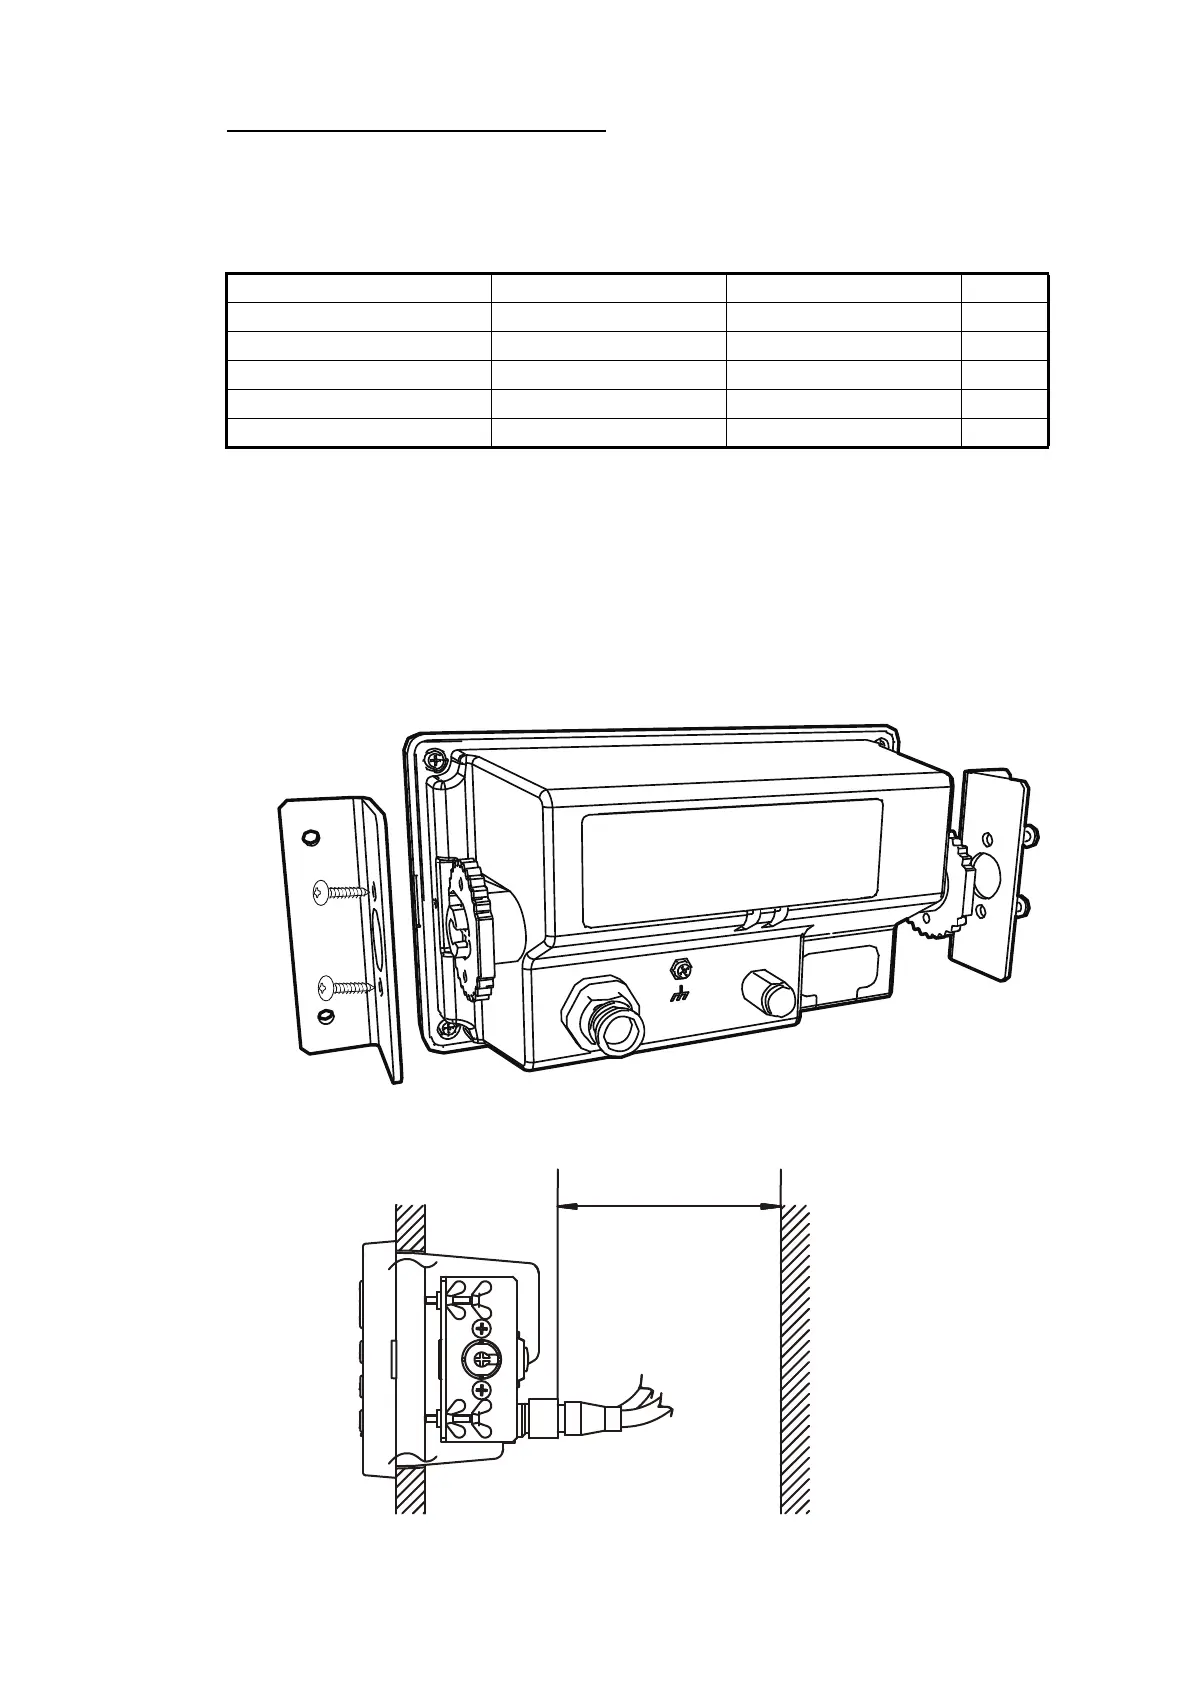
5. Attach the flush mount metal (supplied) to the both sides of display unit using four
self-tapping screws (4 8) to fasten the kit S to the display unit.
6. Tighten the butterfly bolts and butterfly nuts (supplied) from the back of display
unit.
Name Type Code No Qty
Self-tapping screw 4 8 SUS304 000-163-797-10 4
Butterfly bolt M4 35 SUS304 000-163-933-10 4
Butterfly nut M4 SUS304 000-167-545-10 4
Flush mount metal 20-038-1101-0 100-406-570-10 2
Mount S Sponge 20-038-1102-0 100-406-580-10 1
More than 100 mm.
(Space for service)