EasyManuals Logo

GE L90 User Manual

GE L90
900 pages
To Next Page IconTo Next Page
To Previous Page IconTo Previous Page
Page #823 background imageLoading...
Page #823 background image
CHAPTER 11: MAINTENANCE REPLACE FRONT PANEL
L90 LINE CURRENT DIFFERENTIAL SYSTEM – INSTRUCTION MANUAL 11-19
11
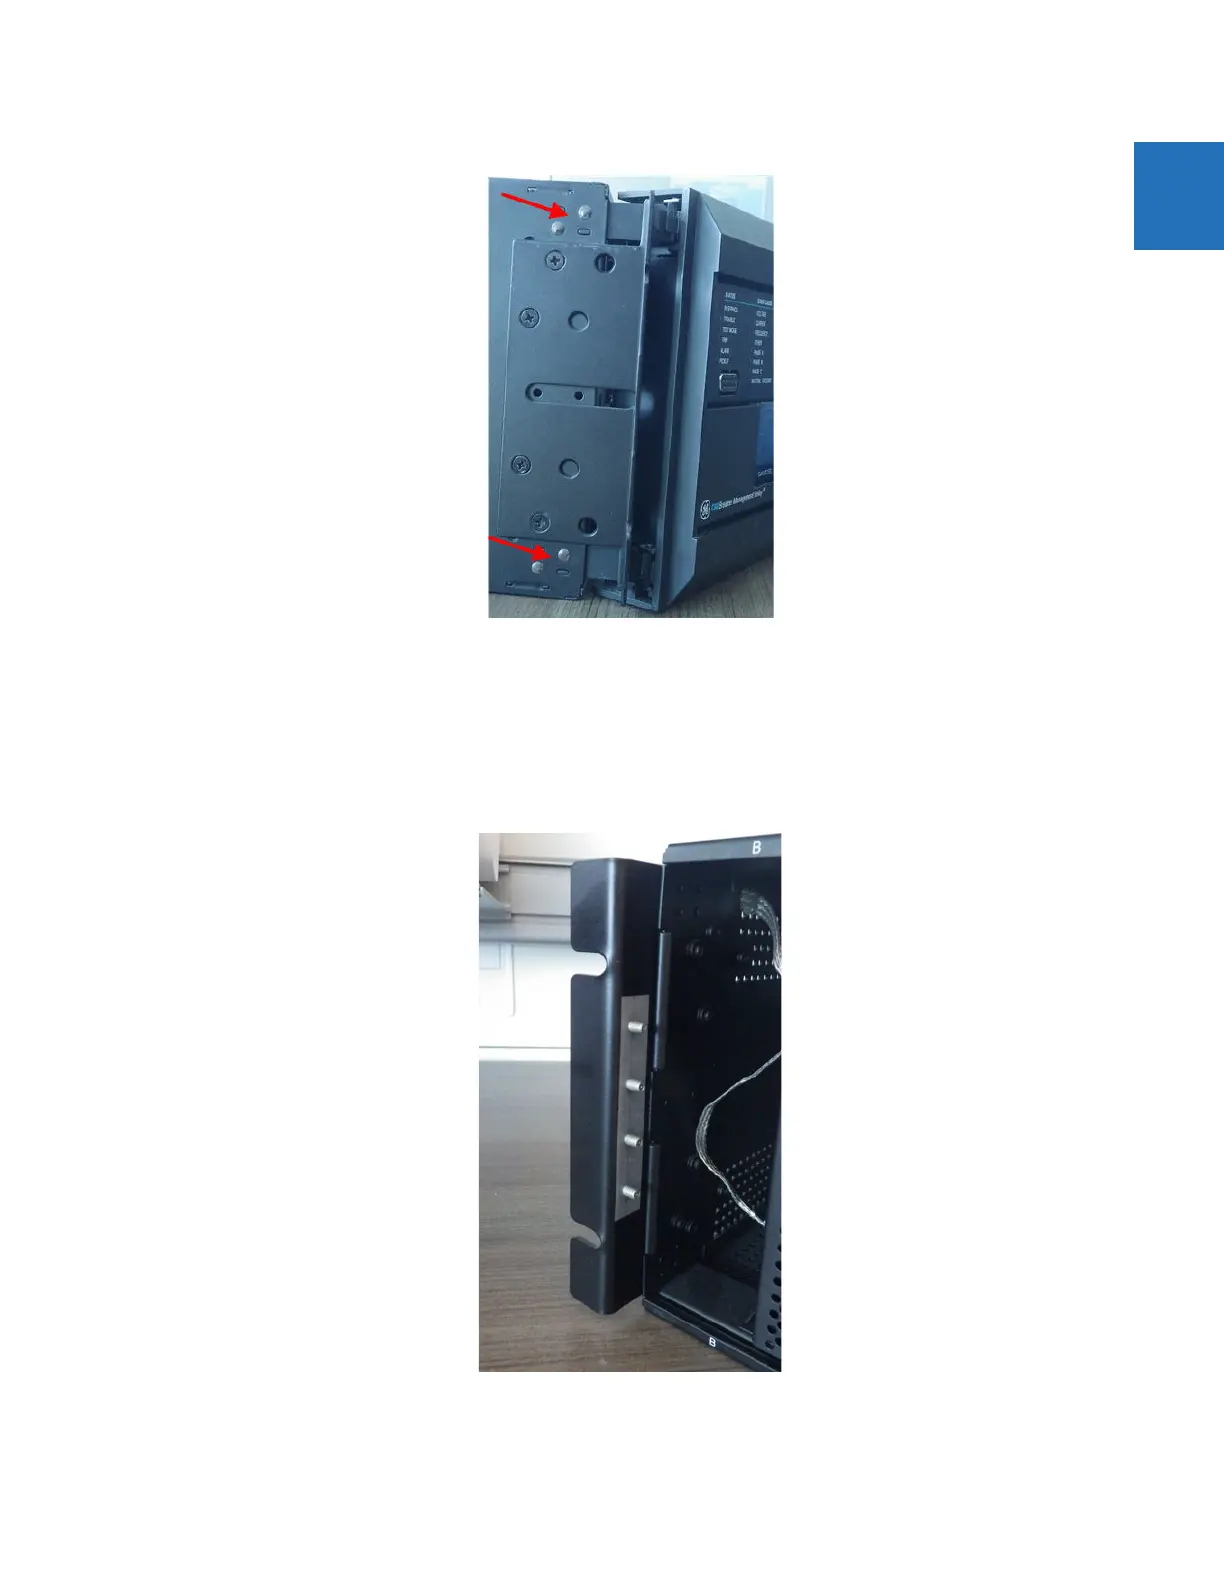
(note riveted hinges with red arrows - cannot replace this front panel)
The front panel has been removed.
To install the graphical front panel:
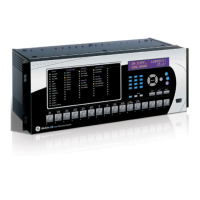
1. With power to the unit off, screw the left mounting bracket to the outside of the relay. The power supply module can
remain in the first slot.
Figure 11-19: Attach mounting bracket to relay on left side (no power supply module in first slot)
2. Screw the right mounting bracket to the right side of the relay.

Table of Contents

Questions and Answers:

Question and Answer IconNeed help?

Do you have a question about the GE L90 and is the answer not in the manual?

GE L90 Specifications

General IconGeneral
CommunicationEthernet, Serial
MountingPanel Mount
Frequency50/60 Hz
InputsDigital, Analog
OutputsRelay
ControlLocal, Remote
Communication InterfaceIEC 61850, DNP3, Modbus
Protection FunctionsDifferential, Ground Fault
Standards ComplianceIEC, IEEE

Related product manuals