-
4. CONFIGURING THE DATA PROTOCOLS
Depending on the model, various protocols can be used with the serial rear ports. However,
only one protocol can be configured at any one time on any one IED. The range of available
communication settings depend on which protocol has been chosen
4.1 Courier Configuration
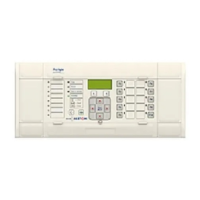
To use the rear port with Courier, you can configure the settings using the HMI panel.
Courier can be used with either a copper connection or a fibre connection.
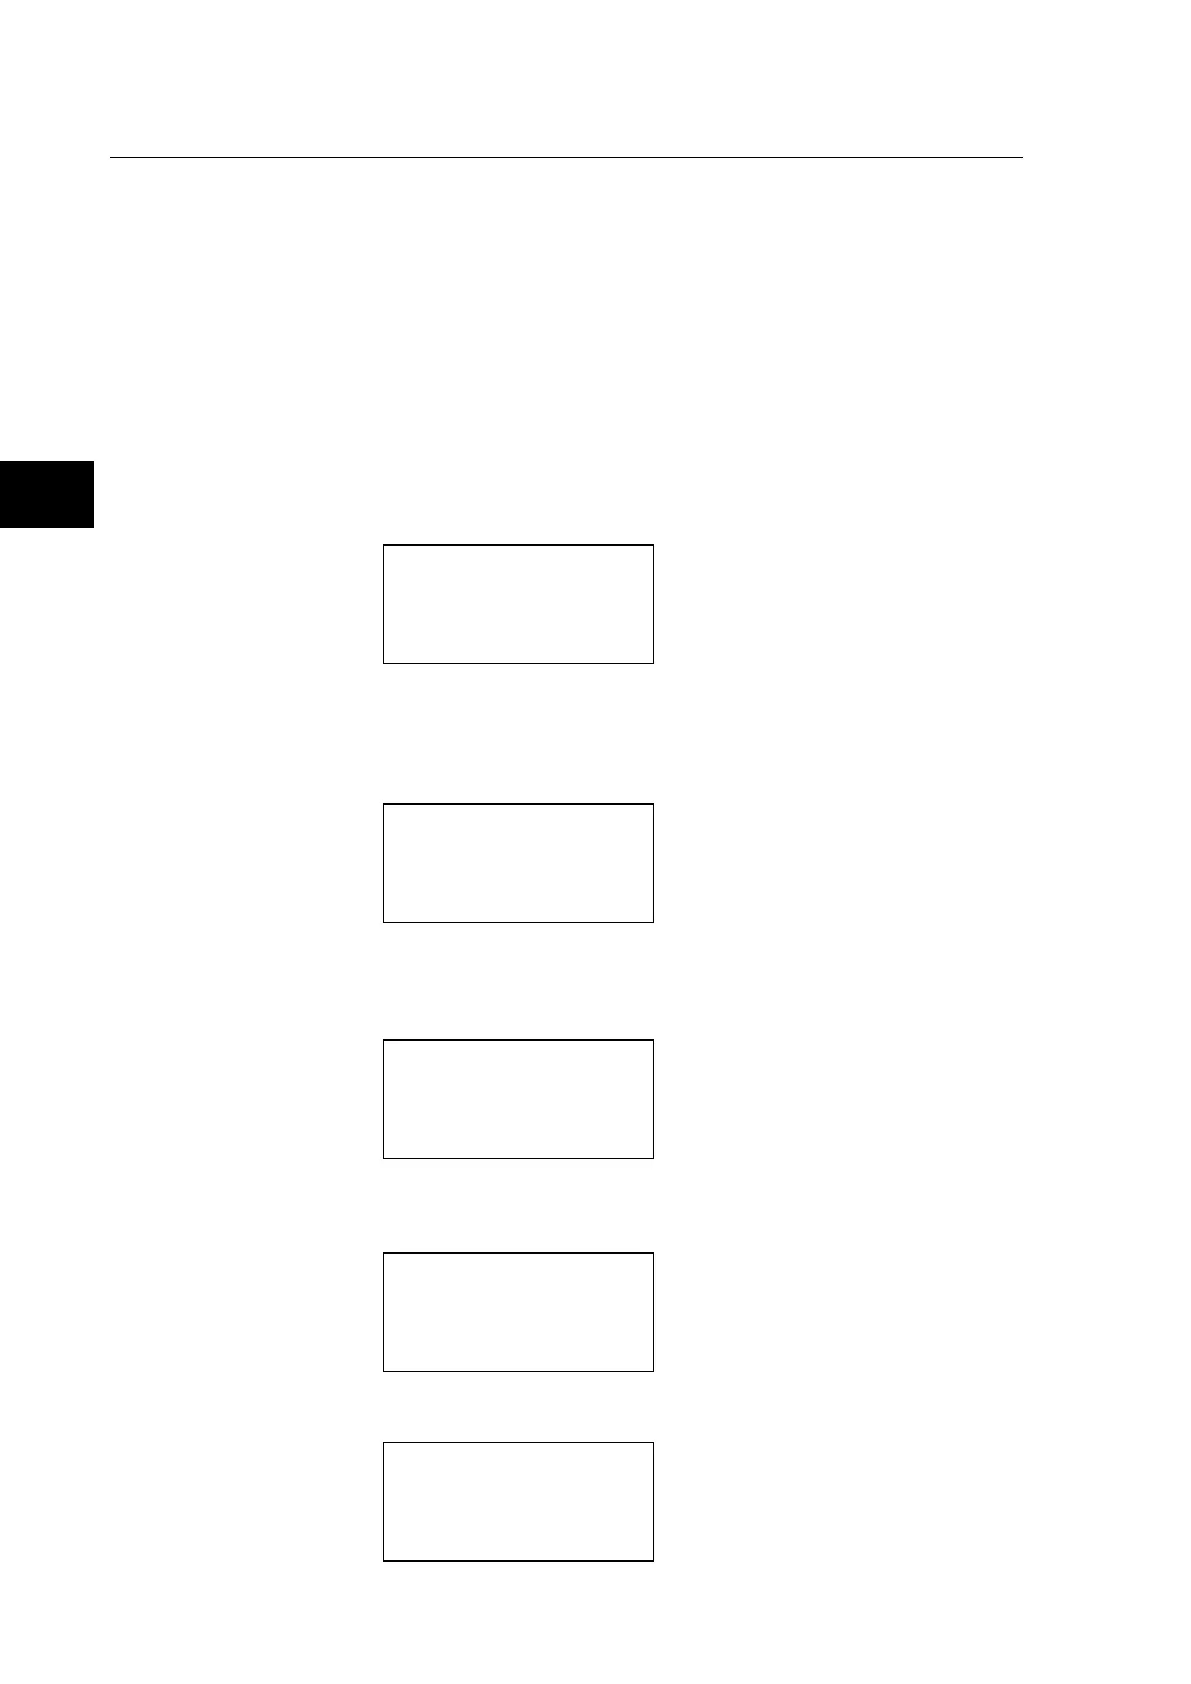
1. Select the CONFIGURATION column and check that the Comms settings cell is set
to Visible.
2. Select the COMMUNICATIONS column.
3. Move to the first cell down (RP1 protocol). This is a non settable cell, which shows
the chosen communication protocol – in this case Courier.
COMMUNICATIONS
RP1 Protocol
Courier
4. Move down to the next cell (RP1 Address). This cell controls the address of the IED.
Up to 32 IEDs can be connected to one spur. It is therefore necessary for each IED to
have a unique address so that messages from the master control station are accepted
by one IED only. Courier uses an integer number between 0 and 254 for the IED
address. It is important that no two IEDs have the same address.
COMMUNICATIONS
RP1 Address
255
5. Move down to the next cell (RP1 InactivTimer). This cell controls the inactivity timer.
The inactivity timer controls how long the IED waits without receiving any messages
on the rear port before it reverts to its default state, including revoking any password
access that was enabled. For the rear port this can be set between 1 and 30 minutes.
COMMUNICATIONS
RP1 Inactivtimer
10.00 mins.
6. If the optional fibre optic connectors are fitted, the RP1 PhysicalLink cell is visible.
This cell controls the physical media used for the communication (Copper or Fibre
optic).
COMMUNICATIONS
RP1 Physical Link
Copper
7. Move down to the next cell (RP1 Card Status). This cell is not settable. It just
displays the status of the chosen physical layer protocol for RP1.
COMMUNICATIONS
RP1 Card Status
K-Bus OK